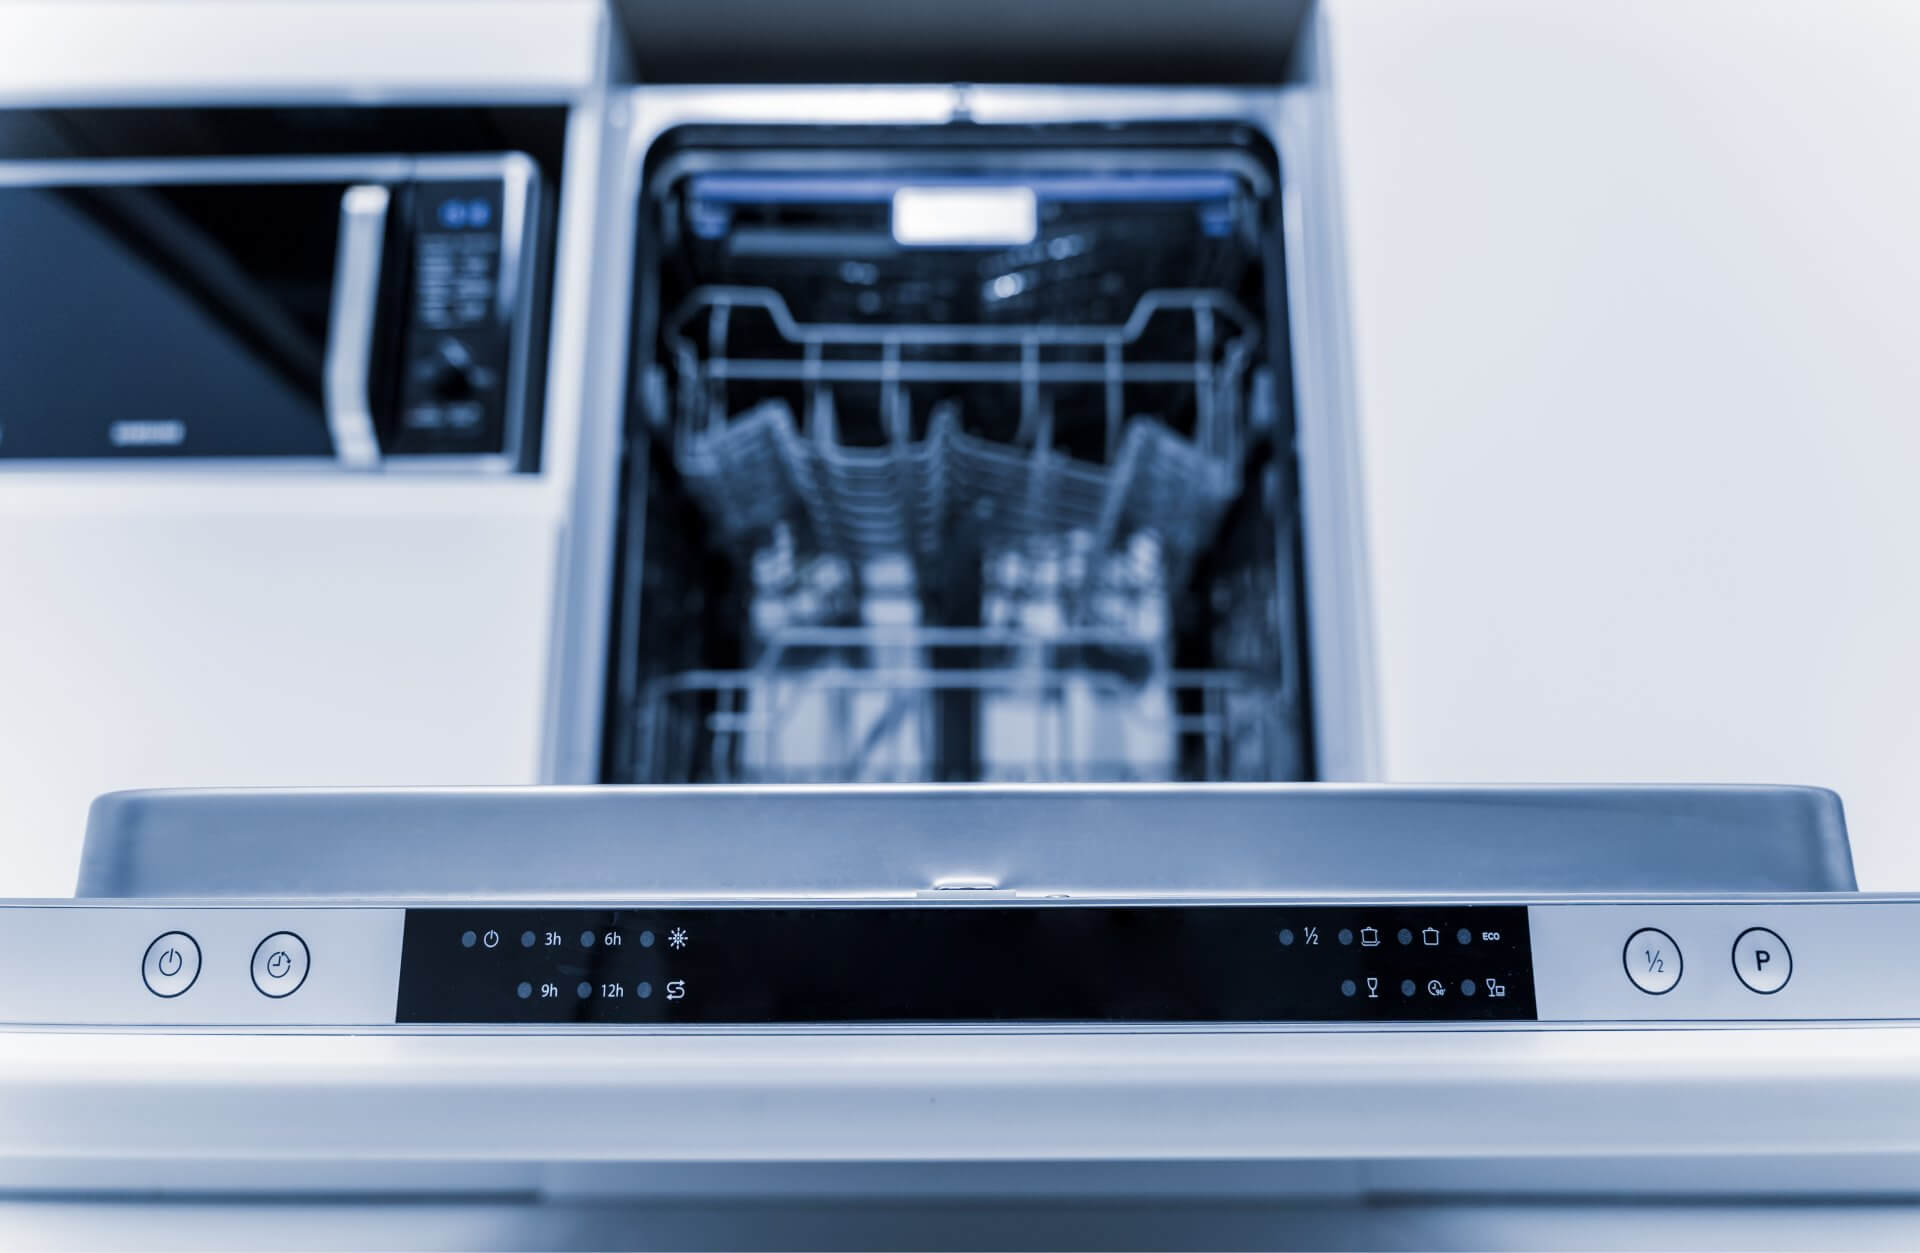
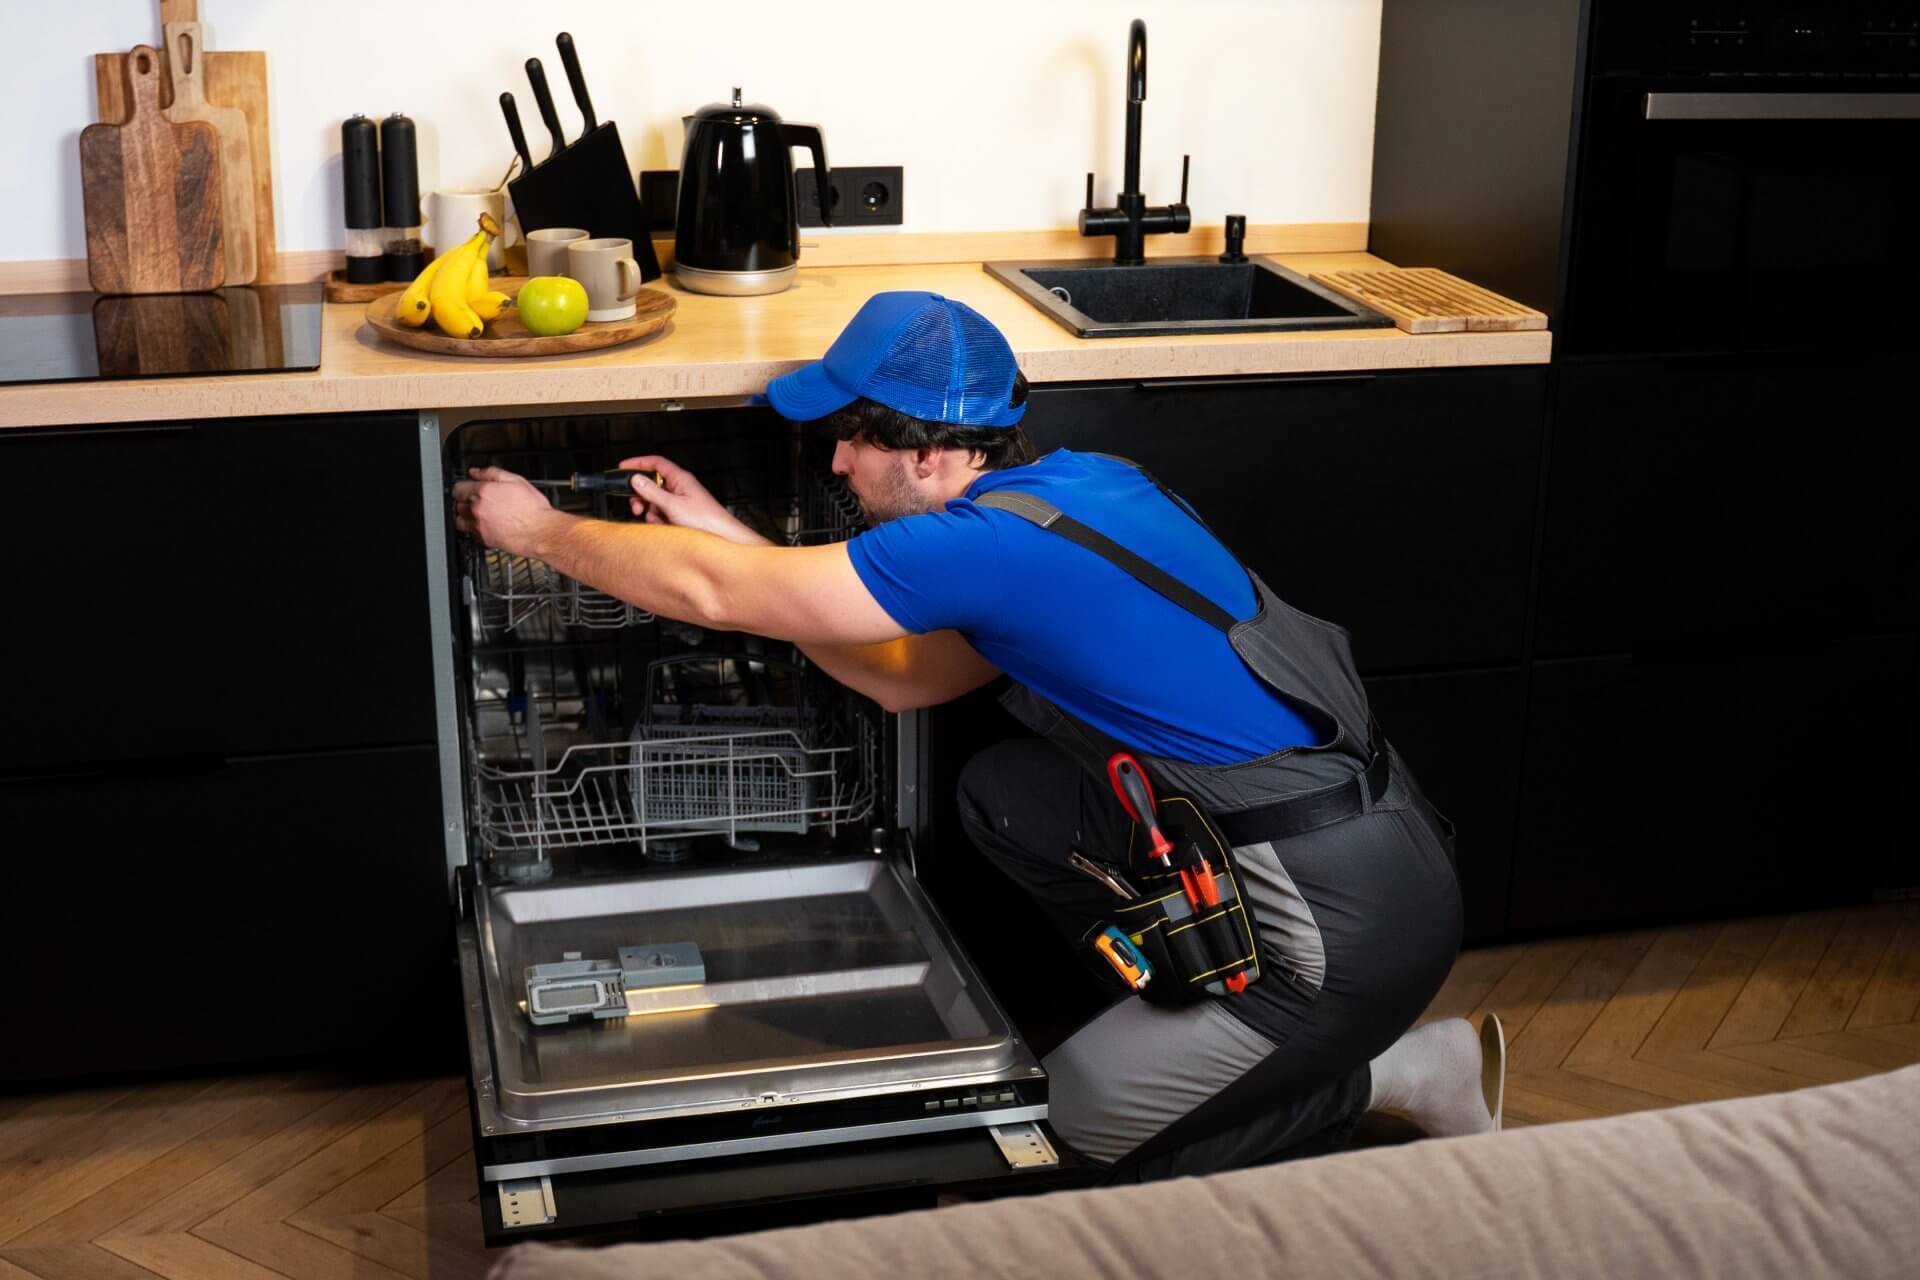
Dishwasher Not Cleaning Properly? 7 Expert Solutions That Work
There's nothing quite as frustrating as opening your dishwasher after a complete cycle only to find food still stuck to your plates, cloudy glasses, and silverware that's far from sparkling. When your dishwasher isn't cleaning properly, it's not just annoying – it wastes water, electricity, and your valuable time as you end up rewashing items by hand or running multiple cycles. But here's the good news – you don't always need to call in the pros!
After helping hundreds of homeowners with this exact problem, I can tell you that approximately 85% of dishwasher cleaning issues can be fixed with simple DIY solutions. This guide will walk you through the 7 most common causes of poor dishwasher performance and show you exactly how to get your dishes sparkling clean again without the expense of a service call.
Common Reasons Your Dishwasher Isn't Cleaning Properly
Before diving into solutions, it helps to understand what might be causing the problem. When your dishwasher isn't cleaning effectively, it's typically due to one of these issues:
- Improper loading techniques — The #1 cause responsible for roughly 40% of cleaning complaints
- Spray arm blockages
- Clogged filters
- Water temperature problems
- Hard water deposits
- Detergent issues
- Faulty pump or motor
The good news? The first four causes account for roughly 80% of all dishwasher cleaning problems and can be fixed with zero special tools and basic DIY skills.
7 Effective DIY Fixes for Dishwashers That Aren't Cleaning Well
1. Master Proper Loading Techniques
Possible Signs:
- Only certain areas of dishes remain dirty
- Items on the top or bottom rack consistently come out dirty
- Dishes block or deflect water from reaching other items
- Finding completely dry food stuck to dishes after washing
Improper loading is the most common cause of dishwashing performance issues, yet it's something many of us do wrong without realising it.
DIY Fix:
- Follow these key loading principles:
- Face all dirty surfaces towards the centre and downward
- Leave space between items for water circulation
- Don't allow items to nest inside each other
- Keep the spray arms clear of obstruction
- Use the correct rack for each item:
- Bottom rack: Plates, pots, pans, and bulky items
- Top rack: Glasses, cups, bowls, and plastic items
- Silverware basket: Mix utensils up/down to prevent nesting
- Avoid these common mistakes:
- Overloading (aim for 80% capacity maximum)
- Blocking the detergent dispenser with large items
- Placing tall items in front of shorter items
- Mixing heavily soiled and lightly soiled items
Pro Tip: The dishwasher isn't a storage unit! Loading too many items might seem efficient, but it actually wastes more water and electricity when you have to rewash half your dishes. Two properly loaded cycles will clean better than one overloaded one.
2. Check and Clean the Spray Arms
Possible Signs:
- Dishes in certain areas consistently come out dirty
- Unusual noise during the wash cycle
- Reduced water pressure during operation
- Visible food particles or mineral buildup in spray arm holes
The spray arms are your dishwasher's primary cleaning mechanism. If they're clogged or damaged, water won't reach all your dishes effectively.
DIY Fix:
- Remove the spray arms:
- Most lower spray arms twist off or have a central locking mechanism
- Upper spray arms typically unscrew or unclip from their mounting
- Middle spray arms (in three-rack dishwashers) usually slide out
- Check for blockages:
- Hold each spray arm up to the light to see through the holes
- Look for food particles, mineral buildup, or toothpicks
- Check that each arm isn't bent or damaged
- Clean thoroughly:
- Use a toothpick, thin wire, or specialised brush to clear each hole
- Soak arms in white vinegar for 30 minutes if mineral deposits are present
- Rinse under warm water, ensuring each hole flows freely
- Reinstall properly:
- Make sure arms are securely attached
- Verify they rotate freely without obstruction
- Run a test wash with empty dishwasher to check rotation
Maintenance Schedule: Clean spray arms every 3-6 months to prevent performance issues. Hard water areas may require monthly cleaning.
3. Clean or Replace the Filter System
Possible Signs:
- Food particles redeposited on clean dishes
- Greasy film on dishes and glassware
- Overall decline in cleaning performance
- Strong odour coming from dishwasher
Many Australians don't realise their dishwasher has a filter that needs regular cleaning. A clogged filter restricts water flow and recirculates food particles back onto your dishes.
DIY Fix:
- Locate the filter assembly:
- Usually found at the bottom of the dishwasher tub
- Typically a circular component with a mesh or grid pattern
- May have multiple parts (coarse and fine filters)
- Remove the filter components:
- Turn or unscrew the cylindrical fine filter (usually counterclockwise)
- Lift out the flat, coarse filter underneath
- Clean thoroughly:
- Rinse under warm water to remove loose debris
- Scrub with a soft brush and mild dish soap
- Pay special attention to the mesh portions
- For stubborn buildup, soak in warm, soapy water for 15 minutes
- Check for damage:
- Look for tears or holes in the mesh
- Check for cracks in the frame or housing
- Replace if damaged (filter replacements cost $20-50)
- Reinstall correctly:
- Make sure all components fit snugly
- Turn clockwise until locked in place
- Verify the spray arm can rotate freely above the filter
Cleaning Schedule: In most Australian households, filters should be cleaned monthly. For heavy use or households that don't pre-rinse dishes, clean every two weeks.
4. Ensure Proper Water Temperature
Possible Signs:
- Greasy residue on dishes
- Detergent remains partially undissolved
- Poor cleaning during colder months
- White film on glassware and dishes
Dishwashers need hot water to dissolve detergent effectively and break down food and grease. The optimal dishwasher water temperature is 60°C.
DIY Fix:
- Run hot water at the kitchen sink:
- Turn on the hot water tap before starting the dishwasher
- Wait until the water runs hot (about 30 seconds)
- This ensures the dishwasher fills with hot water from the start
- Check your water heater settings:
- Ensure your home water heater is set to at least 60°C
- Lower temperatures save energy but compromise cleaning
- Use the pre-wash or heavy soil setting:
- These cycles typically use hotter water
- They provide longer wash times for better cleaning
- Consider a "Hot Start" cycle:
- Some dishwashers have this feature to pre-heat the water
- If yours doesn't, consider a manual pre-wash with hot water
Australian Energy Tip: According to Australian energy efficiency standards, water heaters should be set to 60°C to balance hygiene and efficiency. However, if your hot water system has a tempering valve (required by AS/NZS 3500), the water at your taps may be limited to 50°C for safety. In this case, selecting a cycle with internal heating is crucial.
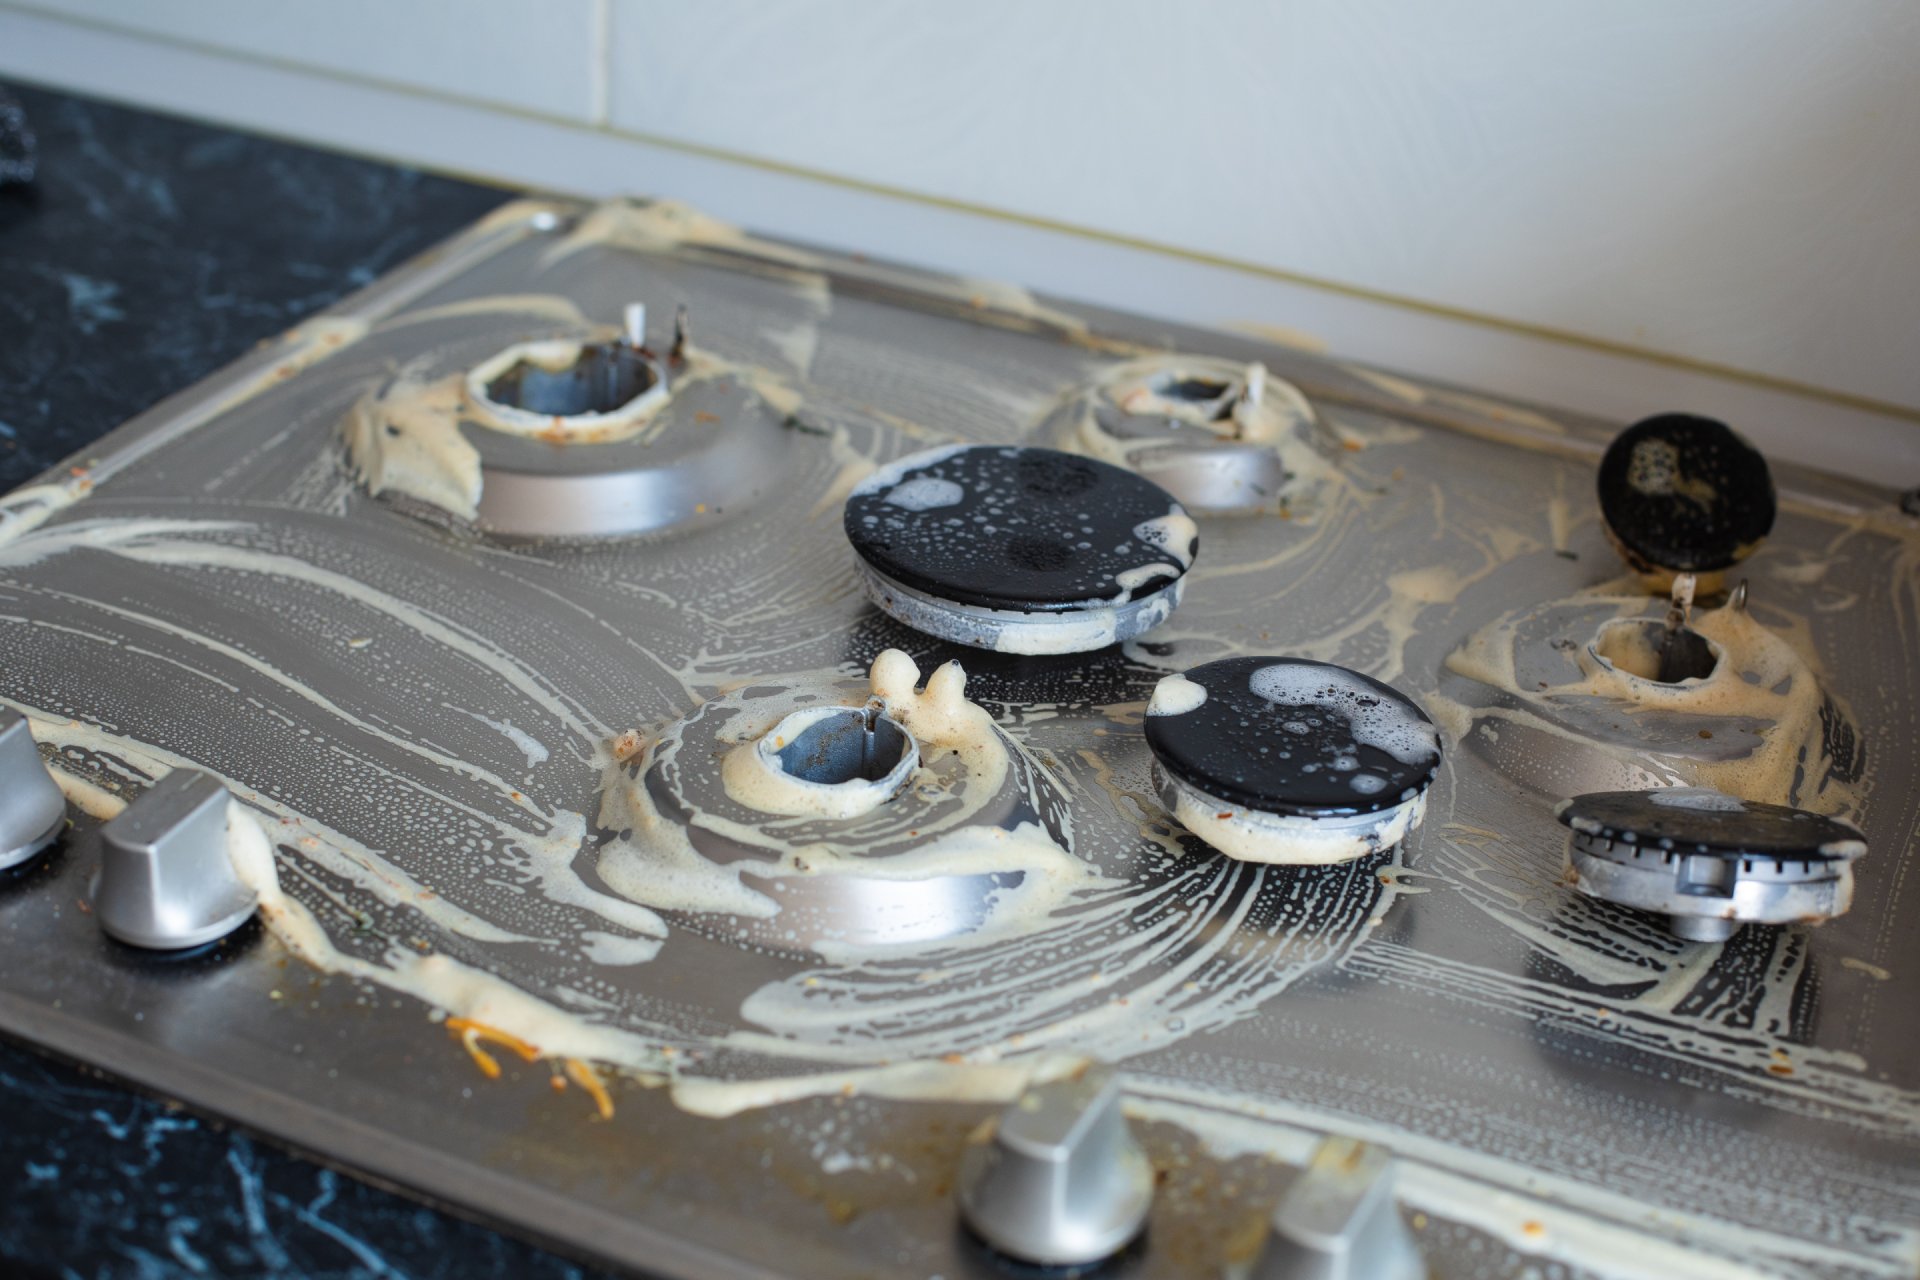
5. Address Hard Water Issues
Possible Signs:
- White spots or film on glassware
- Cloudy glasses that don't come clean
- Scale buildup on heating elements
- Visible mineral deposits throughout the dishwasher
Hard water (common in many parts of Australia, particularly Adelaide, Perth, and rural areas) contains high levels of minerals that can interfere with detergent effectiveness and leave deposits on dishes.
DIY Fix:
- Use a rinse aid consistently:
- Fill the rinse aid dispenser every 1-2 months
- This helps water sheet off dishes preventing mineral spots
- Consider using white vinegar as a natural alternative
- Run a descaling cycle:
- Empty the dishwasher completely
- Place a cup of white vinegar in a dishwasher-safe container on the top rack
- Run a hot water cycle (no detergent)
- Follow with a empty hot water rinse cycle
- Try a water softener:
- Add a dishwasher-specific water softening product
- These bind with minerals to prevent deposits
- Follow product instructions for proper dosage
- For severe cases:
- Consider installing a whole-house water softening system
- These range from $800-2,500 installed but protect all appliances
Hard Water Test: Not sure if you have hard water? Fill a clear bottle halfway with water from your tap. Add a few drops of liquid soap and shake vigorously. If the water appears cloudy with minimal suds, you likely have hard water.
6. Use the Right Detergent Correctly
Possible Signs:
- Detergent remains in the dispenser after cycle
- Suds or foam visible during or after washing
- Greasy or soapy residue on dishes
- Cleaning performance that varies between detergent brands
Using the wrong type of detergent, expired products, or incorrect amounts can significantly impact cleaning performance.
DIY Fix:
- Choose the right detergent type:
- Tablets/pods generally perform better than powder or gel
- Look for products with enzymes for protein-based stains
- Select detergents with built-in rinse aid for hard water areas
- Store detergent properly:
- Keep in a cool, dry place with container tightly sealed
- Powder detergents can absorb moisture and become less effective
- Check expiration dates (yes, detergent does expire!)
- Use the correct amount:
- Follow package instructions (more is not better)
- Adjust based on water hardness and soil level
- Pre-dissolve powder in very hard water areas
- Avoid these common mistakes:
- Never use regular dish soap (creates excessive suds)
- Don't mix different detergent types
- Avoid overfilling the detergent compartment
Eco-Friendly Option: Many Australian-made eco detergents now perform as well as traditional products. Look for phosphate-free formulas that are both environmentally friendly and effective.
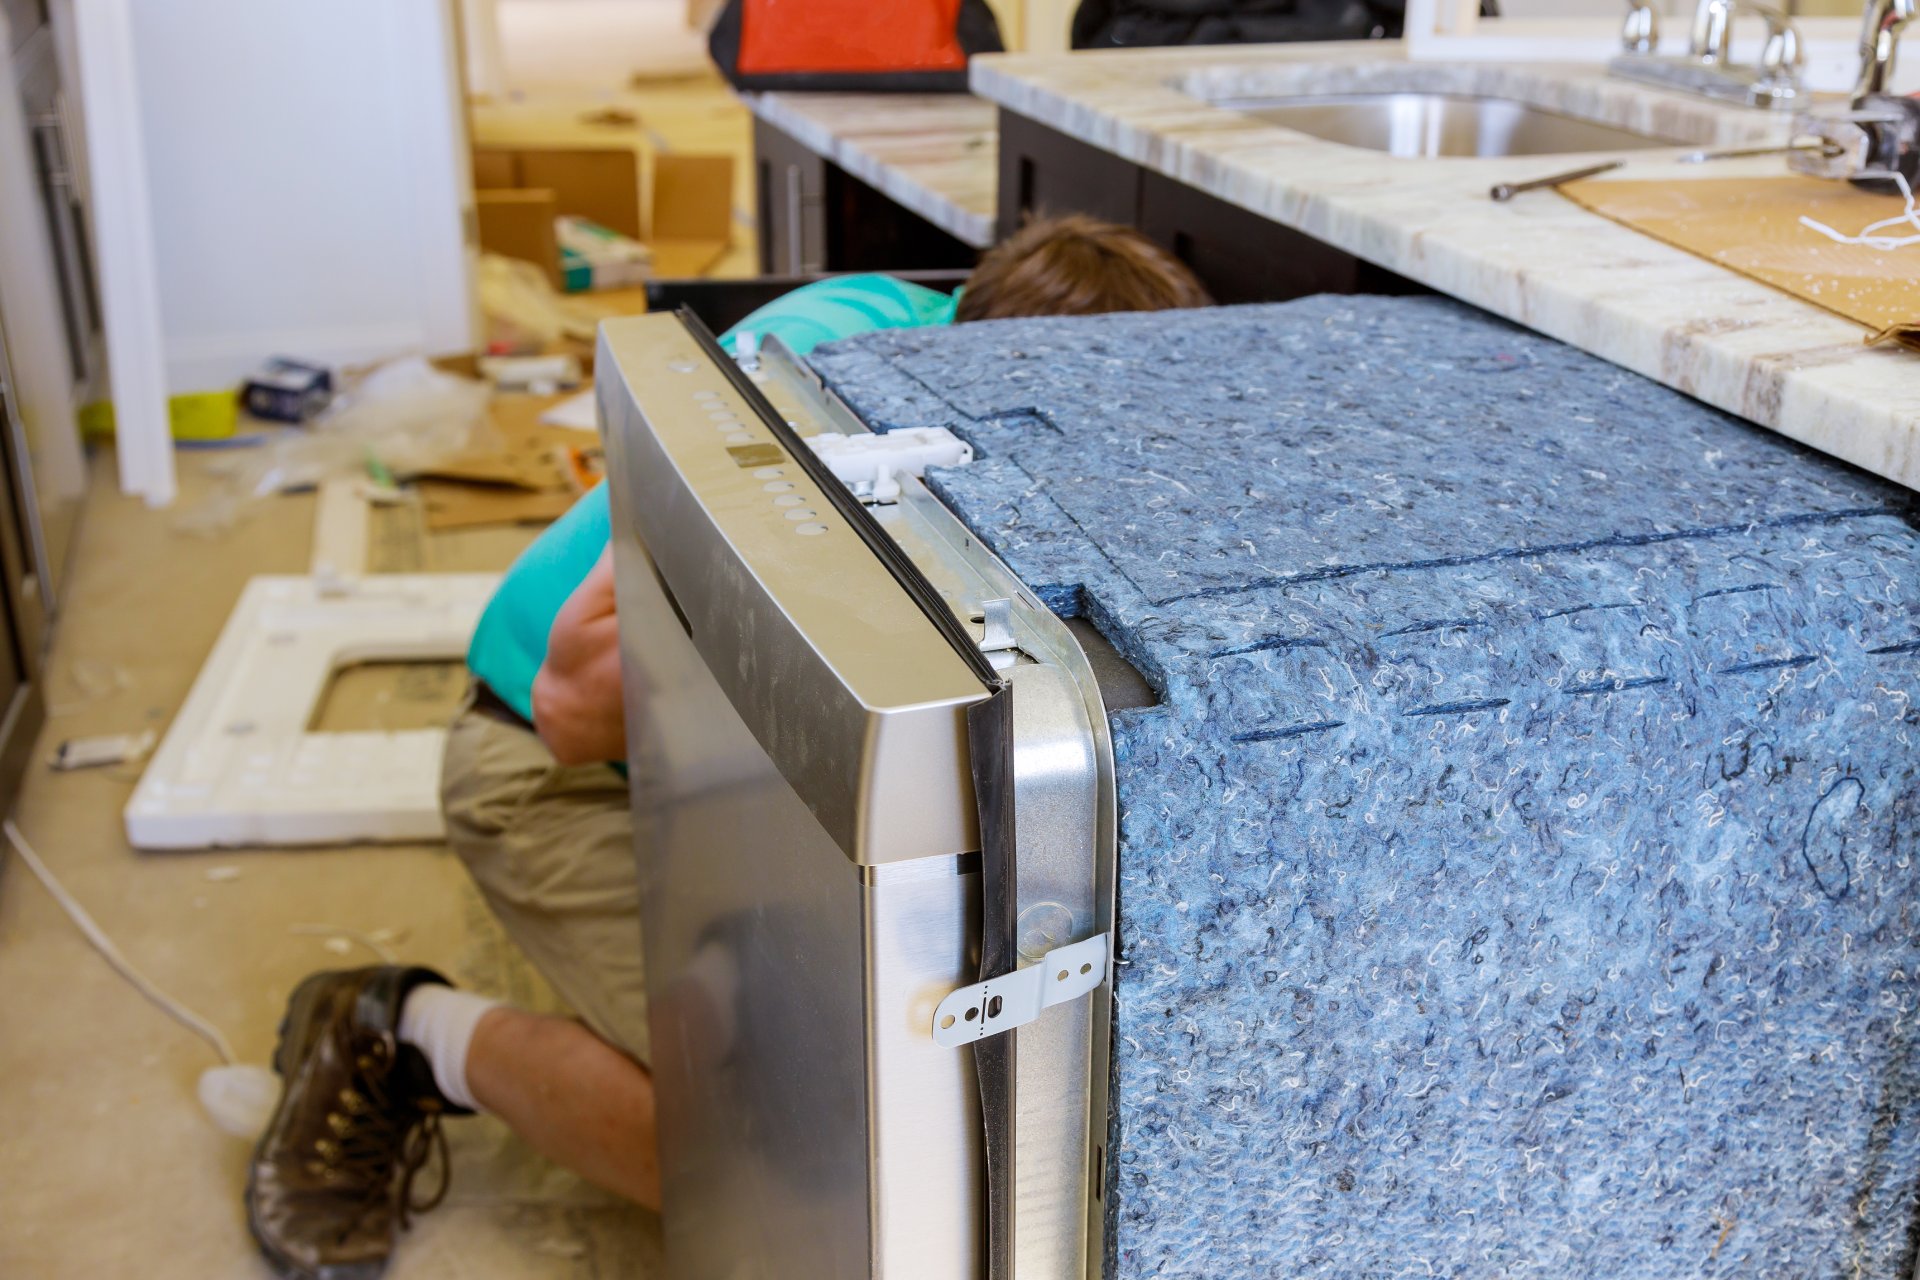
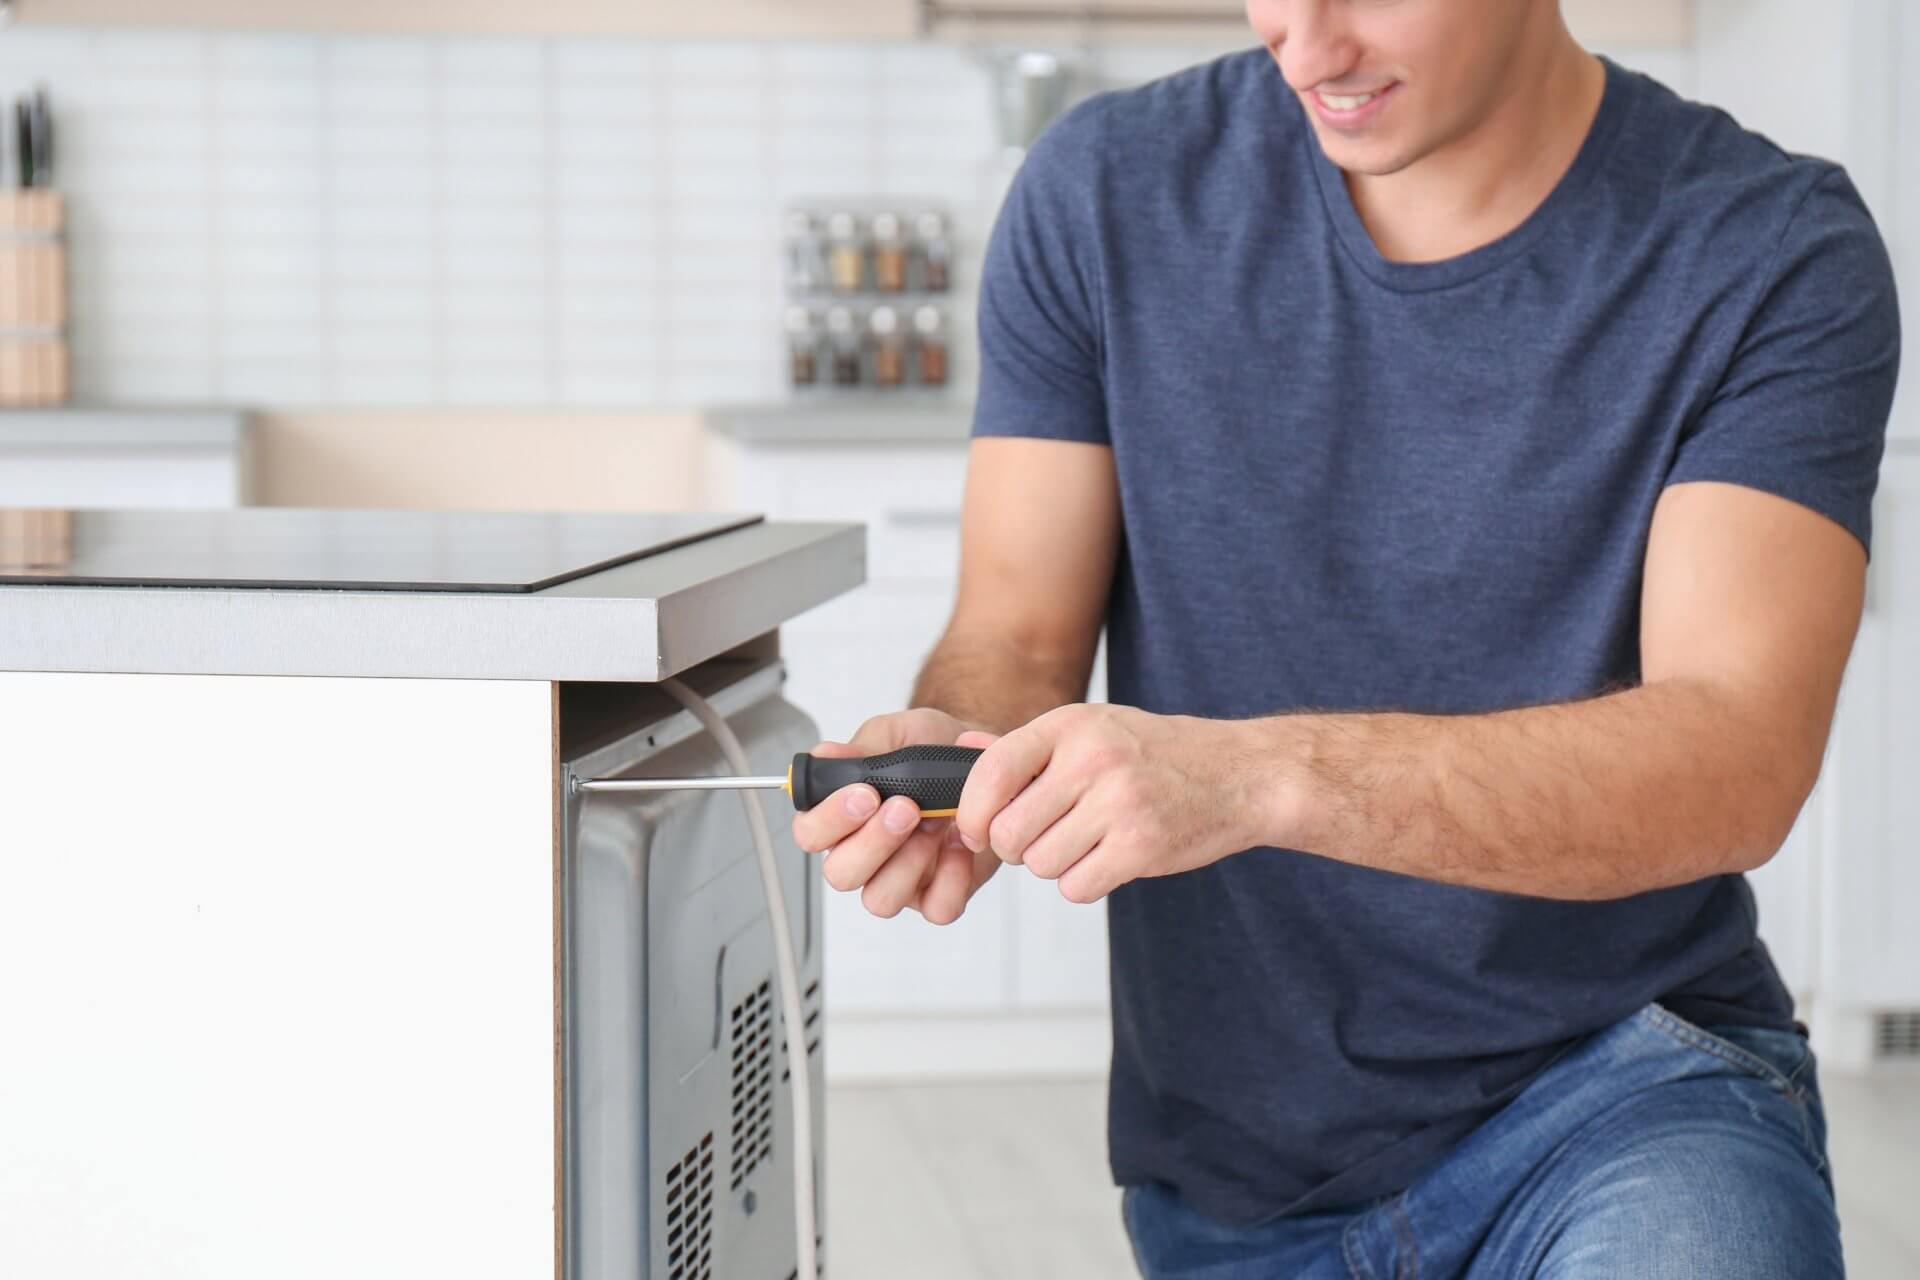
7. Check the Water Pump and Motor
If you've tried all the above solutions and your dishwasher still isn't cleaning properly, there may be a mechanical issue with the pump or motor.
Possible Signs:
- Unusual noise during operation
- Very weak water spray during wash cycle
- Dishes consistently wet after cycle completion
- Error codes on digital display models
The pump circulates water throughout your dishwasher, while the motor powers both the pump and the spray arms. Problems with either component can significantly reduce cleaning effectiveness.
DIY Assessment:
- Listen to your dishwasher:
- A properly functioning pump makes a consistent humming sound
- Grinding, whining, or clicking sounds indicate problems
- Check for proper water circulation:
- Mid-cycle, carefully open the door a crack to observe spray intensity
- You should see strong jets of water from the spray arms
- Weak spray suggests pump or pressure problems
- Inspect the pump and motor area:
- Disconnect power completely
- Remove the lower access panel (if your model has one)
- Look for signs of leakage or burning around the motor
- Check for loose connections or debris
When to call a professional:
- If you identify pump or motor issues
- If the dishwasher makes grinding noises
- If there are error codes indicating pump failures
- If water circulation is very weak despite clean filters and spray arms
Cost Comparison: Professional pump replacement typically costs $200-350 including parts and labor. Compared to a new dishwasher ($700-1,500), repair is usually worthwhile for machines under 7 years old.
Prevention: Keep Your Dishwasher Cleaning Effectively
The best way to avoid cleaning problems is regular maintenance:
- Scrape dishes before loading — Remove large food particles but don't pre-rinse
- Clean the filter every 2-4 weeks — Mark it on your calendar
- Run a vinegar cleaning cycle monthly — Prevents buildup before it starts
- Clean spray arms quarterly — Ensures proper water distribution
- Use rinse aid consistently — Improves drying and prevents spots
- Run hot cycles occasionally — Prevents grease buildup inside the machine
When to Call a Professional
While these DIY fixes resolve the vast majority of cleaning issues, there are times when professional help is warranted:
- You've tried all the appropriate DIY fixes without success
- You notice water leaking from under the dishwasher
- Your dishwasher displays error codes you can't resolve
- Grinding or loud noises persist despite cleaning
- Your dishwasher is under warranty (DIY repairs might void coverage)
Conclusion
A dishwasher that's not cleaning properly is definitely frustrating, but as you can see, diagnosing and fixing the problem is often much simpler than you might expect. In my experience, about 85% of cleaning issues can be solved with the first four fixes alone - proper loading, clean spray arms, clean filters, and hot water.
Taking care of these simple maintenance tasks regularly can extend your dishwasher's life by years and keep your dishes sparkling clean load after load. Remember, your dishwasher is designed to last 10-15 years with proper care - don't let preventable cleaning issues force you into a premature replacement!
Frequently Asked Questions (FAQs)
Do I need to rinse dishes before putting them in the dishwasher? No! Modern dishwashers are designed to handle food particles. Simply scrape off large chunks but don't rinse. Many detergents actually perform better when they have some food oils to work against.
Why are my glasses cloudy even after washing? Cloudiness is typically caused by either hard water mineral deposits (which can be addressed with rinse aid) or "etching" - permanent damage from harsh detergents or high heat. If vinegar soaking doesn't remove the cloudiness, the glasses are likely etched and cannot be restored.
How long should my dishwasher run to clean effectively? Most modern energy-efficient cycles run 2-3 hours, which seems long but uses less water and energy than older, shorter cycles. Quick wash cycles (30-60 minutes) should only be used for lightly soiled loads.
Why does my dishwasher leave white powder residue on dark dishes? This is typically undissolved detergent, usually caused by water that's not hot enough or using too much detergent. Pre-running hot water before starting the dishwasher and using the correct amount of detergent should resolve this issue.
How much should a dishwasher repair cost in Australia? For non-warranty repairs, expect to pay $120-180 for a service call and diagnosis. Simple repairs like replacing a spray arm might cost $150-200 total, while major repairs like pump replacement typically range from $250-400 including parts and labor.
Is it worth repairing my dishwasher or should I replace it? Follow the 50% rule: If your dishwasher is over 7 years old AND the repair would cost more than 50% of a new unit's price, replacement is usually more economical. For dishwashers under 7 years old, repairs almost always make financial sense.

About Julian
Home appliance enthusiast and DIY repair specialist with a passion for helping others save money on appliance maintenance.
Related Articles
Dishwasher Not Draining? 5 Simple DIY Fixes That Actually Work
White Film on Dishes from Dishwasher? 6 Proven Fixes | Australian Guide