Dryer Not Drying Clothes? 5 Essential DIY Fixes | Australian Guide
We've all been there - you open the dryer after a full cycle only to find your clothes are still damp and you need them in an hour. When your dryer isn't drying properly, it's not just annoying - it wastes energy, damages your clothes, and throws off your entire schedule! But here's the thing - you don't always need to call in the pros!
I've helped hundreds of homeowners with this exact problem, and trust me, about 80% of dryer issues can be solved with simple DIY fixes. This guide will walk you through the 5 most common causes of poor drying performance and show you exactly how to get your dryer heating properly again.
Common Reasons Your Dryer Isn't Drying Properly
Before diving into solutions, it helps to understand what might be causing the problem. When your dryer isn't drying effectively, it's typically due to one of these issues:
- Restricted airflow from lint buildup
- Overloading the dryer
- Vent system blockages or damage
- Heating element problems
- Control and sensor malfunctions
The good news? The first three causes account for roughly 85% of all drying problems and can be fixed with zero special tools and basic DIY skills.
5 Effective DIY Fixes for Dryers That Won't Dry
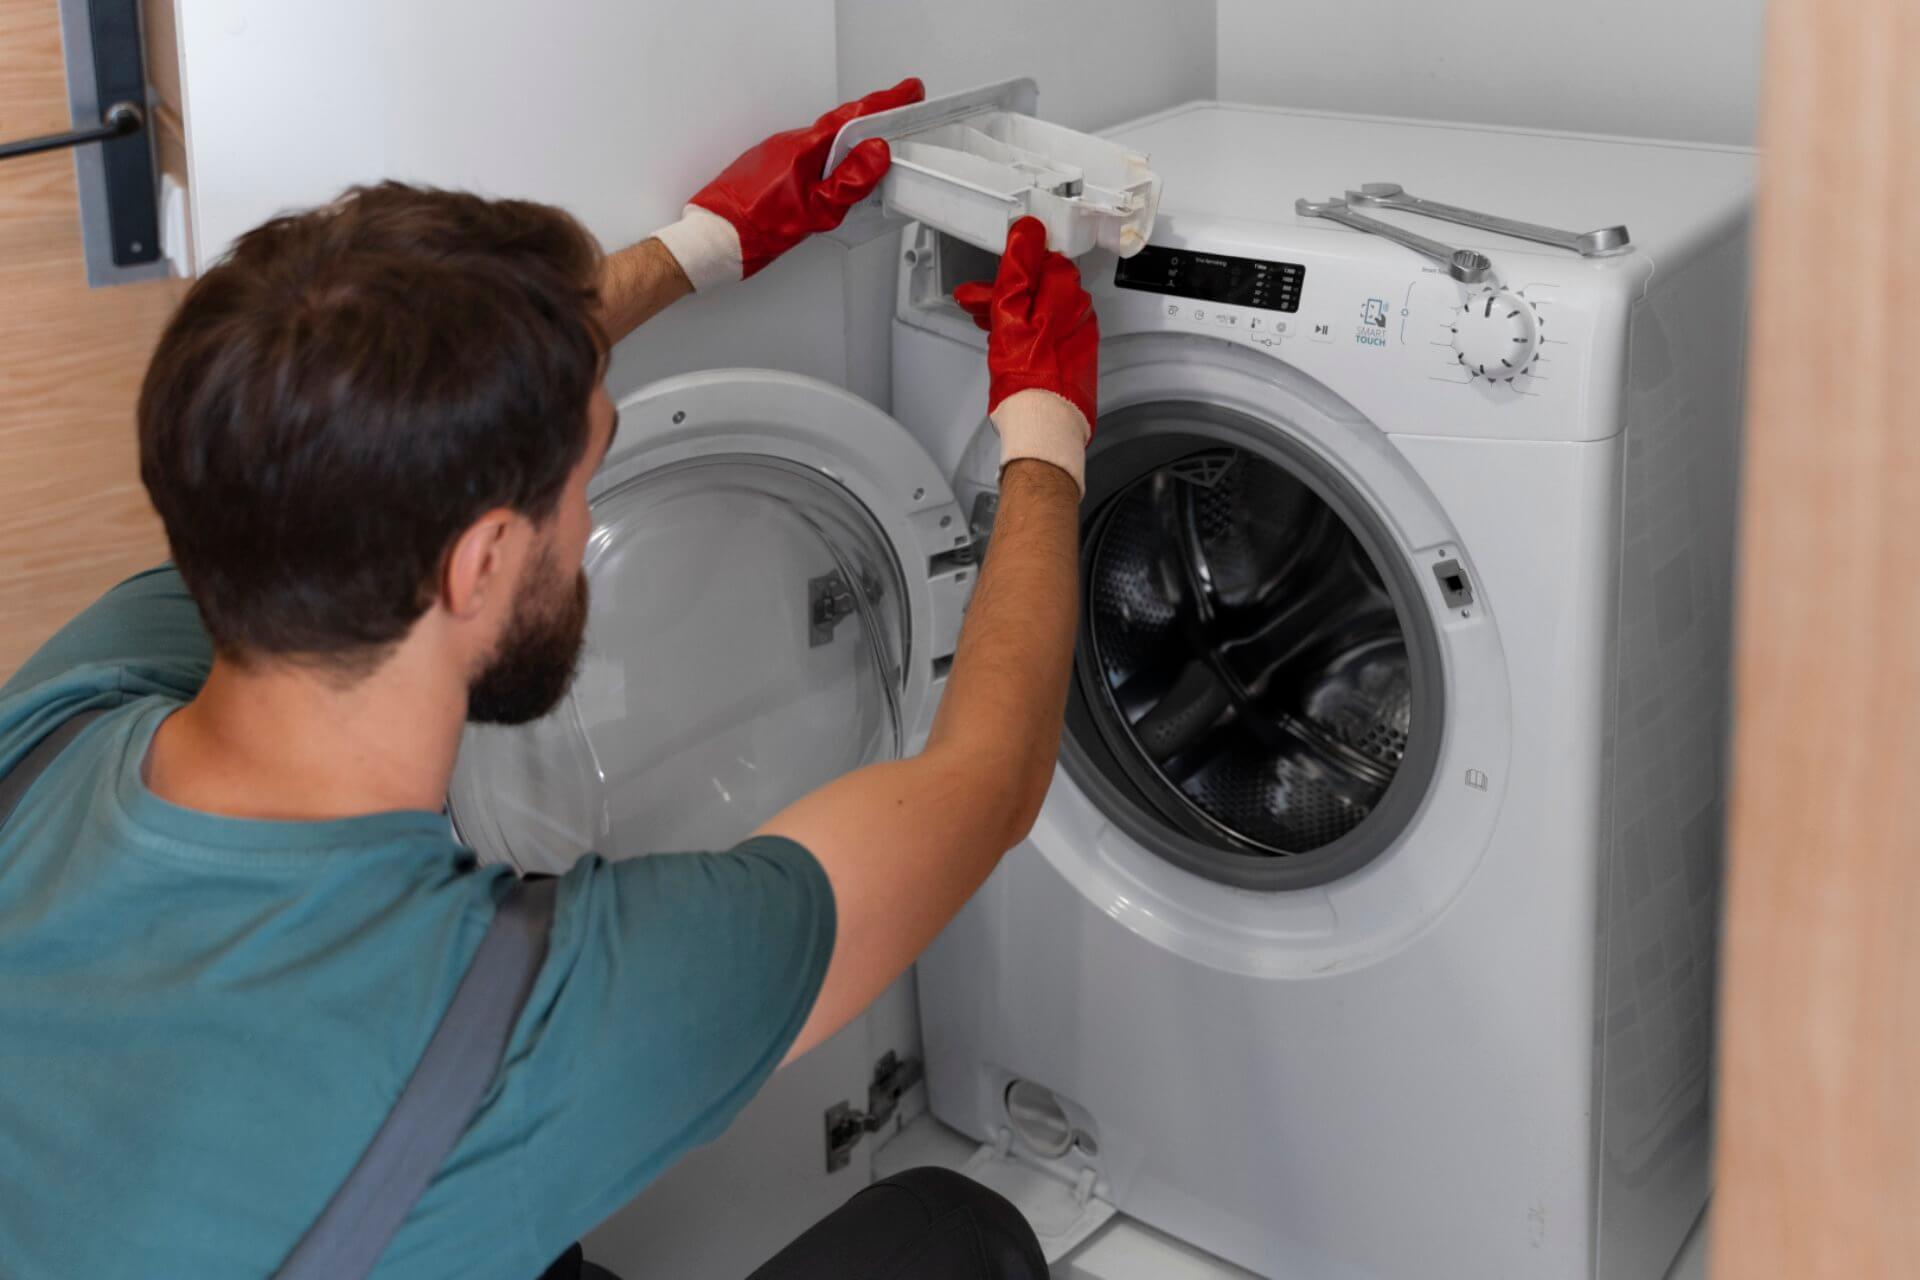
1. Clean the Lint Filter and Housing
Possible Signs:
- Clothes take multiple cycles to dry
- Dryer exterior feels unusually hot during operation
- Automatic sensor cycles run but clothes remain damp
- Burning smell during operation — If you notice this, stop using the dryer immediately!
The lint filter is your dryer's first line of defence against airflow restrictions. But here's what most people don't realise - wiping visible lint from the screen isn't enough!
DIY Fix:
- Remove the lint filter — Pull it out completely from its housing
- Clean visible lint from the screen — Remove the accumulated lint by hand
- Deep clean the filter — Hidden buildup can restrict airflow even when the screen looks clean:
- Wet the screen under warm water
- Apply a small amount of dish soap
- Gently scrub with a soft brush
- Rinse thoroughly and let dry completely
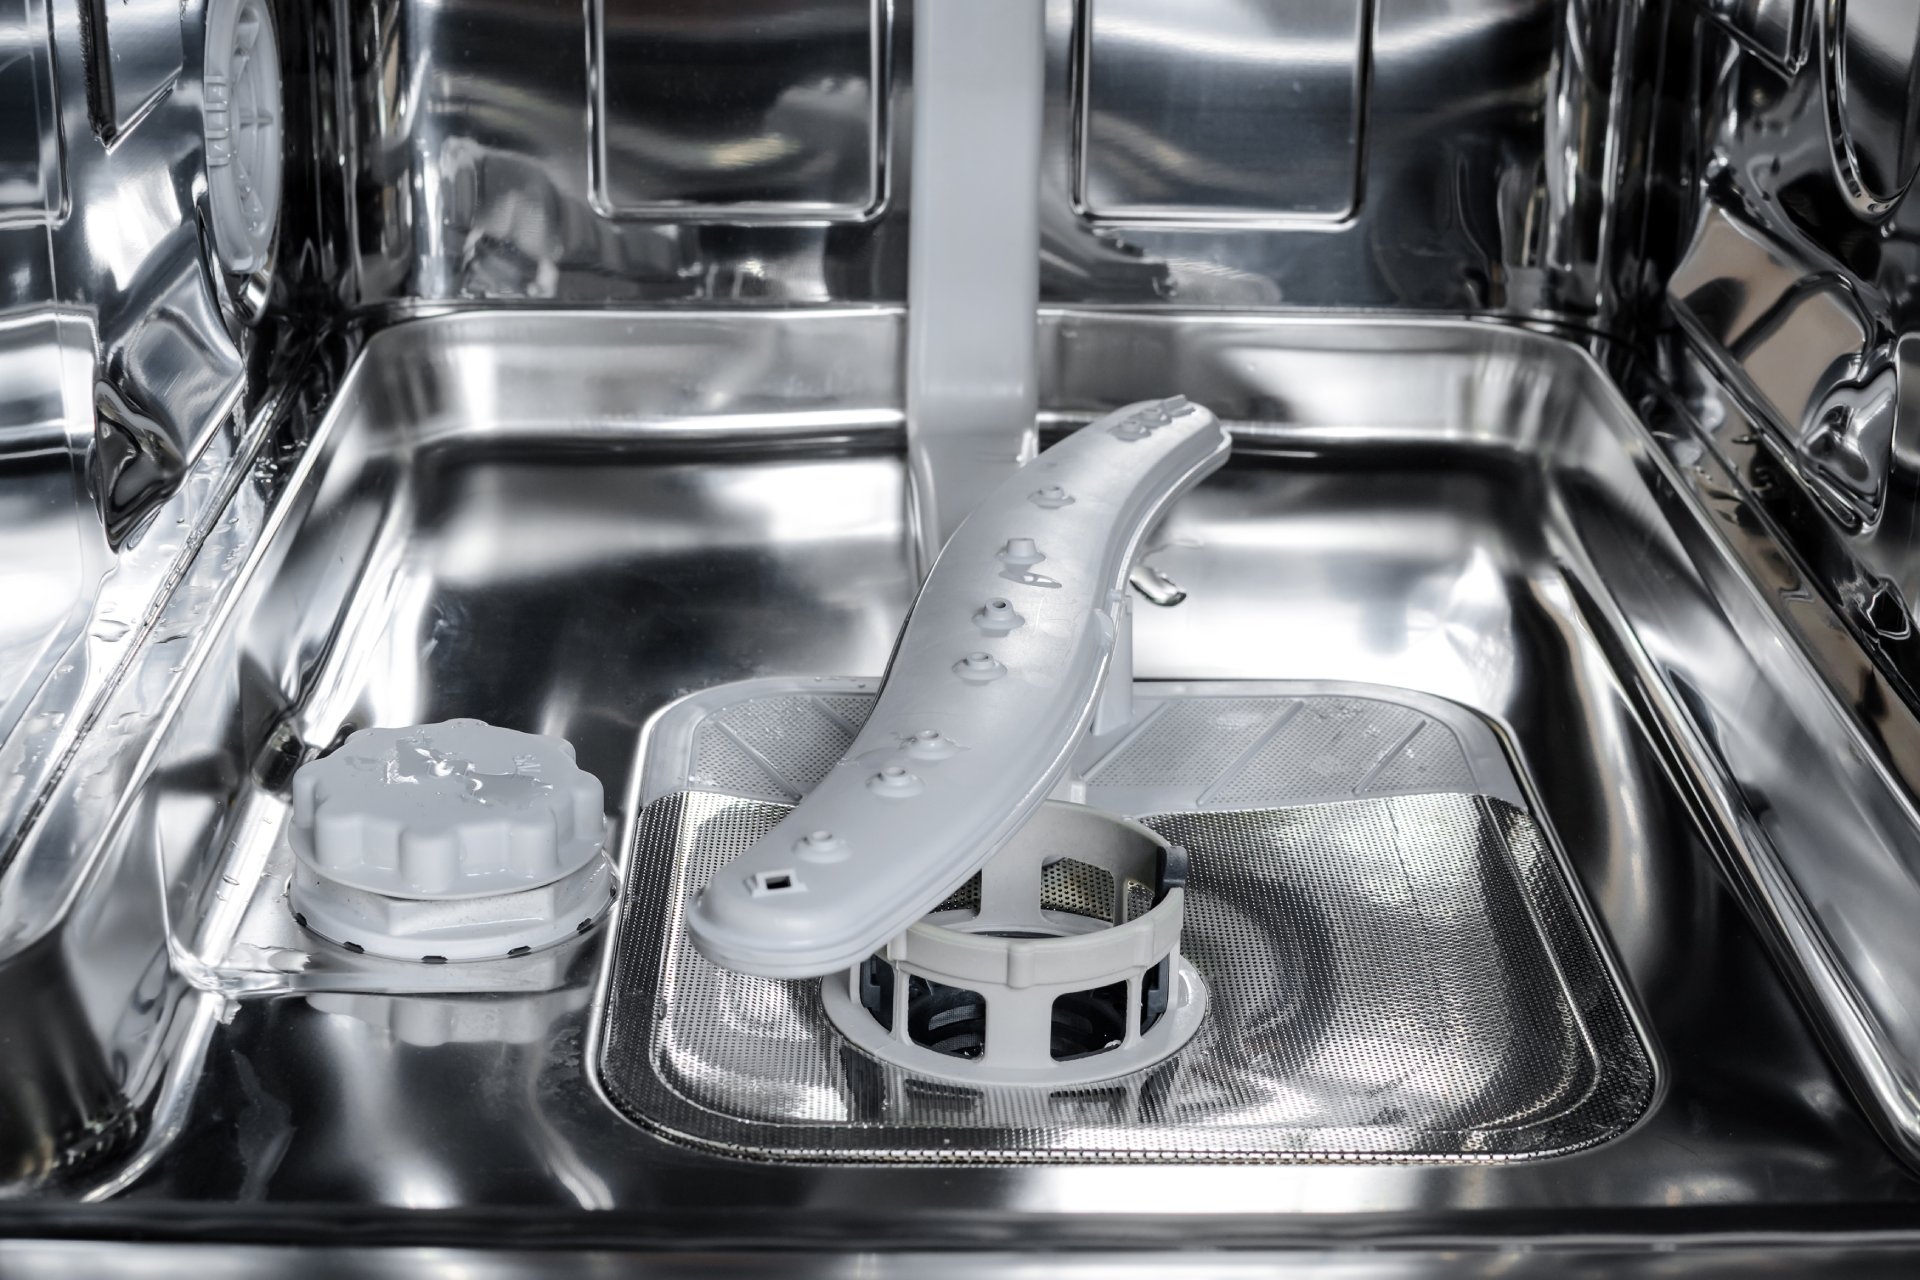
- Clean the lint filter housing — Often overlooked but critical step:
- Use a vacuum with a crevice attachment
- Reach into the housing to remove lint buildup
- Use a long, flexible brush to reach deeper debris
- Check airflow — With the filter removed, run the dryer for 1 minute to ensure proper air is flowing
Pro Tip: This 5-minute maintenance task should be performed every 1-2 weeks to maintain optimal drying efficiency. Studies show it can reduce drying time by up to 30% and cut energy usage significantly!
2. Check and Clear the Exhaust Vent System
Poor venting is responsible for approximately 65% of drying performance issues and poses a serious fire hazard when ignored.
Possible Signs:
- Clothes take increasingly longer to dry over time
- Dryer stops automatically before clothes are dry
- Exterior of dryer feels excessively hot
- Visible lint around the outdoor vent opening
- Laundry room humidity increases during dryer operation
DIY Fix:
- Unplug the dryer — Safety first!
- Pull the dryer away from the wall — Give yourself room to work
- Disconnect the vent hose from the dryer:
- Loosen the clamp or tape securing the vent
- Carefully detach the vent from the dryer's exhaust port
- Inspect the vent hose:
- Look for visible blockages, kinks, or damage
- Replace any crushed or damaged sections
- Ensure no sections are compressed or pinched
- Clean the vent system thoroughly:
- Use a dryer vent cleaning kit with rotating brushes (about $25-40 at Bunnings)
- Feed the brush into the wall duct and rotate while pushing deeper
- Vacuum debris from both ends
- Check the exterior vent flap for proper operation
- Reconnect everything properly:
- Make all connections secure
- Minimise bends in the duct
- Ensure the exterior vent flap opens freely
3. Avoid Overloading the Dryer
This sounds simple, but overloading is the third most common cause of drying problems I encounter in service calls.
Possible Signs:
- Dry and damp clothes mixed together after a cycle
- Items in the centre of the load remain wet
- Clothes come out excessively wrinkled
- Thumping noises during operation
When you pack too many items into the dryer, hot air can't circulate properly between the clothes, and moisture can't escape efficiently.
DIY Fix:
- Follow the 1/3 rule — Fill your dryer only about 1/3 full for optimal drying
- Separate heavy and lightweight items — Dry similar fabrics together
- Untangle items before loading — This increases air circulation
- Add dryer balls or clean tennis balls — These help separate items and allow better airflow
- Test with a smaller load — If the smaller load dries properly, overloading was likely your problem
Efficiency Tip: Rather than running one giant load that won't dry properly, running two properly-sized loads will actually save you time and energy in the long run!
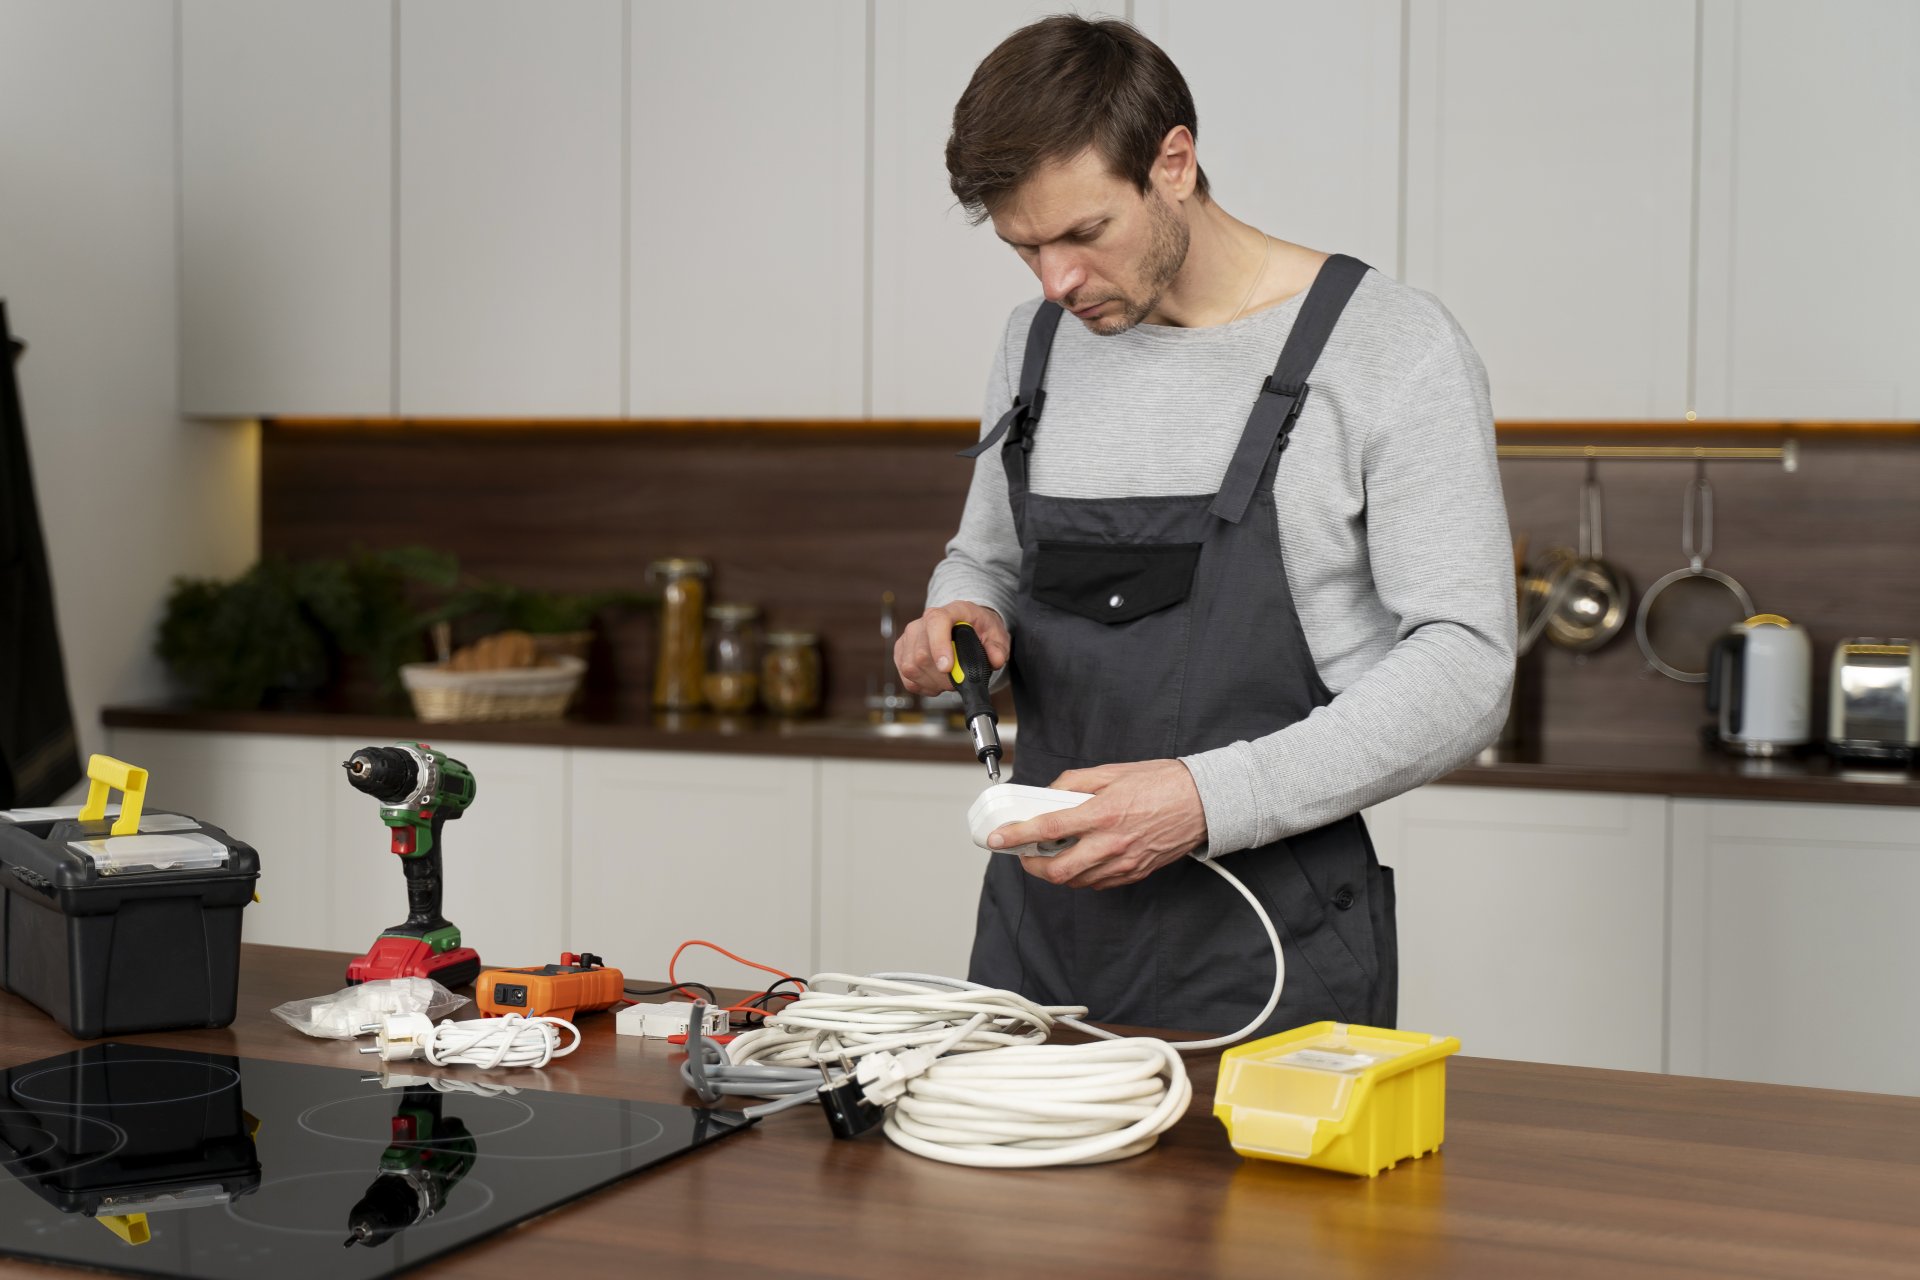
4. Check the Heating Element and Thermostat
If you've addressed airflow issues but your dryer still isn't heating properly, it may have electrical component problems.
Possible Signs:
- Dryer runs but produces no heat at all
- Dryer starts heating but stops while the drum continues turning
- Clothes are still completely wet after a full cycle
- Heating is inconsistent throughout the cycle
DIY Fix:
- Test for heat — Run the dryer for 5 minutes, then carefully check if any heat is being produced
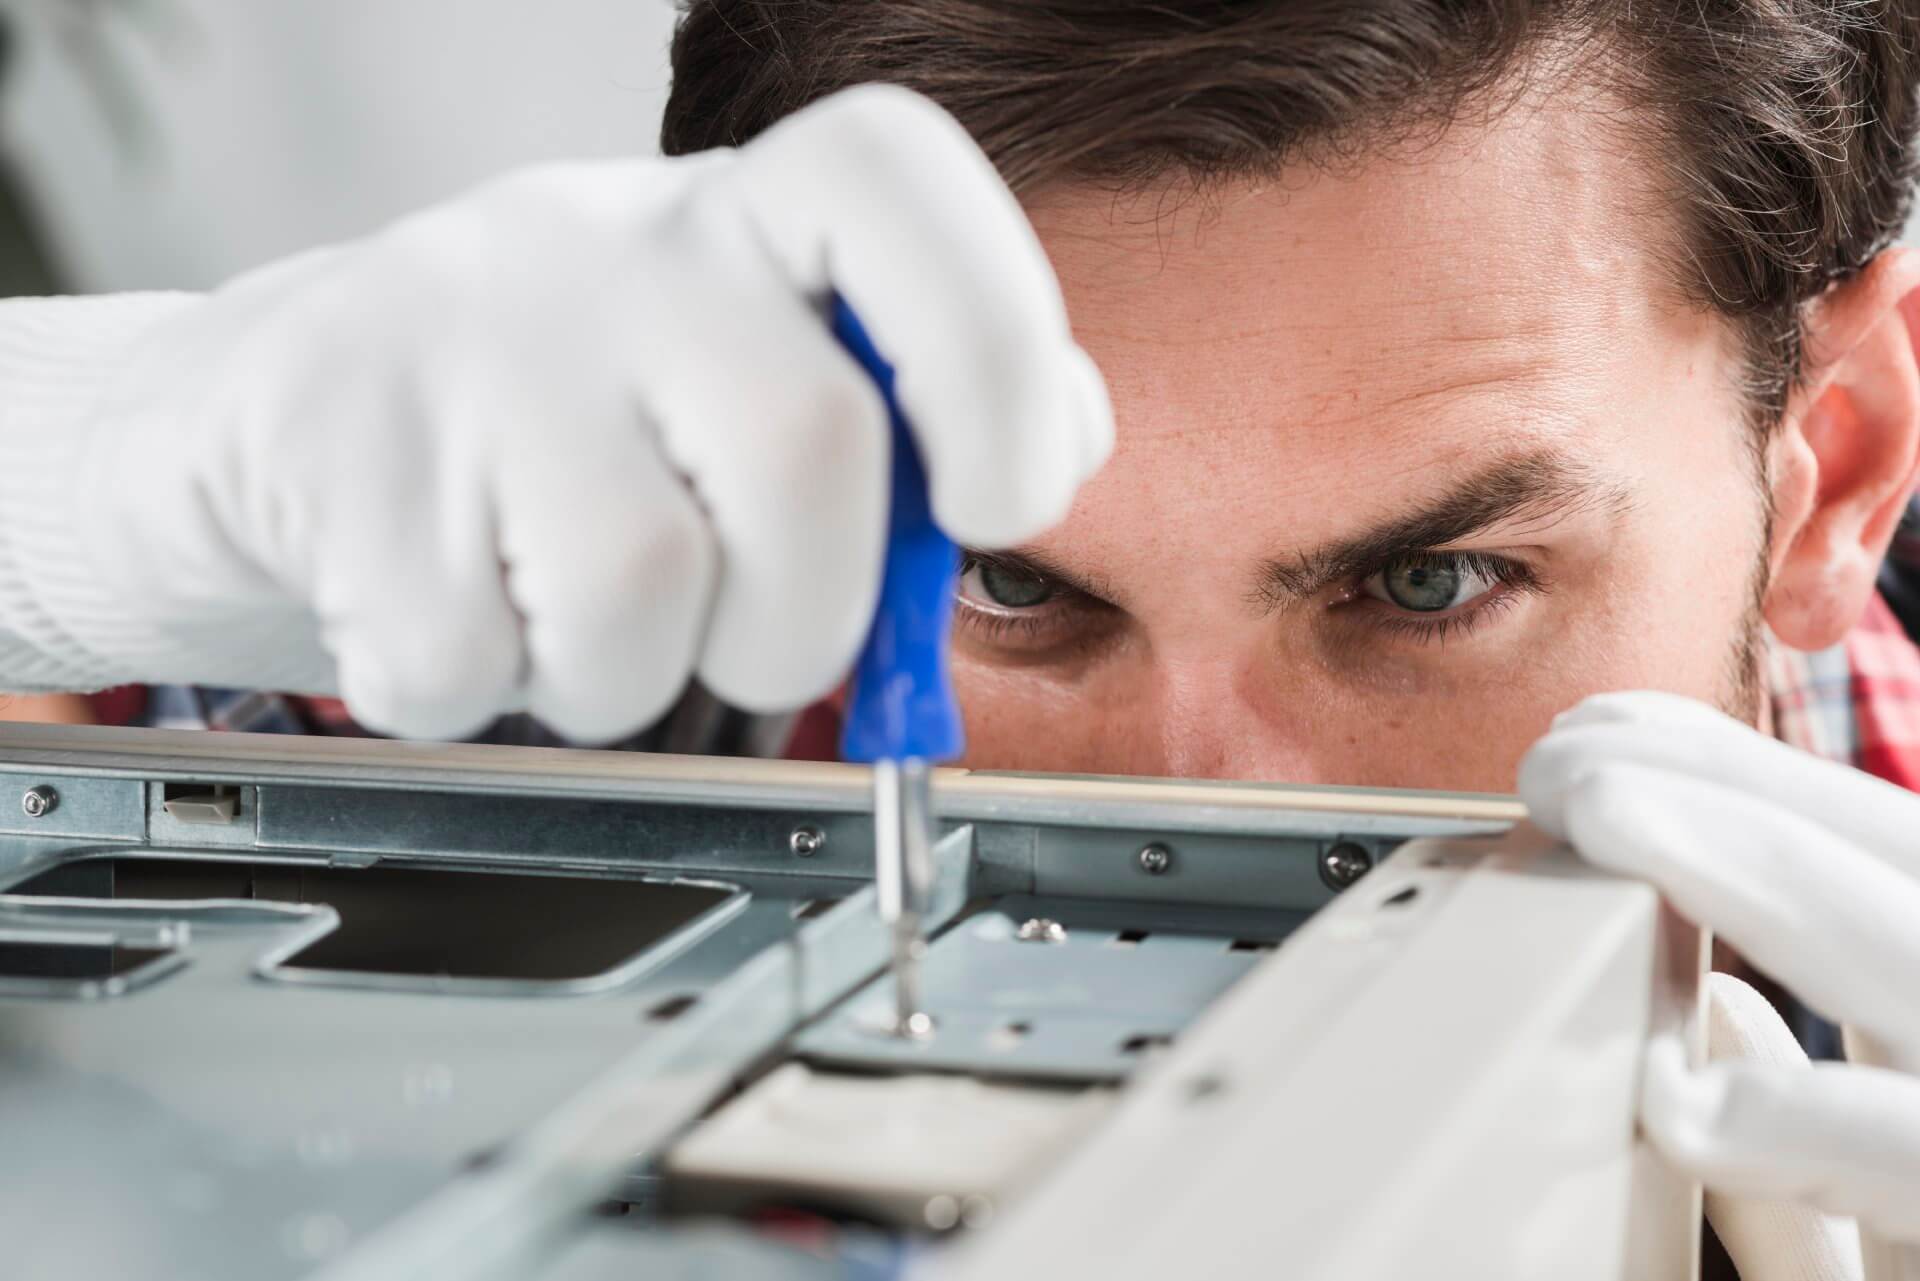
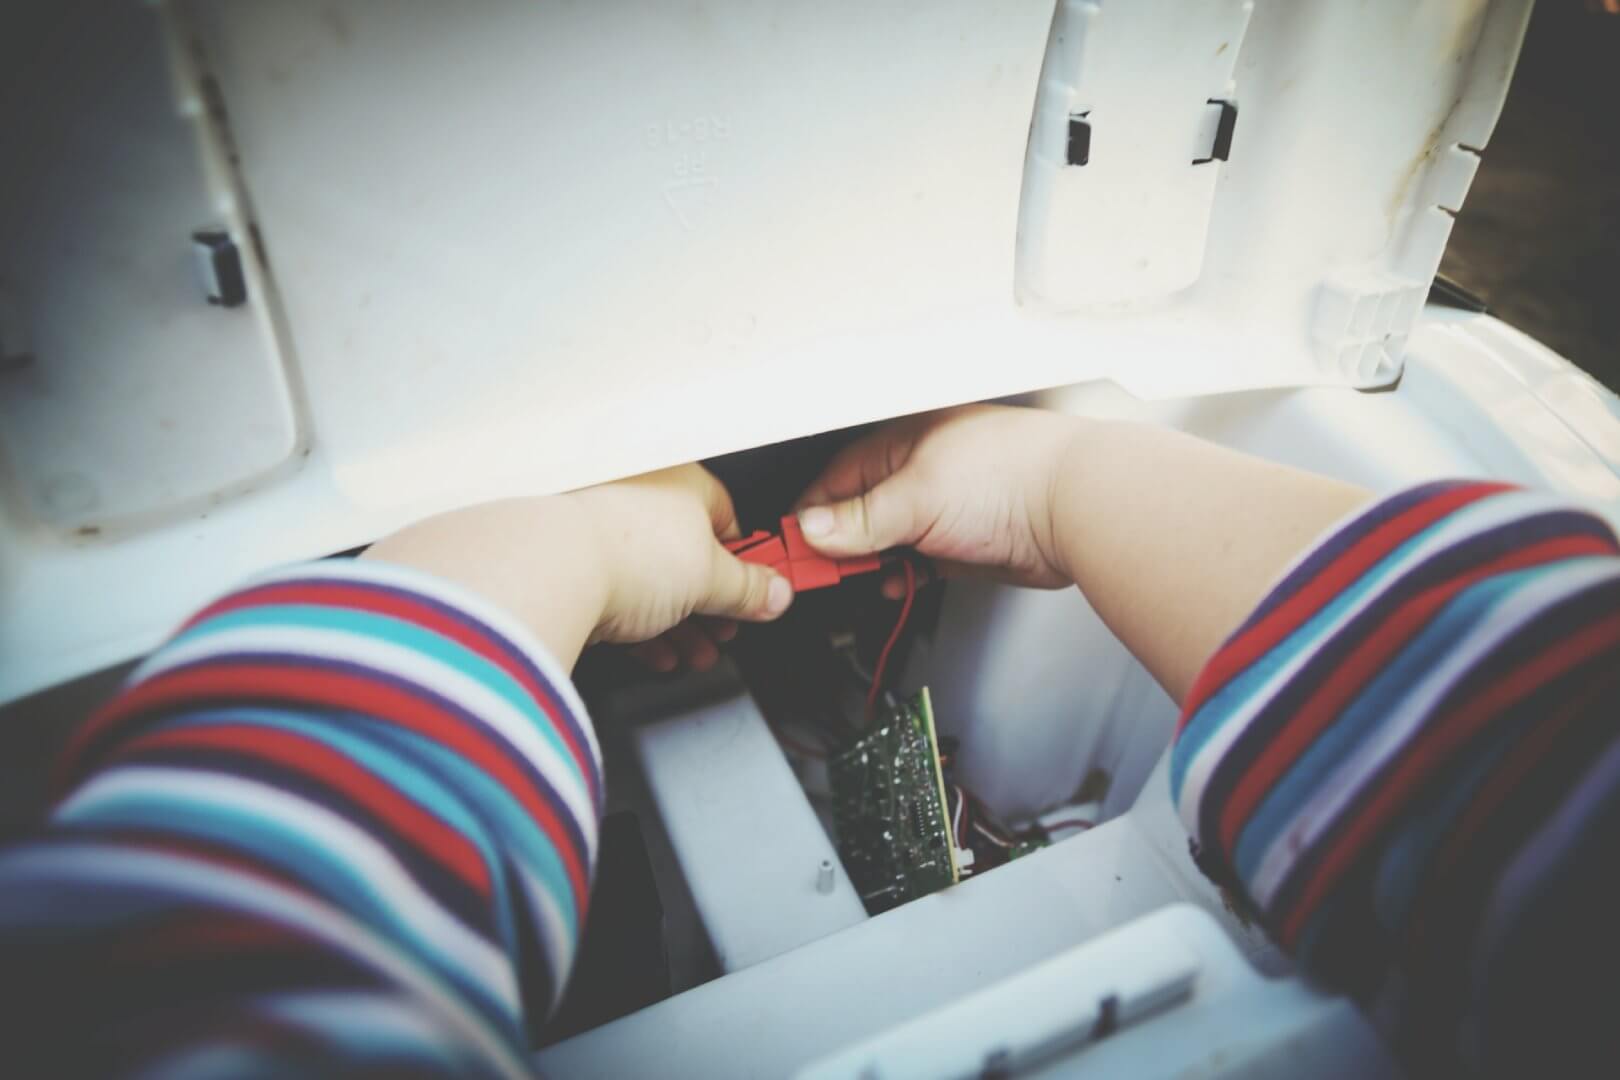
- Check the thermal fuse and thermostats:
- Unplug the dryer and remove the back panel
- Locate the thermal fuse (usually on the blower housing or exhaust duct)
- Look for thermostats near the heating element
- Use a multimeter to test for continuity
- No continuity means the component needs replacement
- Inspect the heating element:
- With the back panel removed, identify the heating element assembly
- Look for visible damage, breaks, or burning
- Test for continuity with a multimeter
- Replace if damaged or showing no continuity
- Check for voltage issues:
- Australian electric dryers require 240V single-phase power
- A single-leg voltage issue can cause the drum to turn but not heat properly
- Test both legs at the outlet with a multimeter
Warning: If you're not comfortable working with electrical components or don't have a multimeter, this is where professional help makes sense. Heating element replacement typically costs $150-350 including parts and labour in Australian cities.
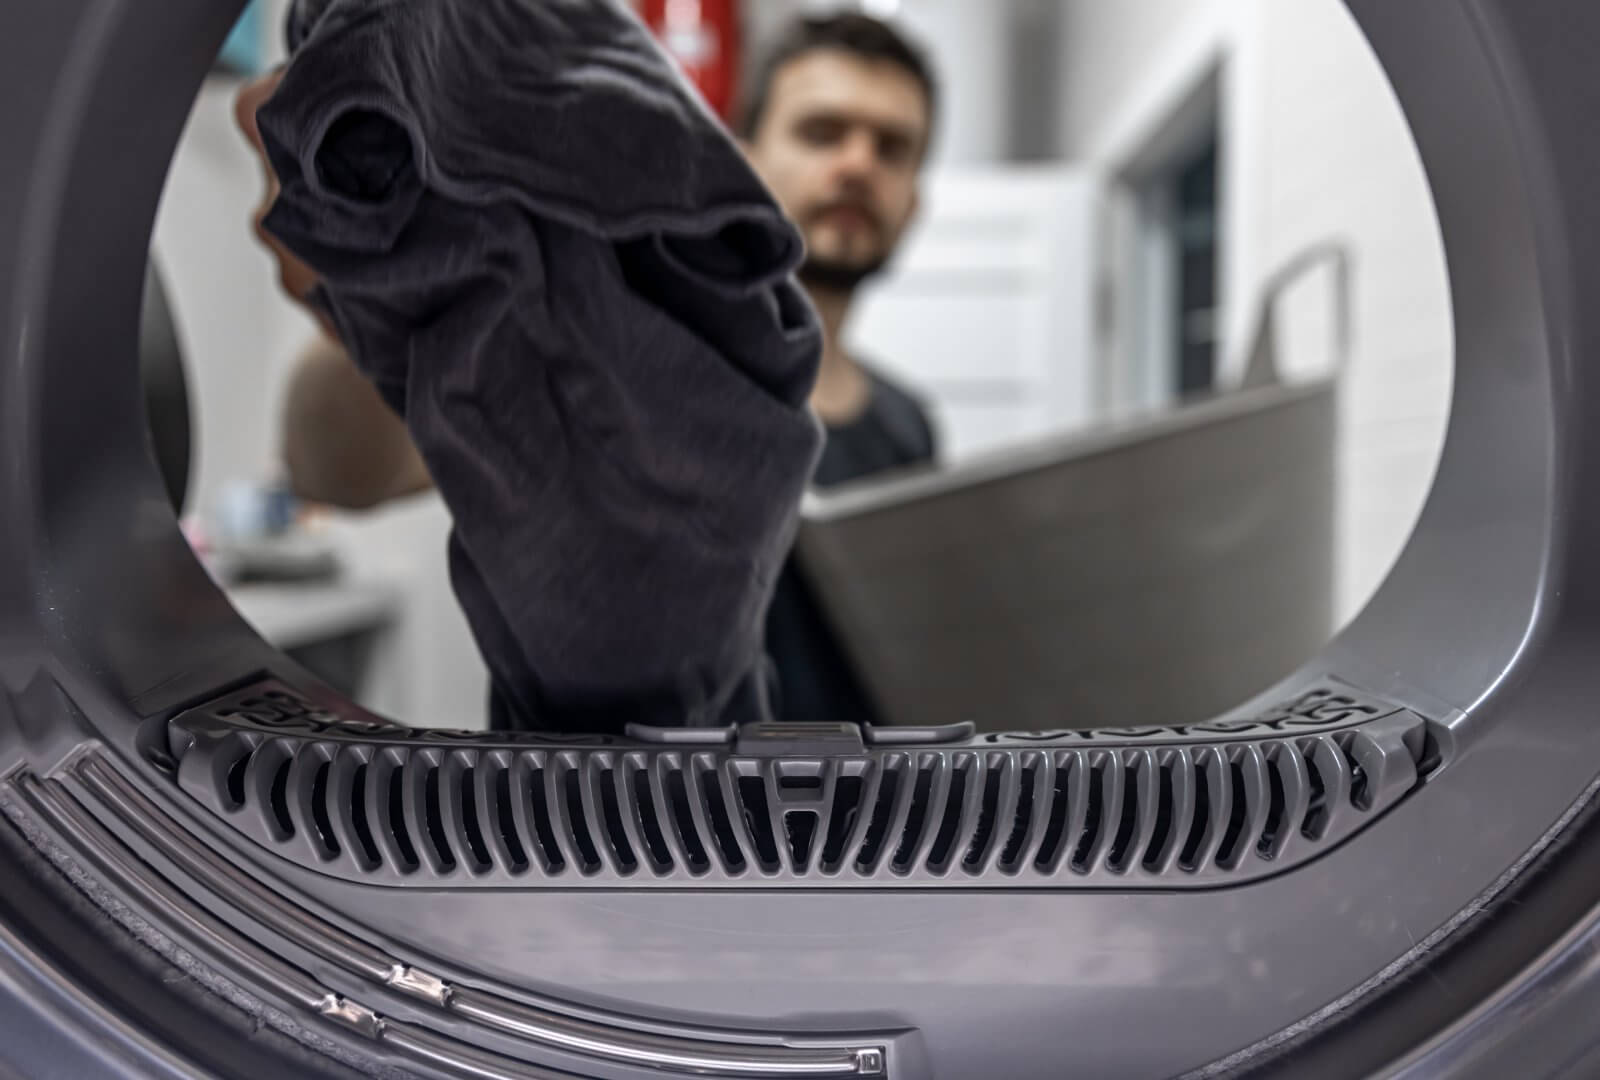
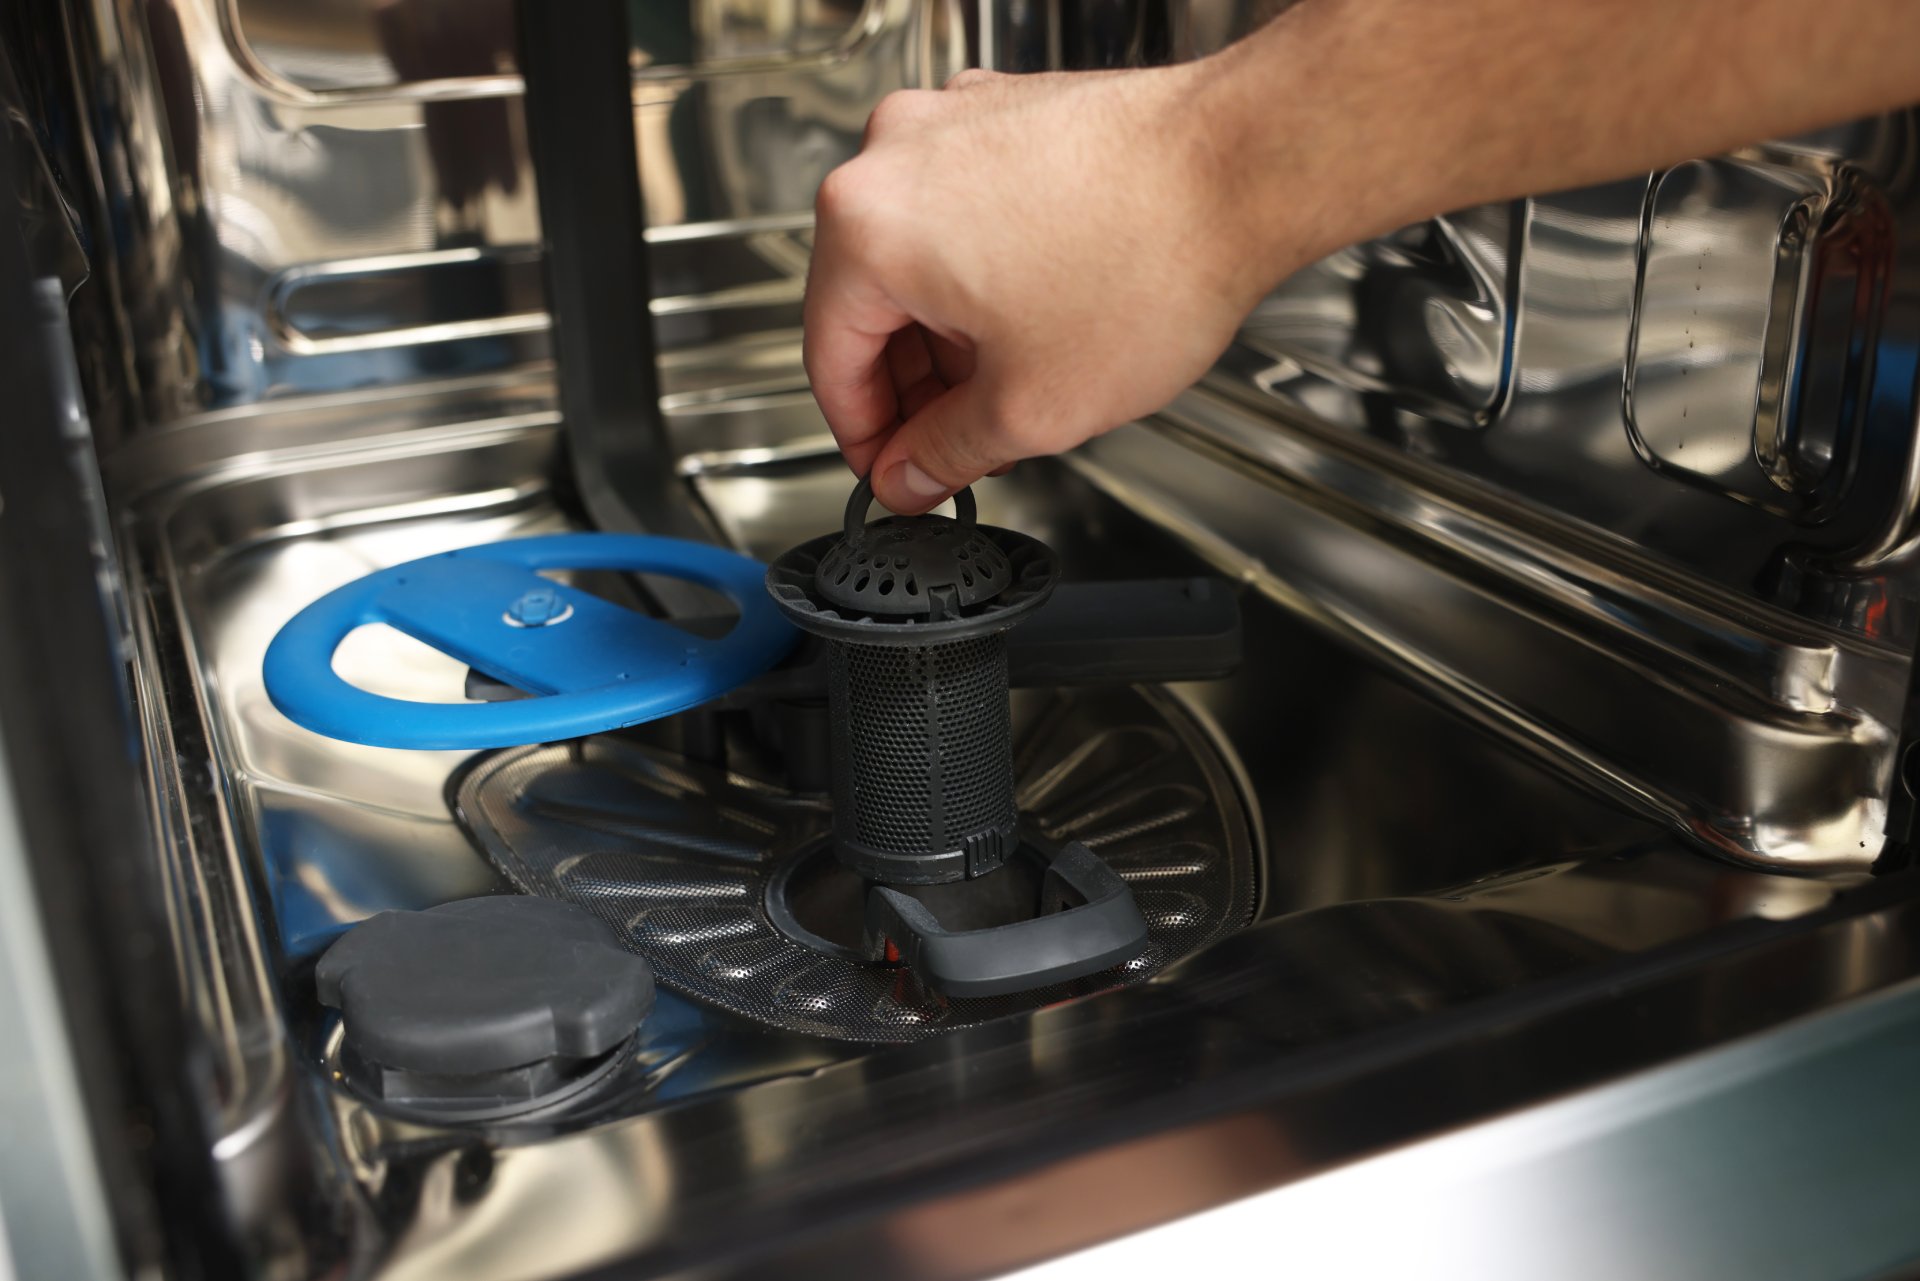
5. Test the Moisture Sensor System
Modern dryers use moisture sensing technology to determine when clothes are dry, but these systems can fail or become less accurate over time.
Possible Signs:
- Dryer runs for inconsistent periods
- Auto sensor cycles end too soon leaving damp clothes
- Dryer runs much longer than necessary
- Sensor error codes on digital displays
DIY Fix:
- Locate the moisture sensor bars:
- Usually two metal strips or bars inside the drum
- Often located near the lint filter or at the front of the drum
- Clean the sensor bars:
- Gently wipe with rubbing alcohol on a clean cloth
- Remove any buildup of fabric softener or detergent residue
- Allow to dry completely
- Test sensor functionality:
- Place a wet cloth directly on the sensor bars
- Start a sensor-based automatic cycle
- The dryer should register moisture and begin/continue running
- Try a timed dry cycle:
- If sensor cycles aren't working properly, use timed dry as a temporary solution
- This bypasses the sensor system entirely
Prevention: Keep Your Dryer Working Efficiently
The best way to deal with drying problems is to prevent them in the first place:
- Clean the lint filter before EVERY load — This simple habit prevents 50% of drying issues
- Deep clean the vent system annually — Mark it on your calendar to prevent fire hazards
- Use dryer balls instead of fabric softener sheets — Reduces buildup on components
- Keep the area around your dryer clean — Ensures proper airflow to the unit
- Don't overload — Follow the 1/3 rule for optimal performance
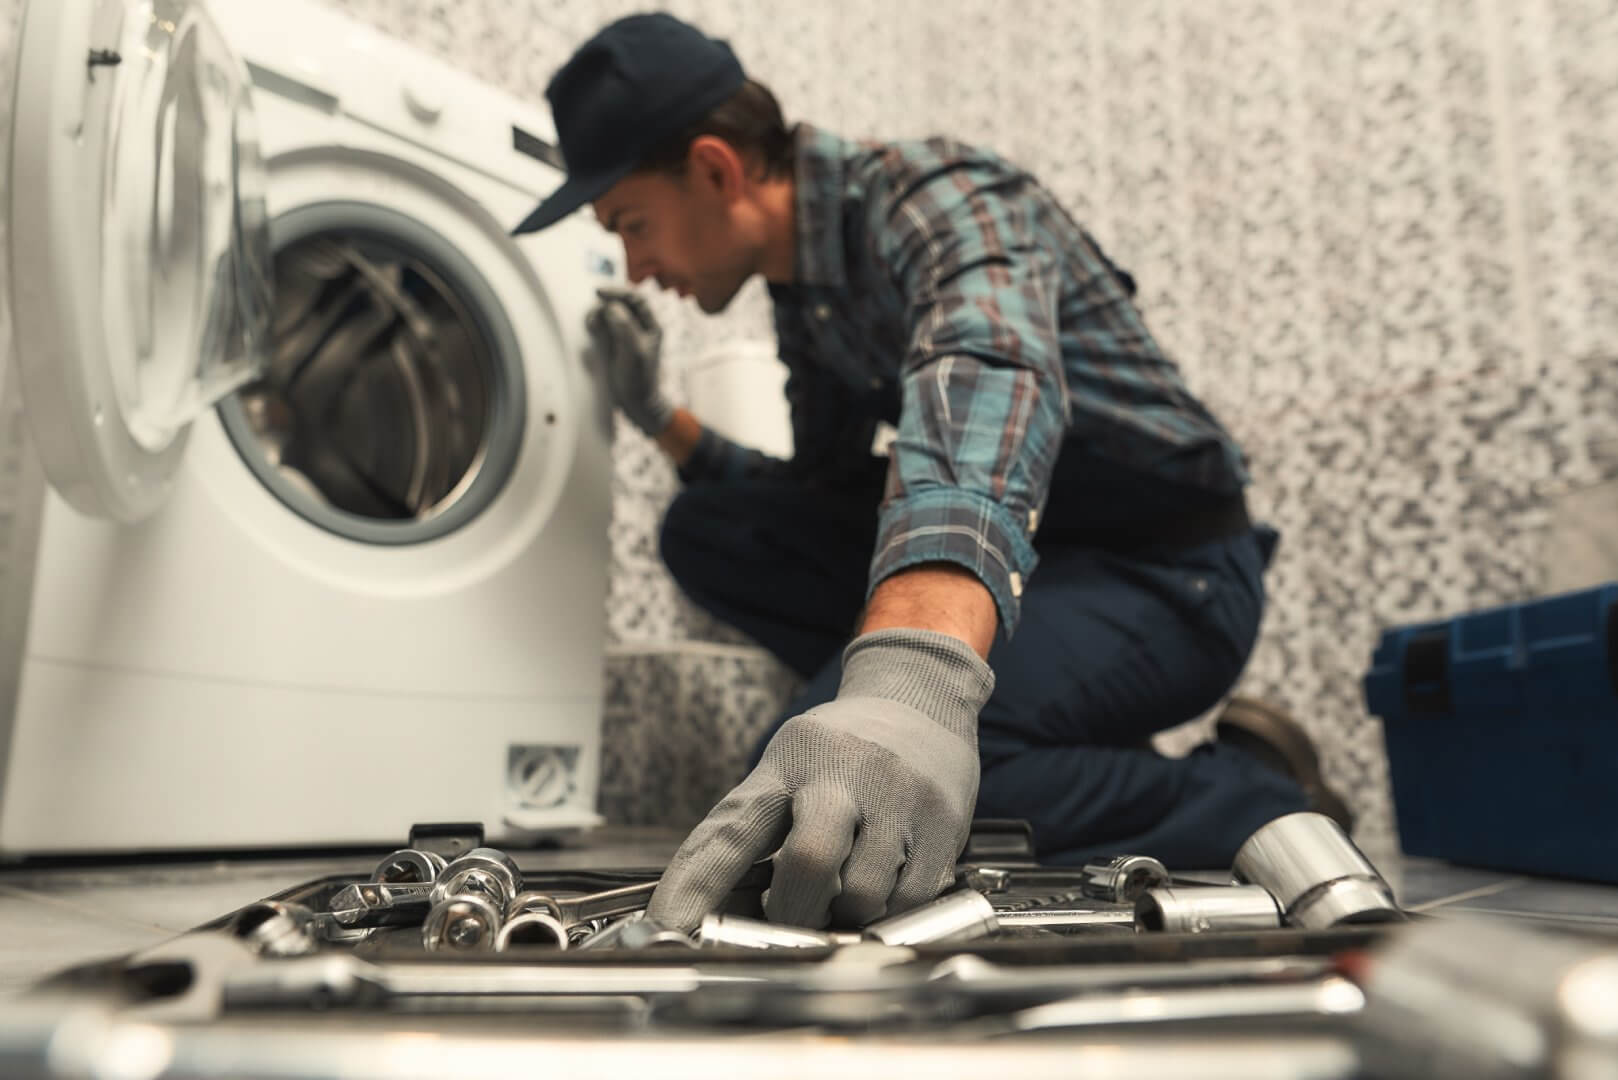
When to Call a Professional
While these DIY fixes resolve the vast majority of drying issues, there are times when professional help is warranted:
- You've tried all the above solutions without success
- There's a burning smell coming from the machine
- You're experiencing electrical issues (breaker trips, sparking)
- Your dryer is under warranty
- You're not comfortable working with the electrical components
Conclusion
A dryer that won't dry properly is certainly frustrating, but as you can see, the fix is often much simpler (and cheaper) than you might expect. In my experience, about 85% of drying issues can be solved with the first three fixes alone - cleaning the lint system, clearing the vent, and proper loading.
Taking care of these simple maintenance tasks regularly can extend the life of your dryer by years and save you from those dreaded laundry day emergencies. Your dryer is designed to last 10-15 years with proper care - don't let preventable issues cut that lifespan short!
Frequently Asked Questions (FAQs)
How often should I clean my dryer's lint filter? Clean the lint filter before every load to maintain optimal airflow and prevent fire hazards. Deep clean the filter with soap and water monthly to remove invisible buildup.
My dryer has heat but takes forever to dry clothes. What's the likely cause? If there's heat but poor drying performance, the most likely culprits are vent system blockages (responsible for 65% of these cases) or overloading the machine (20%).
Is it normal for the outside of my dryer to get hot during operation? The exterior should be warm but not hot to the touch. Excessive external heat indicates poor ventilation or airflow issues that need immediate attention.
How much does it cost to replace a dryer heating element in Australia? The part itself typically costs $60-150 depending on your model. Professional installation adds $120-200 in labour, making the total repair $180-350 in major cities. Still much cheaper than a new dryer ($600-2000). Check if repairs are covered under Australian Consumer Law warranty.
What's the average lifespan of a clothes dryer? With proper maintenance, most dryers last 10-15 years. Regular vent cleaning alone can add 3-5 years to this lifespan by reducing strain on electrical components.
Can using dryer sheets damage my dryer? Dryer sheets can leave a waxy residue on the lint filter and sensor bars, reducing efficiency over time. If you use them, deep clean your lint filter monthly and wipe sensor bars with alcohol quarterly. Consider wool dryer balls as an Australian eco-friendly alternative.

About Julian
Home appliance enthusiast and DIY repair specialist with a passion for helping others save money on appliance maintenance.
Related Articles
Dryer Squeaking? 6 DIY Fixes to Silence Noisy Dryers | Australian Guide
How to Clean Dryer Vent: Complete DIY Guide | Australian Fire Safety 2025