Dryer Squeaking? 6 DIY Fixes to Silence Noisy Dryers | Australian Guide
That high-pitched squeak from your dryer can drive anyone mad! It starts subtly – just a little squeal during the first few minutes – but before long, it's a constant screech that has you closing doors and turning up the TV just to maintain your sanity. When your dryer starts making these annoying squeaking noises, it's not just irritating – it's often an early warning sign of wear that could lead to more expensive problems if ignored.
The good news? After helping hundreds of frustrated homeowners silence their squeaky dryers, I can tell you that approximately 85% of dryer squeaking problems can be fixed with simple DIY solutions. This guide will walk you through the 6 most common causes of those annoying dryer squeaks and show you exactly how to silence them yourself without expensive service calls.

Common Causes of Dryer Squeaking Noises
Before diving into solutions, it helps to understand what's causing that irritating noise. When your dryer squeaks, it's typically due to one of these issues:
- Worn drum support rollers or axles — The #1 cause, responsible for about 60% of dryer squeaks
- Drive belt problems
- Idler pulley issues
- Drum bearing or glide failures
- Blower wheel obstructions
- Motor mount problems
The good news? The first three causes account for roughly 80% of all dryer squeaking problems and can be fixed with basic DIY skills and minimal tools.
6 Effective DIY Fixes for a Squeaking Dryer
1. Replace Worn Drum Support Rollers
When You'll Hear It:
- Squeaking that occurs with each rotation of the drum
- Noise that gets louder as the drum rotates with clothes inside
- Rhythmic squeaking that speeds up or slows down with drum speed
- Squeaking that's loudest when the dryer first starts
Drum support rollers are small wheels that support the weight of the dryer drum and allow it to rotate smoothly. Over time, these rollers develop flat spots, the bearings wear out, or they become coated with lint and residue.
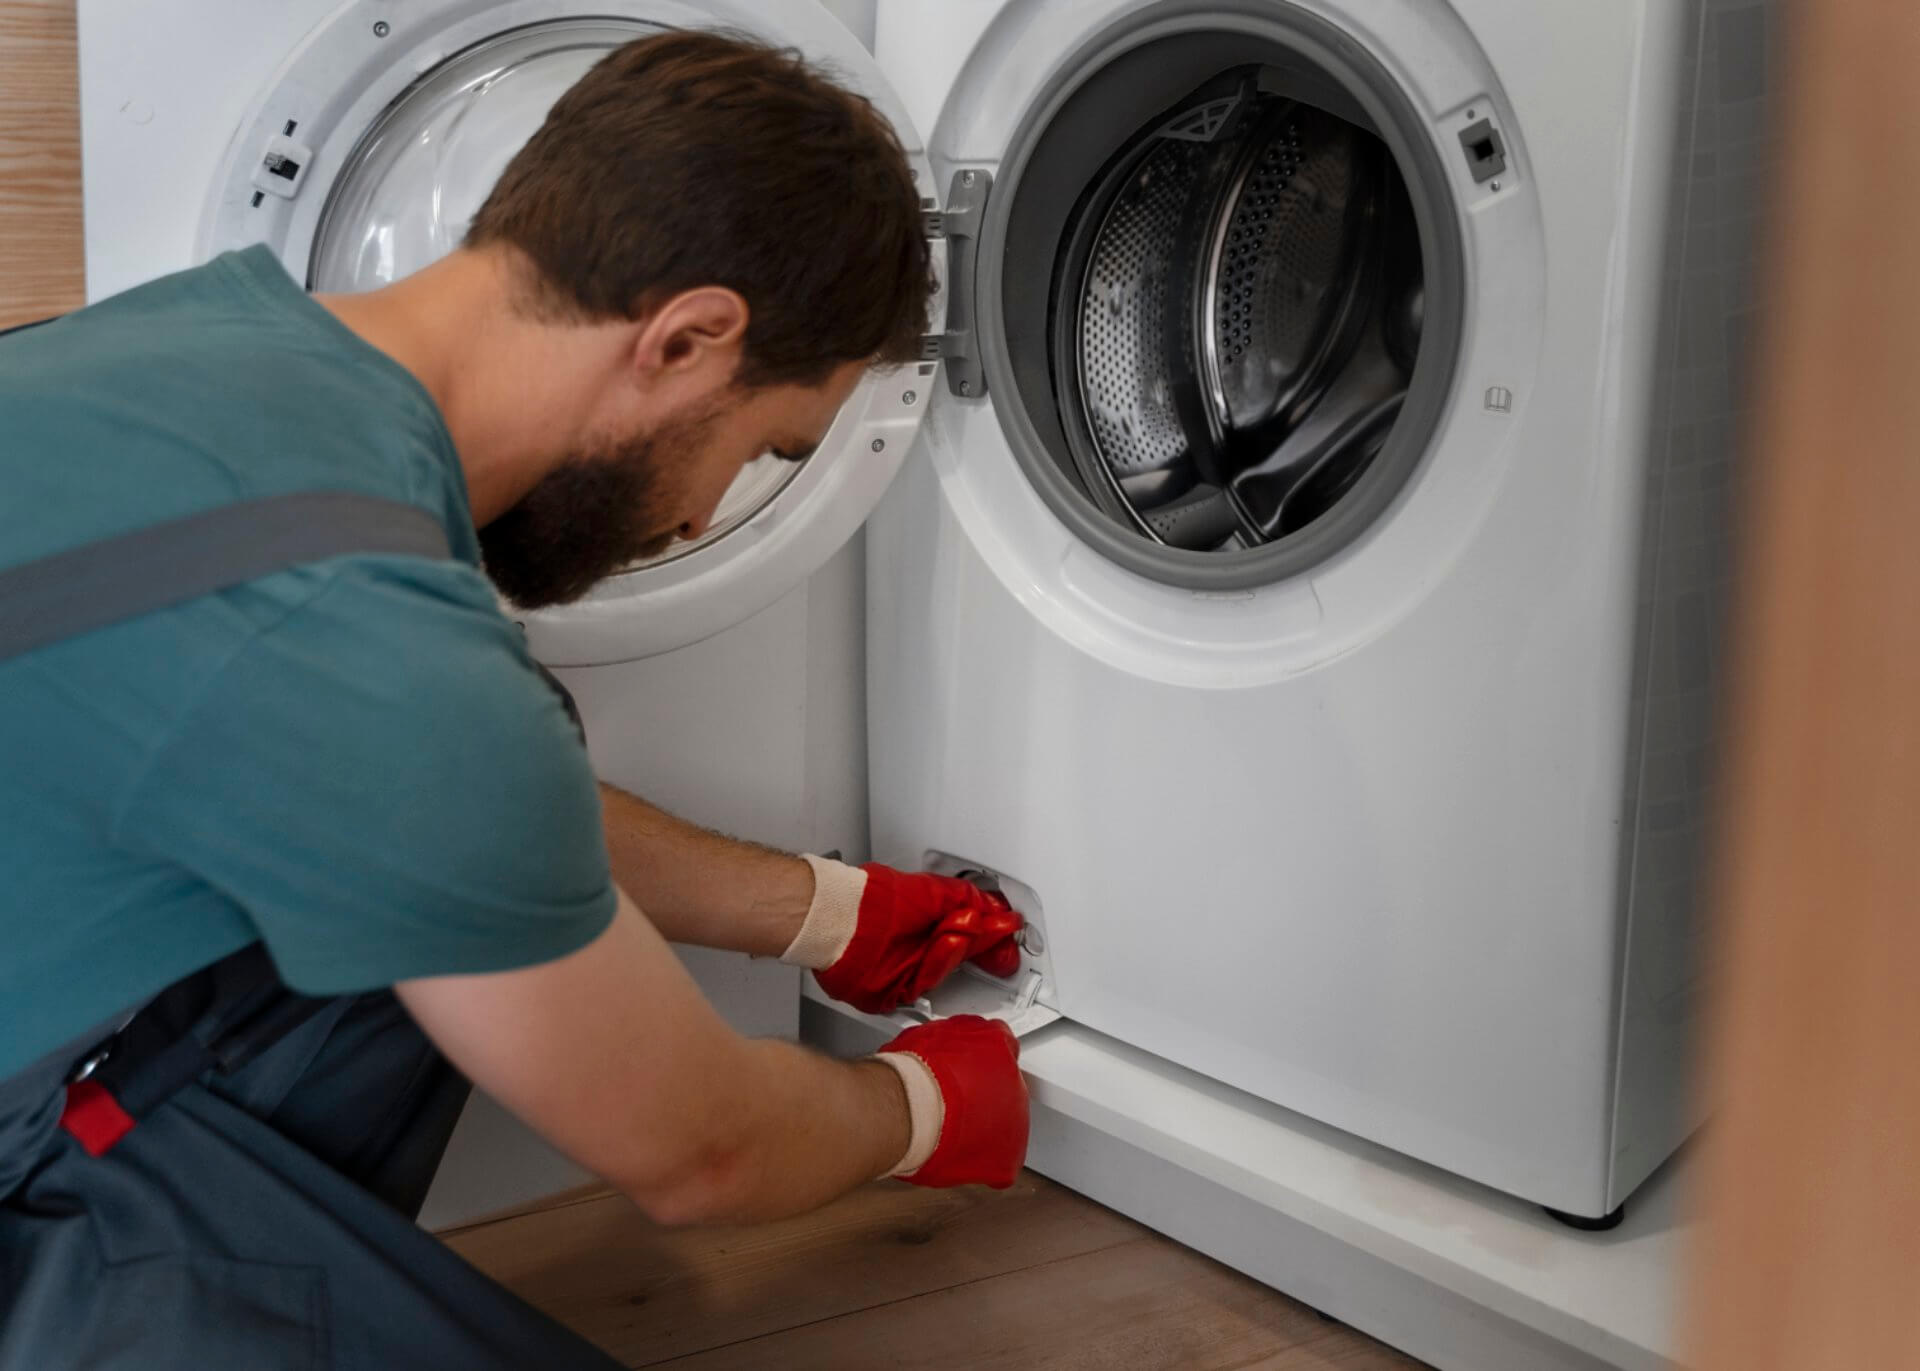
DIY Fix:
- Unplug the dryer — Safety first!
- Access the rollers:
- For most dryers, remove the top panel and front panel
- Some models may require removing the back panel instead
- Take photos as you go to remember how everything fits back together
- Inspect the rollers:
- Look for flat spots, cracks, or excessive wear
- Try spinning each roller with your finger – they should turn freely without resistance
- Check for built-up lint or fabric softener residue
- Replace worn rollers:
- Rollers are typically held in place with a clip or retaining ring
- Remove the old rollers and clean the axle shafts
- Install new rollers (typically $20-40 per set at Australian appliance stores)
- Apply a small amount of high-temperature lubricant to the axle (not the roller itself)
- Ensure rollers spin freely after installation
Pro Tip: Always replace all support rollers at the same time, even if only one appears worn. They wear at similar rates, and replacing just one will have you back inside the machine sooner than you'd like!
2. Check and Replace the Drive Belt
When You'll Hear It:
- Squeaking that starts and stops as the drum turns
- Noise that gets worse as the dryer heats up
- Intermittent squeaking that changes with different loads
- Squealing that's accompanied by slower drum rotation
The drive belt transfers power from the motor to the drum, and over time it can become worn, frayed, or glazed, causing it to slip or stick as it moves around pulleys.
DIY Fix:
- Access the belt:
- With the dryer unplugged, remove the necessary panels to expose the belt system
- The belt wraps around the drum, motor pulley, and idler pulley in a specific path
- Inspect for damage:
- Look for cracks, fraying, or glazed (shiny) spots on the belt
- Check if the belt has stretched and become loose
- Ensure proper tension – a good belt should deflect about 1-2 cm when pressed
- Replace if necessary:
- Take note of the belt routing before removal (take a photo)
- Release tension using the idler pulley to remove the old belt
- Install the new belt following the same path
- Ensure the belt sits properly in all pulley grooves
- Apply proper tension by engaging the idler pulley mechanism
Belt Selection Tip: Always use the exact replacement belt specified for your dryer model. The length, width, and composition are all critical for proper operation according to Australian appliance standards.
3. Service the Idler Pulley
When You'll Hear It:
- High-pitched squealing especially when the dryer first starts
- Noise that changes with drum speed
- Squeaking that becomes more pronounced over time
- Noise that temporarily improves after applying lubricant but quickly returns
The idler pulley maintains proper tension on the drive belt and rotates whenever the dryer is running. A worn bearing in this pulley is a common source of irritating squeaks.
DIY Fix:
- Locate the idler pulley:
- Usually found near the drive motor
- It's a small wheel that presses against the belt
- Test for wear:
- With the belt removed, spin the pulley by hand
- It should turn freely without resistance or wobbling
- Listen for grinding or rough spots during rotation
- Inspect the bearing and wheel:
- Look for worn surfaces on the pulley wheel
- Check for built-up lint or debris
- Ensure the mounting bracket isn't bent or damaged
- Replace the entire pulley assembly:
- Most idler pulleys are inexpensive ($25-50 in Australia) and aren't designed to be repaired
- Remove the mounting bolt or clip holding the old pulley
- Install the new pulley in the exact same position
- Ensure it spins freely after installation
4. Address Drum Bearing or Glide Issues
When You'll Hear It:
- Squeaking that's loudest when the drum is empty
- Noise from the front or rear of the dryer (depending on model)
- Squeaking accompanied by a rumbling sound
- Noise that gets worse when pressing down lightly on the top of the dryer
Depending on your dryer model, the front or rear of the drum may be supported by a centre bearing, bearing slides, or glides that can wear out over time.
DIY Fix:
- Identify your dryer's support system:
- Front-bearing dryers have a felt pad or plastic bearing at the front centre
- Rear-bearing dryers have a bearing housing at the back centre
- Some models use glides around the front perimeter instead
- For front glides/slides:
- Remove the front panel to access the drum front
- Look for worn plastic slides or felt pads around the drum edge
- Replace worn pieces with exact replacements
- Apply a small amount of high-temp lubricant if specified
- For centre bearings:
- This requires more disassembly – often including removing the drum
- Inspect the bearing for wear, scoring, or lack of lubrication
- Replace with an exact match for your model
- Follow manufacturer specifications for lubrication
Australian Safety Tip: According to AS/NZS 60335.2.11 standards, only high-temperature lubricants specifically designed for dryers should be used on bearings and supports. Regular oils can ignite at the high temperatures inside dryers (up to 70°C)!
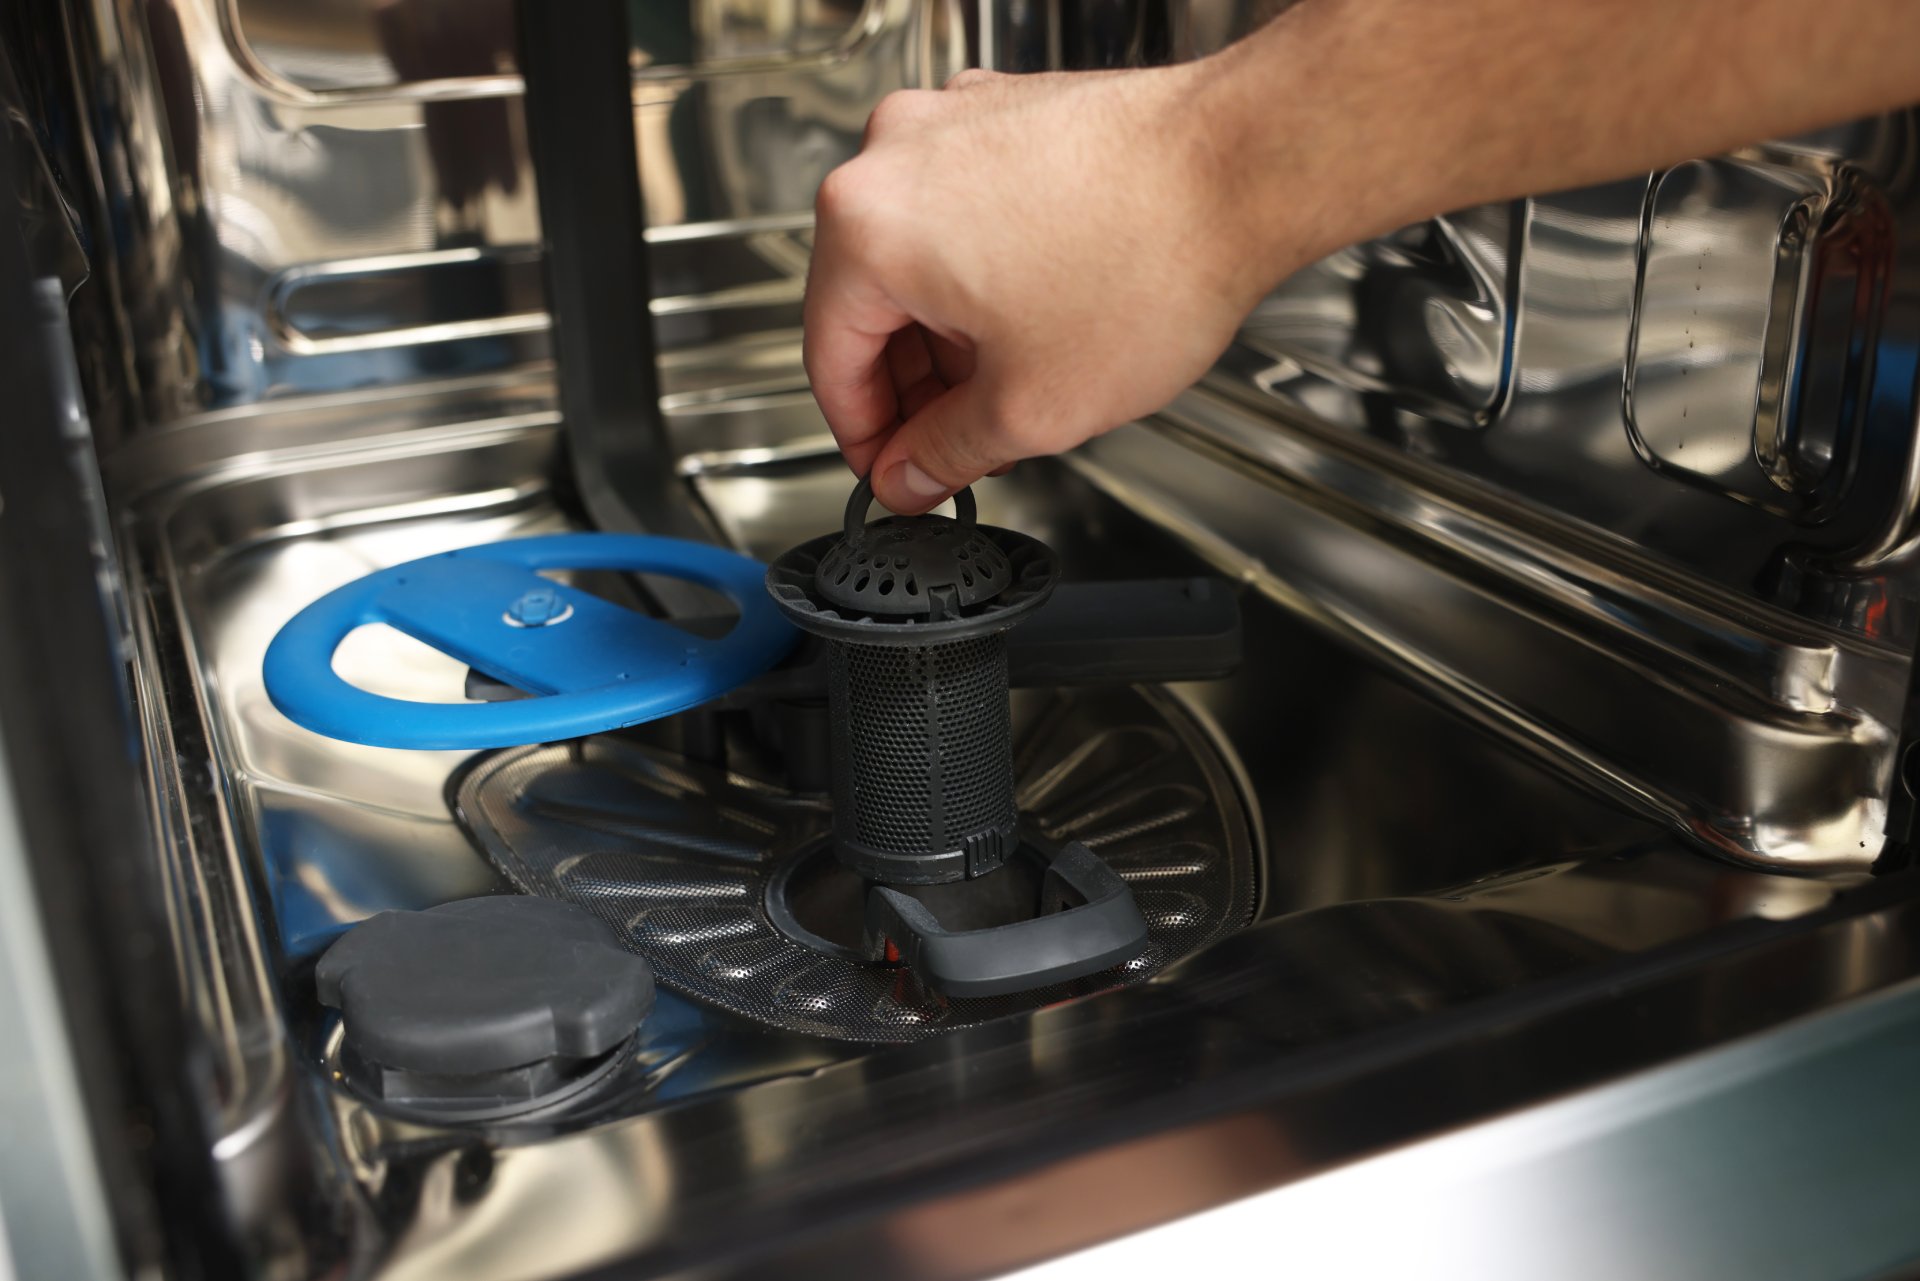
5. Check the Blower Wheel and Housing
When You'll Hear It:
- Squeaking that's most noticeable at the beginning or end of a cycle
- Noise that sounds like it's coming from the lower part of the dryer
- Intermittent squealing that changes with airflow patterns
- Squeaking accompanied by less effective drying
The blower wheel moves air through your dryer and can collect lint or become loose on its motor shaft, causing squeaking sounds against the housing.
DIY Fix:
- Access the blower assembly:
- This is typically located at the bottom of the dryer
- You'll need to remove the front panel and possibly some ductwork
- Inspect for obstructions:
- Check for lint, strings, or small items caught in the blower wheel
- Look for contact between the wheel and housing
- Ensure the wheel isn't cracked or damaged
- Clean thoroughly:
- Remove any built-up lint or debris
- Check the blower wheel fins for damage
- Check for looseness:
- Try to wiggle the blower wheel on the motor shaft
- If loose, tighten the mounting screw or replace if damaged
- Ensure proper clearance between the wheel and housing
6. Inspect and Adjust Motor Mounts
When You'll Hear It:
- Squeaking accompanied by vibration
- Noise that's worst when the dryer first starts
- Intermittent squeaks that come and go
- Squealing that changes when you press against different sides of the dryer
The motor in your dryer is held in place by mounting brackets and cushioning supports. When these become worn or misaligned, the motor can shift during operation, causing both noise and vibration.
DIY Fix:
- Access the motor area:
- Typically requires removing the front panel and belt
- Check mounting brackets:
- Look for loose or missing screws
- Check for broken mounting brackets
- Ensure rubber isolation mounts aren't crushed or damaged
- Inspect for proper alignment:
- The motor pulley should align perfectly with other components
- There should be no excessive movement of the motor during operation
- Make adjustments:
- Tighten any loose mounting screws
- Replace damaged brackets or mounts
- Add washers to correct alignment if needed
- Replace worn isolation mounts to reduce vibration
Quick Fix Tip: Loose motor mounts are often the easiest problem to fix – sometimes requiring nothing more than tightening a few screws to completely eliminate squeaking!

Prevention: Keep Your Dryer Running Quietly
The best way to deal with squeaking problems is to prevent them in the first place:
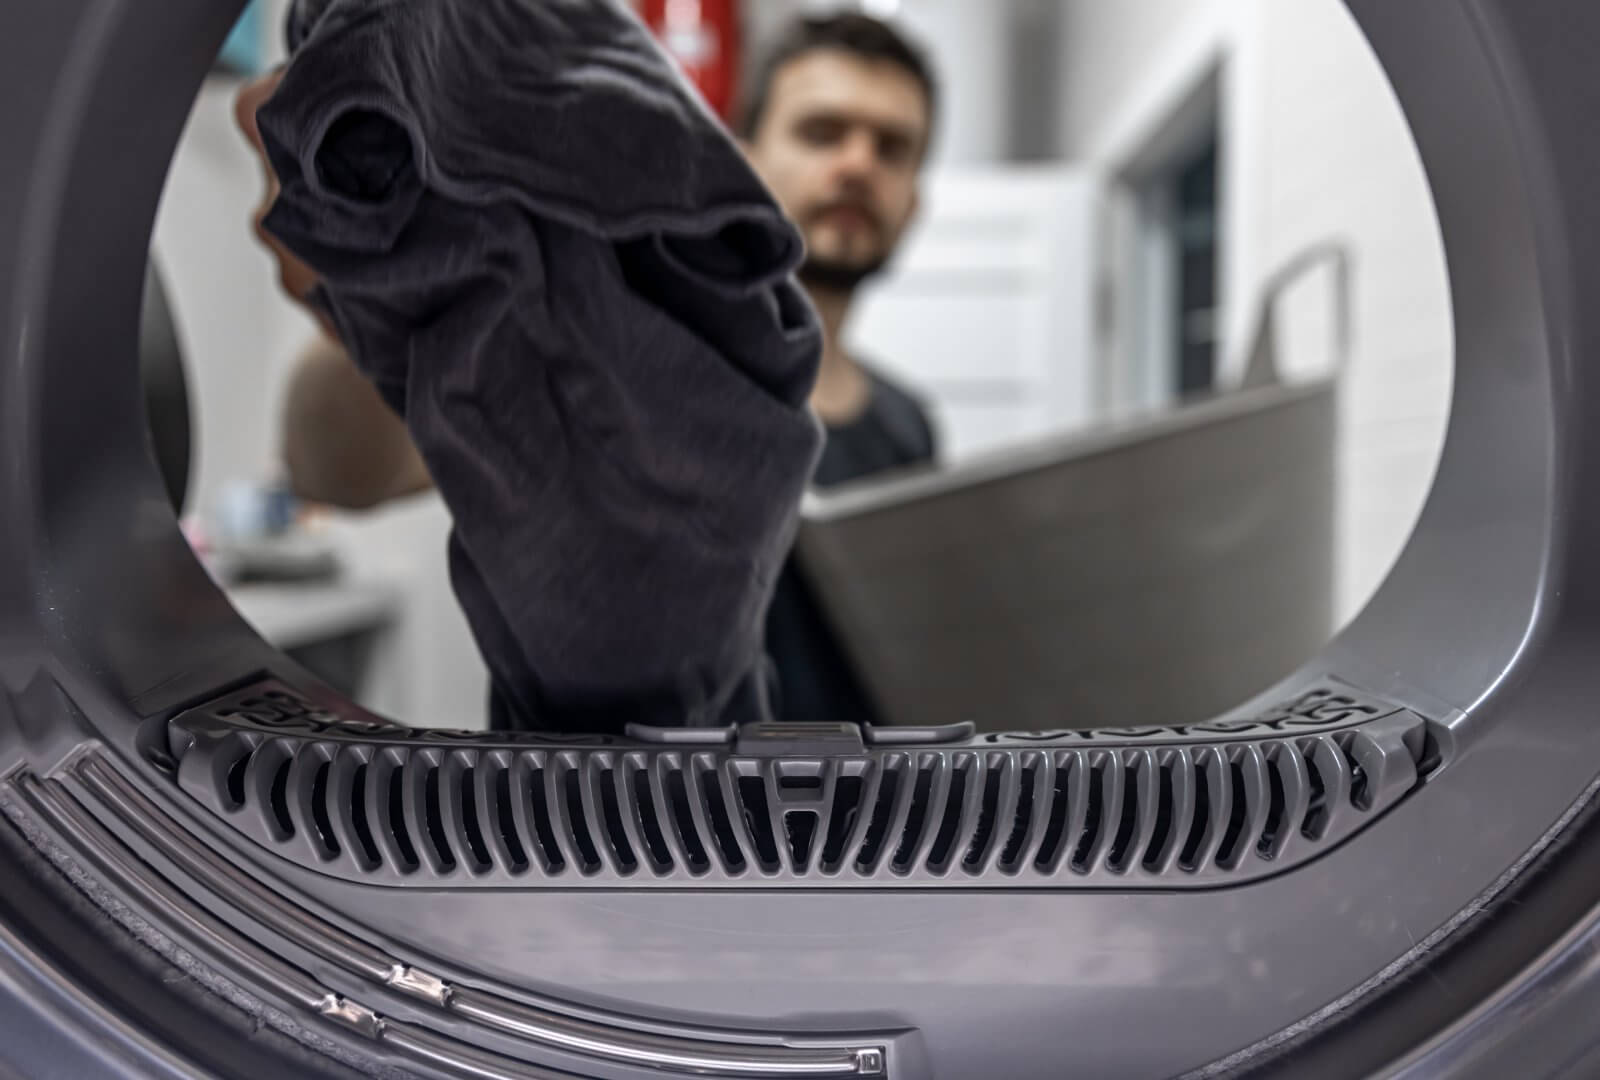
- Don't overload your dryer — Excessive weight strains bearings and rollers
- Clean the lint filter before every load — Prevents debris from reaching moving parts
- Perform seasonal maintenance:
- Check and clean the blower assembly annually
- Listen for early signs of noise and address them promptly
- Use your dryer efficiently:
- Dry similar weight items together
- Don't over-dry clothes (excessive run time wears components faster)
- Keep the dryer level — Proper leveling reduces strain on bearings and supports
When to Call a Professional
While these DIY fixes resolve the vast majority of squeaking issues, there are times when professional help is warranted:
- You've tried the appropriate DIY fixes without success
- The noise is accompanied by burning smells or electrical problems
- Your dryer is still under warranty (DIY repairs might void coverage)
- You're not comfortable disassembling major components of your dryer
- The repair requires special tools you don't have
Conclusion
A squeaking dryer is certainly annoying, but as you can see, fixing the problem is often much simpler than you might expect. In my experience, about 80% of dryer squeaking issues can be solved by addressing the drum support rollers, drive belt, and idler pulley.
Taking a couple of hours on a weekend to track down and fix that irritating squeak not only restores your sanity but also extends the life of your dryer by addressing wear before it causes major component failures. Your dryer is designed to last 10-15 years with proper care - don't let preventable noise issues force you into a premature replacement!

Frequently Asked Questions (FAQs)
Is it normal for a dryer to make some noise during operation? Yes, a gentle rumbling or humming is normal. However, squeaking, squealing, grinding, or thumping sounds indicate a problem that should be addressed.
How often should I replace the support rollers in my dryer? Support rollers typically last 5-7 years under normal use. If you use your dryer heavily (more than 5 loads per week), consider inspecting the rollers every 3-4 years.
Can I use WD-40 or regular household oil to lubricate dryer parts? No! Never use standard lubricants inside a dryer. The high temperatures can cause these products to ignite or produce harmful fumes. Only use high-temperature lubricants specifically rated for dryer use, available at Bunnings or appliance parts stores.
My dryer squeaks only when it's hot. What's likely causing this? Temperature-dependent squeaking often indicates belt or pulley issues. Materials expand as they heat up, causing parts to rub differently. The drive belt is the most common culprit for heat-related squeaking.
How much does it cost to replace dryer support rollers in Australia? DIY roller replacement typically costs $40-80 for parts at Australian retailers. Professional service adds $150-250 in labour, making total cost $190-330. Compared to a new dryer ($600-2,000), this repair offers excellent value. Check if covered under Australian Consumer Law warranty.
Is a squeaking dryer dangerous or just annoying? While primarily annoying, ignored squeaking can indicate problems that eventually lead to component failures, increased energy usage, or excessive friction that could potentially create fire hazards over time. It's best to address the issue rather than hoping it goes away.

About Julian
Home appliance enthusiast and DIY repair specialist with a passion for helping others save money on appliance maintenance.
Related Articles
Dryer Not Drying Clothes? 5 Essential DIY Fixes | Australian Guide
7 Warning Signs Your Dryer Needs Professional Repair | Australian Safety Guide