How to Clean Your Washing Machine: A Step-by-Step Guide
Let's be honest - when was the last time you cleaned your washing machine? Many of us assume that a machine designed to clean things must keep itself clean, but that's not the case! Your washing machine deals with dirt, body oils, and detergent residue in every cycle, and over time, this builds up into a breeding ground for mould, bacteria, and unpleasant odours.
Here's the good news - regular cleaning can prevent 90% of washing machine problems before they start! As someone who's repaired hundreds of washing machines, I can tell you that a simple 30-minute cleaning routine once a month can extend your machine's life by years and save you from expensive repairs.
This guide will walk you through exactly how to deep clean both front and top-loading washing machines, tackle common problems like mould and odours, and establish a maintenance routine that keeps your machine running efficiently for years to come.
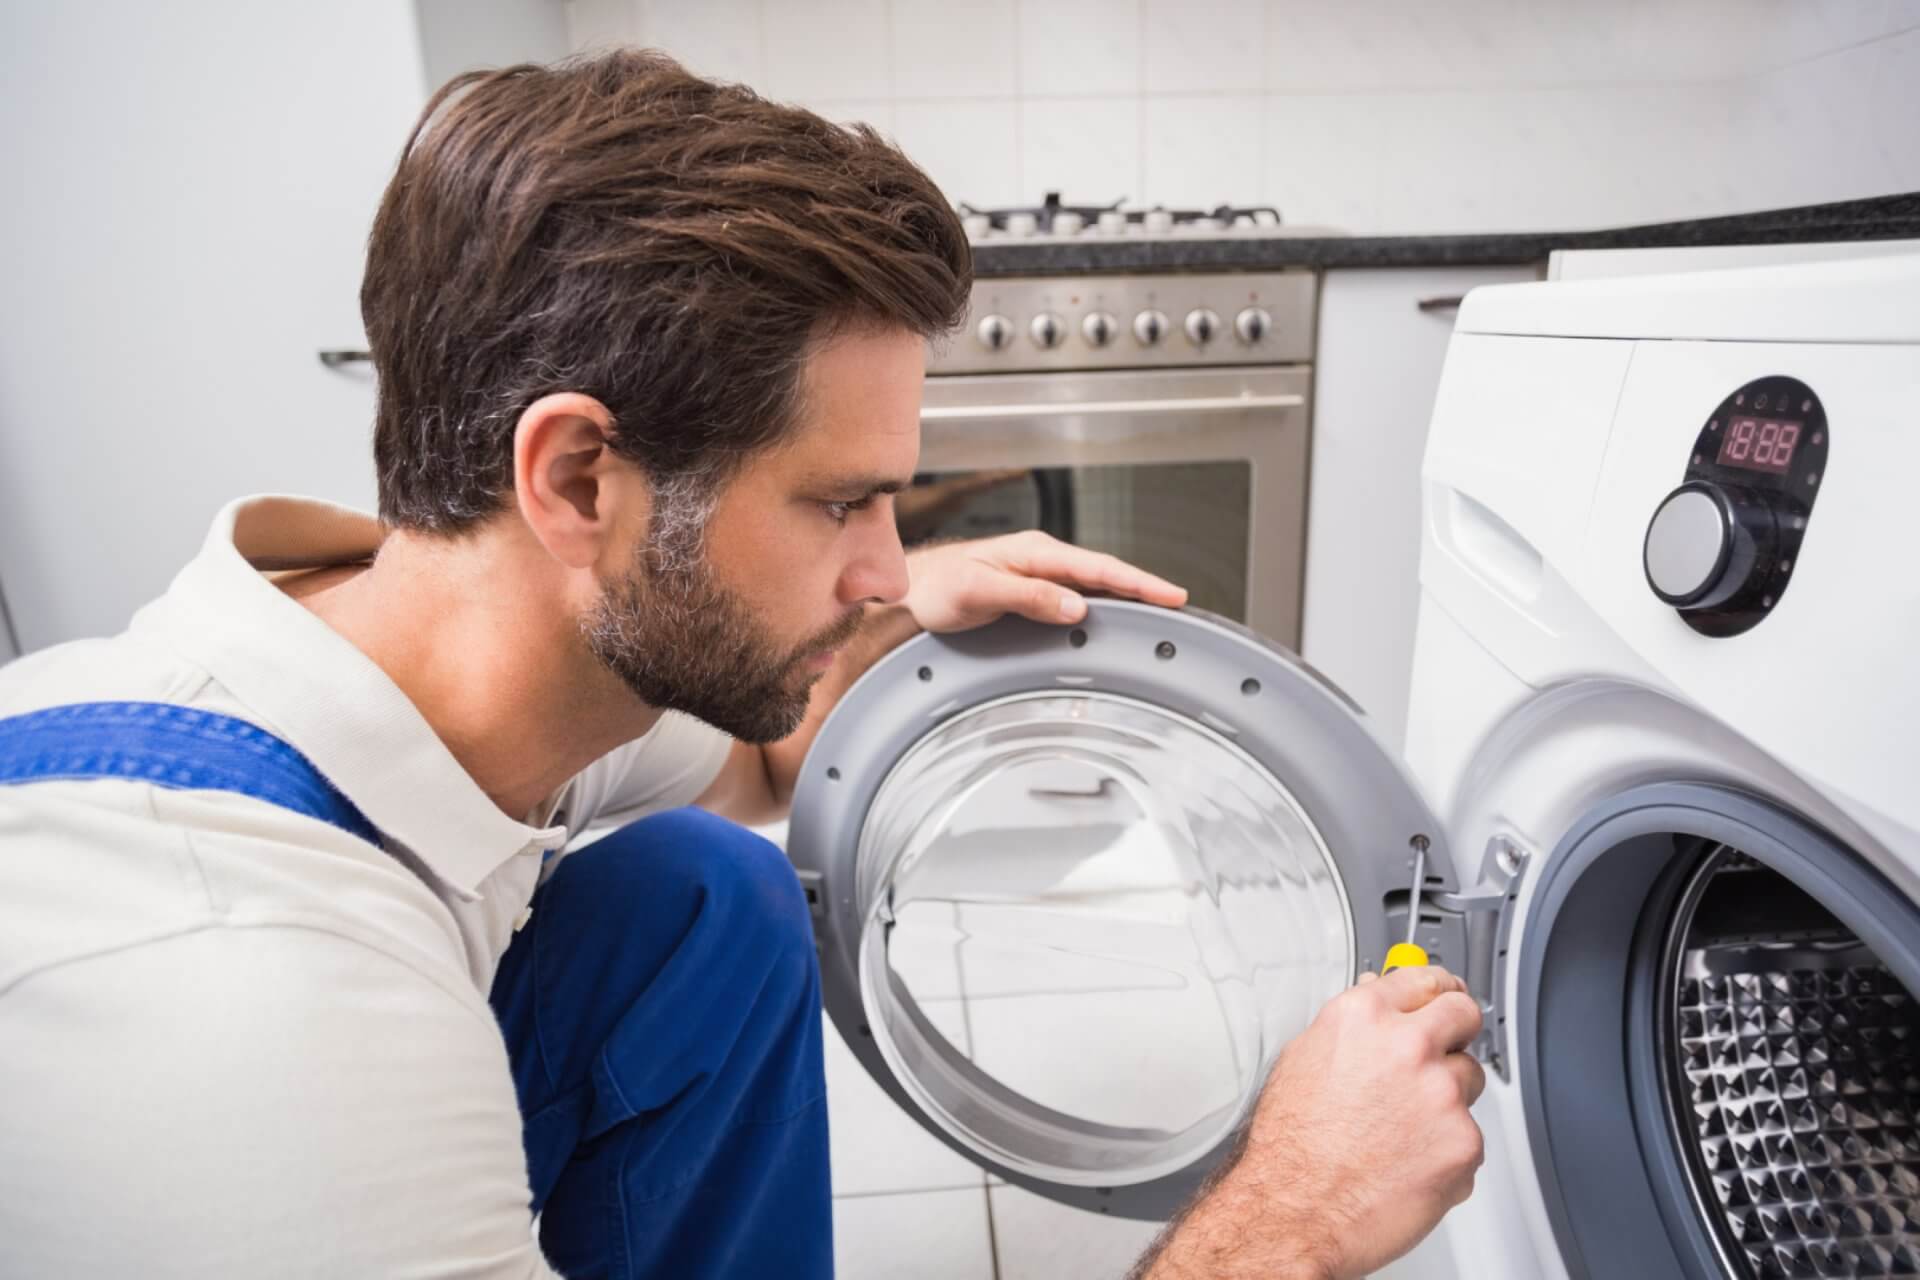
![Sparkling clean washing machine with door open]
Why You Need to Clean Your Washing Machine
Before diving into the cleaning steps, it helps to understand what happens when you don't clean your washing machine:
- Mould and mildew growth — Especially in the door seal and detergent drawer
- Unpleasant musty odours that transfer to your clothes
- Detergent buildup that reduces cleaning effectiveness
- Mineral deposits from hard water that damage components
- Reduced efficiency leading to higher energy and water bills
- Shortened appliance lifespan — Neglected machines typically last 3-5 years less than well-maintained ones
In fact, surveys show that approximately 70% of washing machine breakdowns stem from inadequate maintenance, making regular cleaning one of the most cost-effective ways to protect your investment.
What You'll Need
The good news is that you don't need expensive speciality products to properly clean your washing machine. Here's what you'll need:
For Basic Cleaning:
- White vinegar (2 cups)
- Baking soda (1/2 cup)
- Microfiber cloths
- Old toothbrush or small cleaning brush
- Spray bottle
For Deeper Problems:
- Hydrogen peroxide (3% solution)
- Rubber gloves
- Cotton swabs for hard-to-reach areas
All of these supplies can be found at your local supermarket or hardware store for under $20 total.
Step-by-Step Cleaning Guide
1. Clean the Rubber Door Seal (Front-Loaders)
The rubber door gasket on front-loading machines is the #1 area for mould growth. Start here:
Step-by-Step Process:
- Pull back the rubber seal and check for:
- Visible mould or mildew (black or green spots)
- Trapped items like hair pins, coins, or buttons
- Slimy buildup or residue
- Create a cleaning solution:
- Mix equal parts white vinegar and warm water in a spray bottle
- For stubborn mould, add 1 tablespoon of hydrogen peroxide
- Clean thoroughly:
- Spray the solution onto the rubber seal
- Gently wipe with a microfiber cloth
- Use an old toothbrush for stubborn spots and folds
- Pay special attention to the bottom section where water pools
- Dry completely:
- Wipe the seal dry with a clean cloth
- Leave the door open to allow air circulation
Pro Tip: This 5-minute routine should be performed weekly to prevent mould growth. About 65% of front-loader odour problems start in the door seal!
![Hand cleaning washing machine door seal with brush showing mould removal]
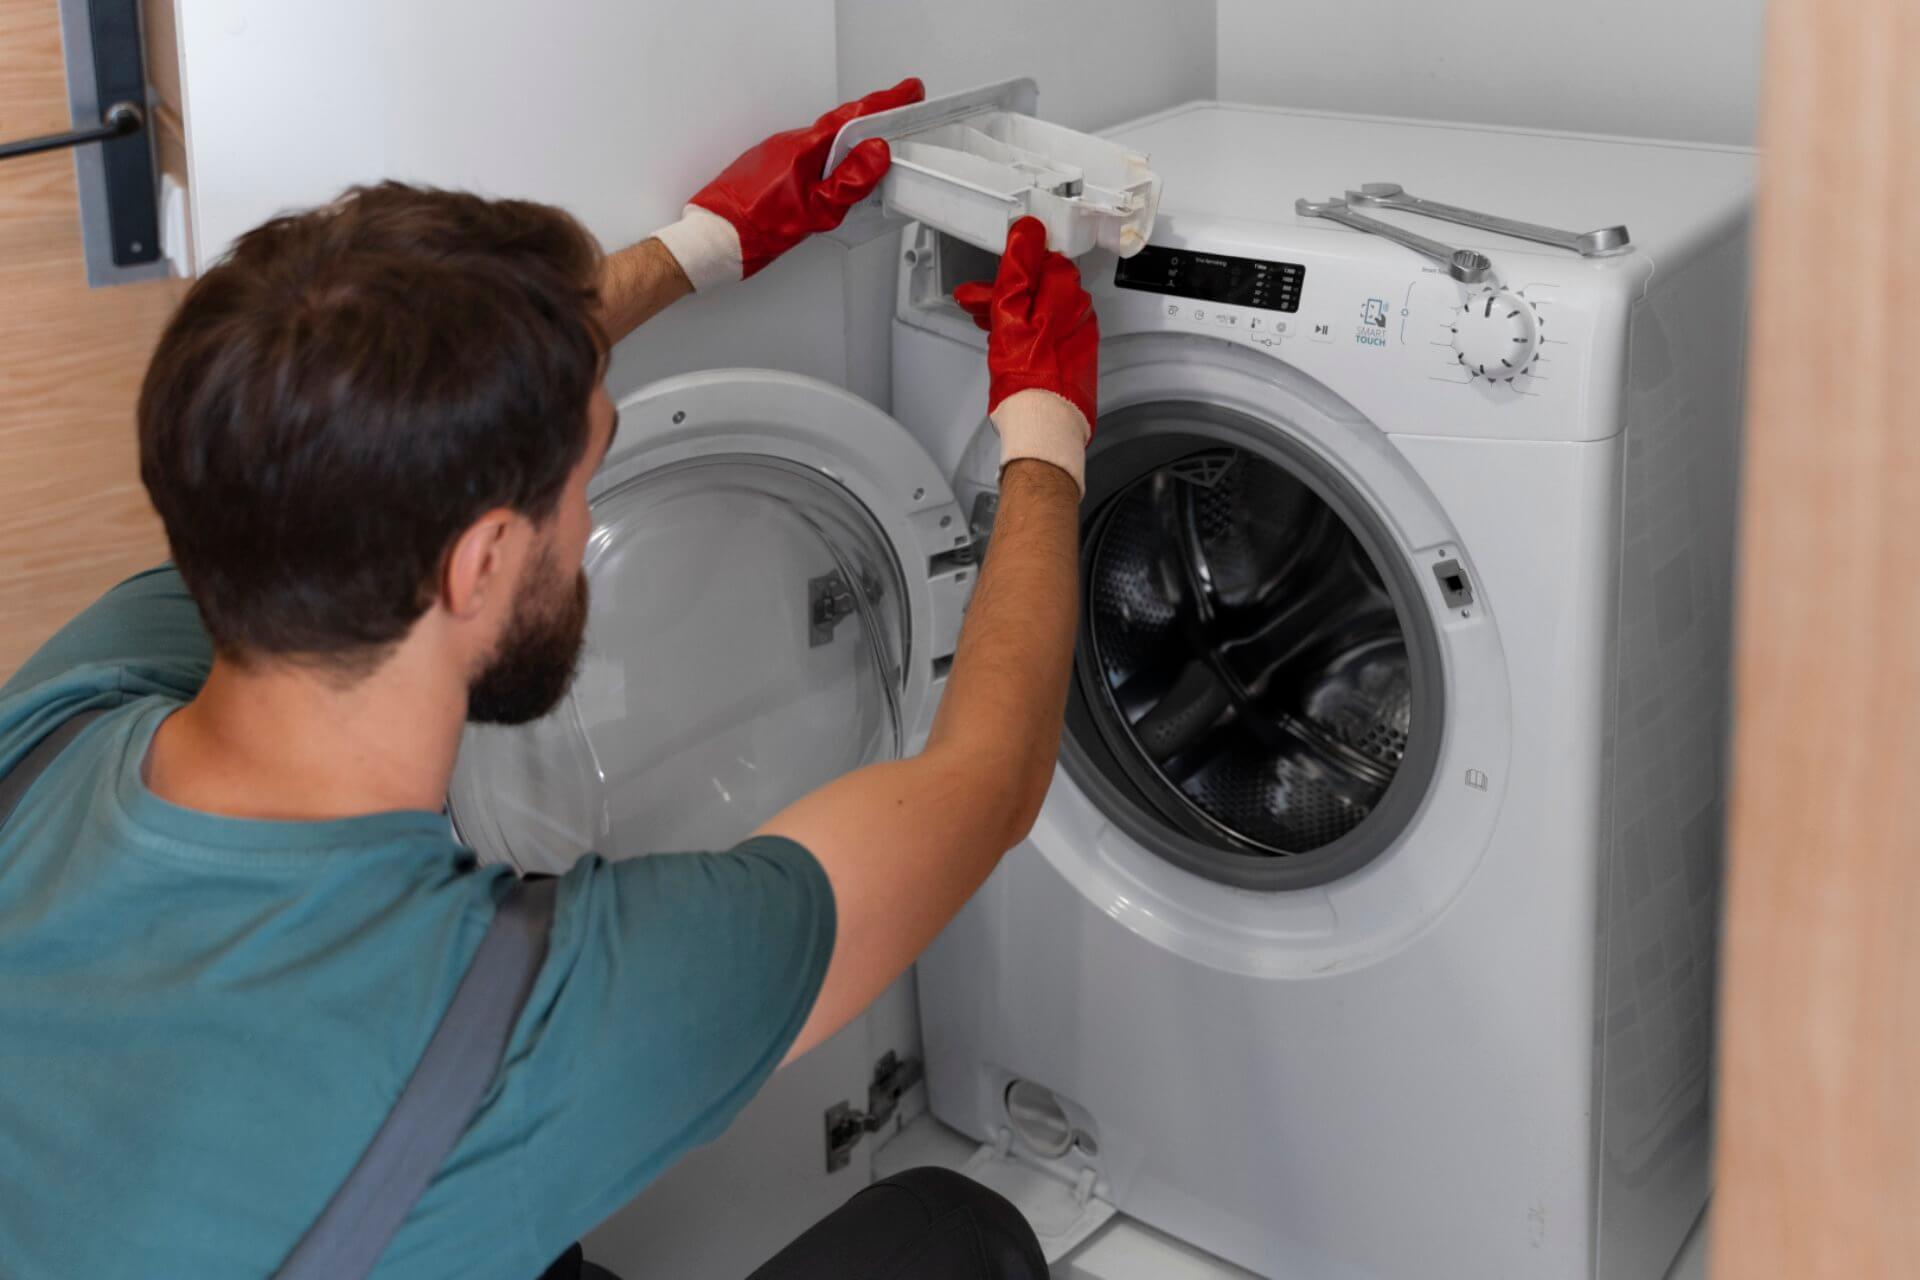
2. Remove and Clean the Detergent Drawer
The detergent drawer is the second most common place for mould and buildup in both front and top-loading machines.
Step-by-Step Process:
- Remove the drawer:
- Look for a release tab (usually coloured differently)
- Press the tab while pulling the drawer out
- If stuck, consult your user manual for specific instructions
- Soak in warm, soapy water:
- Fill your sink with warm water and a few drops of dish soap
- Submerge the drawer components for 20-30 minutes
- Scrub thoroughly:
- Use an old toothbrush to clean corners and crevices
- Pay special attention to fabric softener and detergent residue
- Clean the drawer housing:
- While the drawer is soaking, spray the drawer cavity with vinegar solution
- Use a cloth or brush to clean inside the housing
- Check the top of the cavity where mould often grows unnoticed
- Rinse, dry and replace:
- Rinse all parts thoroughly
- Dry completely before reinstalling
Australian Water Note: In areas with hard water (common in Adelaide and Perth), mineral deposits can build up in the detergent drawer. For these deposits, soak in a solution of 1 part vinegar to 1 part water for 30 minutes before scrubbing.
![Detergent drawer being cleaned with brush showing before/after comparison]
3. Run a Hot Cleaning Cycle
Now it's time to clean the internal components that you can't see but are crucial for your machine's performance.
For Front-Loading Machines:
- Add cleaning agents to the empty drum:
- 2 cups of white vinegar directly into the drum
- 1/2 cup of baking soda into the detergent compartment
- Select the right cycle:
- Choose the hottest water setting (90°C if available)
- Select the longest cycle option (usually "heavy" or "sanitize")
- Some machines have a specific "Tub Clean" or "Self Clean" cycle
- Run the cycle completely
- Wipe down the drum:
- After the cycle finishes, wipe the inside with a microfiber cloth
- Pay attention to the underside of the drum where residue collects
For Top-Loading Machines:
- Start filling with hot water
- Add cleaning agents as it fills:
- 2 cups of white vinegar when half full
- 1/2 cup of baking soda when nearly full
- Let it agitate for 1 minute to mix the solution
- Pause the cycle and let soak for 30-60 minutes
- Resume the cycle and let it complete
- Clean the agitator:
- Wipe down the central agitator
- Use a toothbrush for the crevices at the base
Safety Tip: According to AS/NZS 3350.2.7 (Australian Electrical Safety Standards), always ensure your washing machine is on a stable surface before running cleaning cycles, especially at high temperatures, as vibrations can increase during these specialised cycles.
![Close-up of washing machine control panel showing cleaning cycle selection]
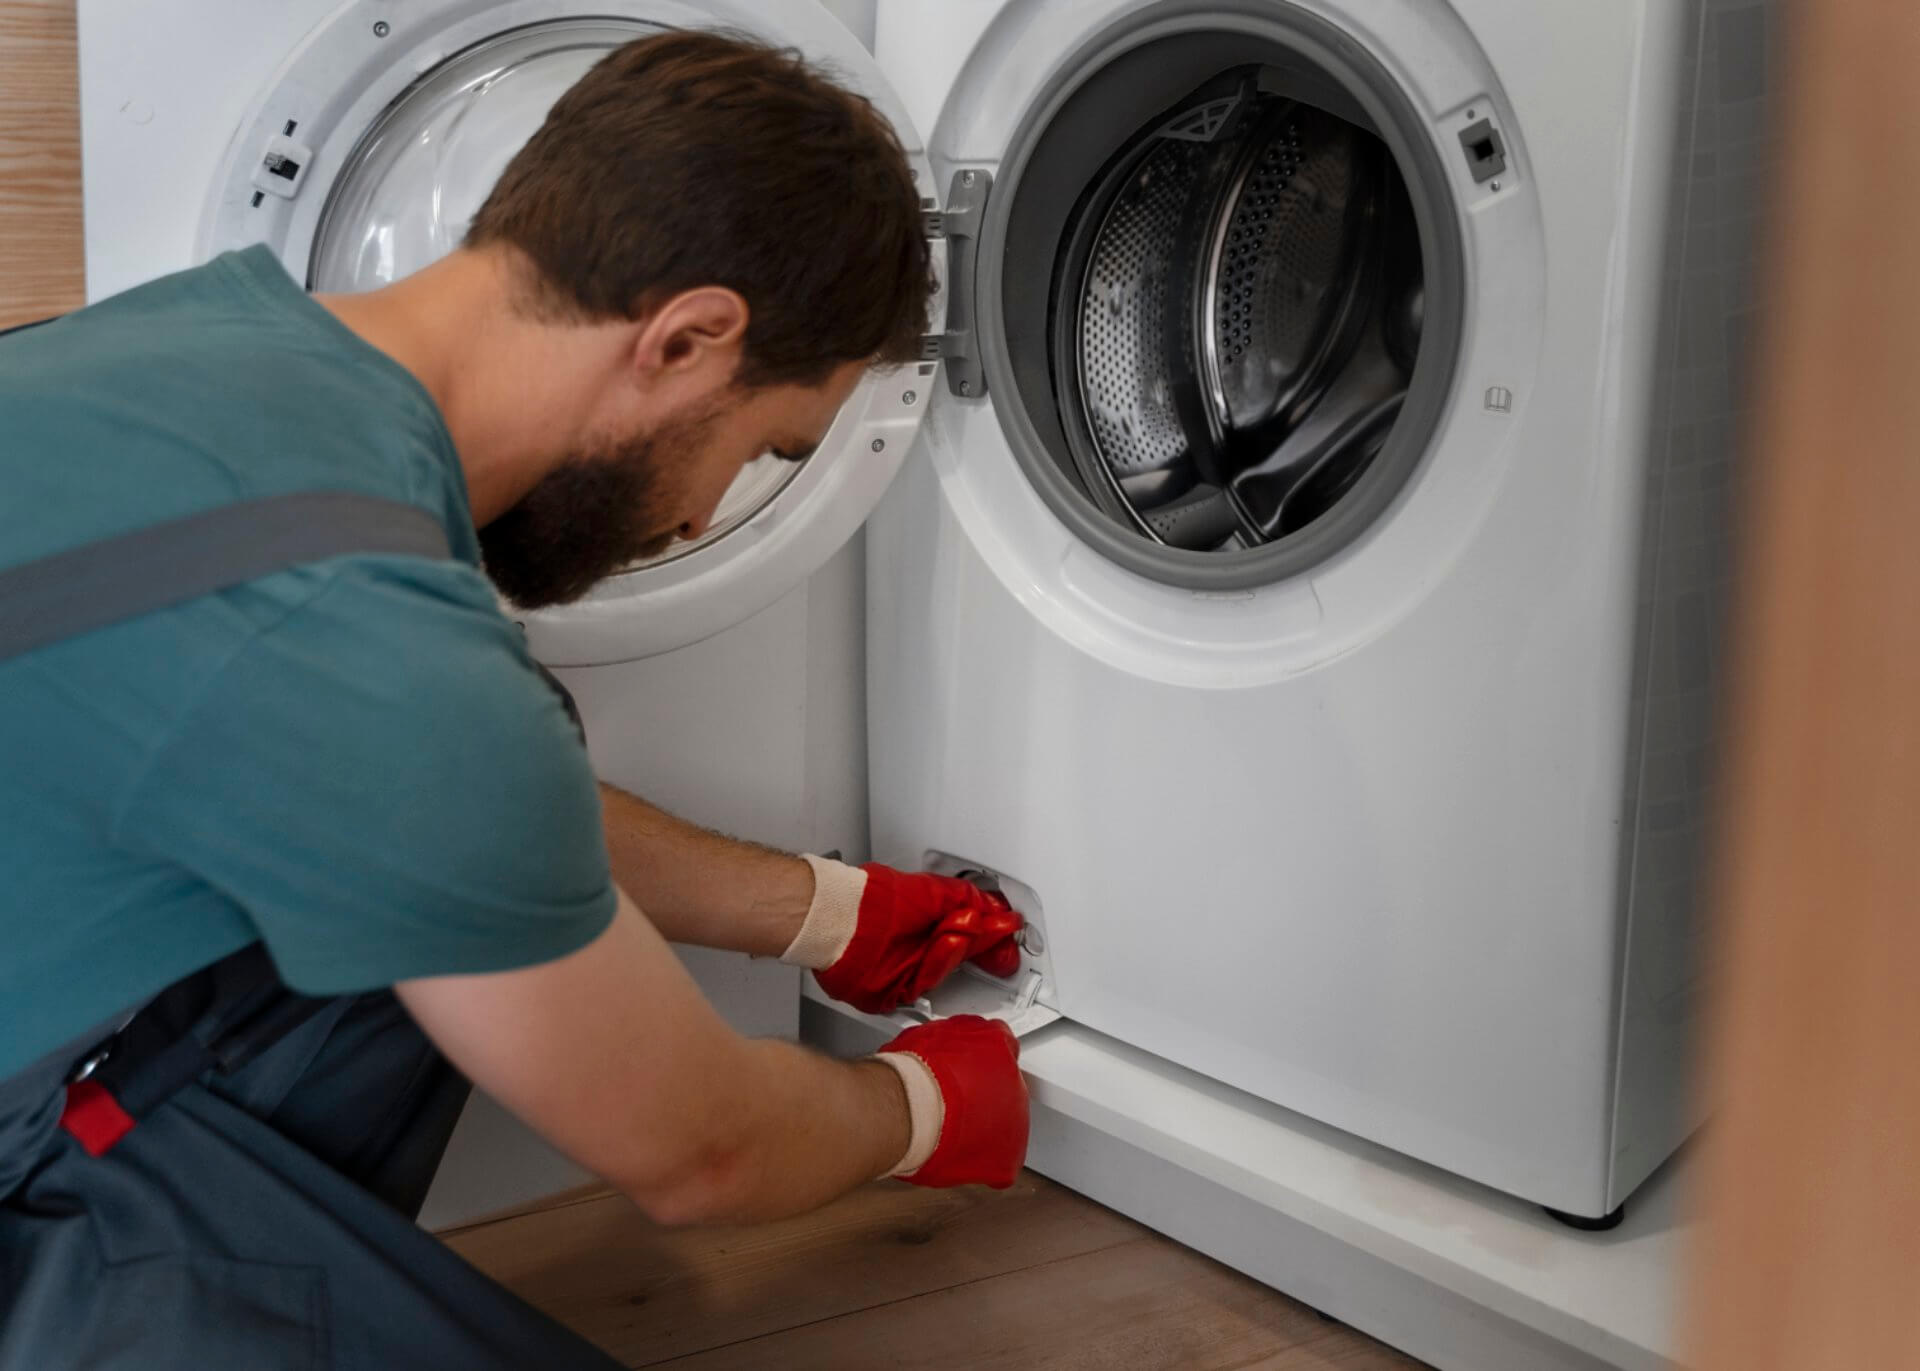
4. Clean the Filter (Front-Loaders)
The pump filter catches lint, hair, and small items that could clog your drain pump. This step is crucial but often overlooked.
Step-by-Step Process:
- Locate the filter access door:
- Usually at the bottom front of the machine
- May be behind a small panel or door
- Prepare for water spillage:
- Place a shallow pan or towels under the filter area
- Have extra towels ready as water will drain out
- Remove and clean the filter:
- Slowly unscrew the filter cap counterclockwise
- Allow water to drain gradually to prevent flooding
- Remove any debris, lint, or foreign objects
- Rinse under running water
- check for damage to the filter or seal
- Clean the filter housing:
- Wipe out the recess where the filter sits
- check for objects that might have fallen into the housing
- Reinstall the filter:
- Make sure it's properly seated and threaded correctly
- Hand-tighten only - don't use tools
Australian Plumbing Tip: According to Australian plumbing standards, you should check and clean this filter quarterly, or monthly if you have pets that shed. Hair and lint buildup in the filter are responsible for approximately 60% of drainage issues!
![Hand cleaning washing machine pump filter showing coins and debris removed]
5. Clean the Drum and Spray Holes
These final cleaning steps help ensure proper water flow and eliminate hidden buildup.
For Front-Loading Machines:
- Inspect and clean spray holes:
- Locate the small holes around the door opening (water enters through these)
- Look for mineral buildup or blockages
- Use a cotton swab dipped in vinegar to clean each hole
- For stubborn deposits, use a toothpick very gently
- Wipe down the rubber door boot again to remove any residue from the cleaning cycle
For Top-Loading Machines:
- Clean under the rim:
- Use a torch to check under the top rim of the tub
- Wipe with a cloth dampened with vinegar solution
- This area often collects significant buildup but is rarely cleaned
- check and clean the fabric softener dispenser:
- Remove if possible or clean in place
- This component often develops significant buildup
![Close-up showing cleaning of spray holes around washing machine door]
Monthly Maintenance Routine
To keep your washing machine running smoothly, establish this simple monthly maintenance routine:
- Weekly: Wipe the door seal and leave the door open after use to allow drying
- Monthly: Deep clean using all the steps above
- Quarterly: check and clean the drain pump filter
- Semi-annually: check hoses for bulging, cracking, or leaking
- Annually: Pull the machine out and clean behind/underneath it
Efficiency Tip: Regular cleaning can reduce energy consumption by up to 30% by ensuring efficient operation. Given Australia's electricity prices, this can save you $50-100 per year!
Prevention Tips to Keep Your Machine Cleaner Longer
Small changes in your laundry habits can dramatically reduce how often you need to deep clean:
- Use the right amount of detergent — More is NOT better and causes buildup
- Choose HE (High Efficiency) detergents for front-loaders
- Leave the door open after each use to promote air circulation
- Remove wet clothes promptly after the cycle ends
- Run a "Quick Wash" cycle with hot water once weekly (no clothes or detergent)
- Wipe down the door and gasket after the final load of the day
- Use powder detergent occasionally to help remove buildup from liquid detergents
![Properly maintained washing machine with door ajar for ventilation]
Dealing with Persistent Odours and Mould
If your machine has developed stubborn odours or visible mould despite cleaning, try these more intensive solutions:
-
Chlorine bleach treatment:
- Run an empty hot cycle with 1 cup of bleach in the detergent drawer
- Follow with two rinse cycles to remove all bleach residue
- Note: Don't use bleach in machines with stainless steel drums - stick with vinegar
-
Commercial washing machine cleaners:
- Products like Affresh or Dr. Beckmann Washing Machine Cleaner
- Follow package directions precisely
- These are effective for mineral buildup and persistent odours
-
For severe mould cases:
- Mix a paste of baking soda and hydrogen peroxide
- Apply directly to moldy areas and let sit for 10 minutes
- Scrub gently before wiping clean
Health Tip: If you notice a strong musty smell or see significant black mould, wear a mask during cleaning. According to the National Health and Medical Research Council (NHMRC), some moulds can trigger respiratory problems in sensitive individuals.
When to Call a Professional
While regular cleaning prevents most issues, some situations warrant professional help:
- Persistent mould that returns quickly after cleaning
- Strange noises during operation despite cleaning
- Water leakage that continues after cleaning filters and checking hoses
- Control panel or electrical issues
- Machines under warranty (DIY cleaning won't void warranty, but repairs might)
Conclusion
A clean washing machine doesn't just mean fresh-smelling laundry - it translates to lower energy bills, fewer repairs, and a longer-lasting appliance. In my years of repairing appliances, I've seen countless machines replaced years before their time, all because of simple maintenance issues that could have been prevented with regular cleaning.
By following this simple 30-minute monthly routine, you're not just removing grime and preventing odours - you're protecting a significant household investment and ensuring it continues to serve you well for years to come.
Remember: manufacturers design washing machines to last 10-15 years, but with proper care, many can exceed this lifespan by 3-5 years. That's a significant return on the small investment of time spent cleaning!
![Person completing monthly washing machine maintenance with satisfaction]
Frequently Asked Questions (FAQs)
How often should I clean my washing machine? For optimal performance, wipe the door seal weekly, run a cleaning cycle monthly, and clean the filter quarterly. This schedule prevents 90% of common washing machine problems.
Can I use bleach instead of vinegar to clean my washing machine? Yes, but with cautions: use only 1/2 cup of bleach and never mix it with vinegar. Bleach works well for sanitizing but doesn't remove mineral buildup as effectively as vinegar. Don't use bleach in machines with stainless steel drums as it can cause pitting over time.
Why does my front-loader smell even after cleaning? Persistent odours typically indicate biofilm (bacterial buildup) in hidden areas. The most common culprits are: the drain hose connection, under the rubber seal lip where it connects to the drum, or inside the drain pump system. More frequent cleaning cycles with hot water can help break down this biofilm.
Is it normal to find black gunk under the door seal? Unfortunately, yes. This is typically a combination of mould, soap scum, fabric fibres, and bacteria. Front-loaders are particularly prone to this issue due to water pooling in the seal. Weekly wiping can prevent significant buildup.
How much does professional washing machine cleaning cost in Australia? Professional cleaning services typically charge $150-250 AUD for a comprehensive cleaning. However, the DIY approach outlined in this guide costs less than $5 in supplies per cleaning.
Can leaving clothes in the washing machine overnight cause damage? Yes, in two ways: first, forgotten wet clothes can develop mildew and cause odours in both the clothes and the machine. Second, the constant moisture promotes mould growth in machine components. Always try to remove clothes within 30-60 minutes of cycle completion.

About Julian
Home appliance enthusiast and DIY repair specialist with a passion for helping others save money on appliance maintenance.
Related Articles
Washing Machine Making Loud Noise? 7 DIY Fixes | Australian Guide 2025
Washing Machine Not Draining? 4 DIY Fixes | Australian Guide 2025