Washing Machine Leaking Water? 6 DIY Fixes That Work | Australian Guide
There's nothing quite like the panic that sets in when you discover a puddle of water spreading across your laundry floor. When your washing machine leaks, it's not just annoying – it can damage your flooring, cause mould growth, and potentially lead to serious water damage in your home! But here's the good news – you don't always need to call in the pros!
I've helped hundreds of homeowners tackle this exact problem, and I can tell you that approximately 80% of washing machine leaks can be fixed with simple DIY solutions. This guide will walk you through the 6 most common causes of washing machine leaks and show you exactly how to identify and fix the problem without the expense of a service call.
Common Reasons Your Washing Machine Is Leaking
Before diving into solutions, it helps to understand what might be causing the problem. When your washing machine leaks water, it's typically due to one of these issues:
- Overloading the machine — The #1 cause responsible for approximately 35% of leakage problems
- Damaged or worn door seals/gaskets
- Loose or damaged hose connections
- Clogged drain hose or pump
- Cracked tub or drum
- Faulty water inlet valve
The good news? The first four causes account for roughly 85% of all washing machine leaks and can be fixed with basic DIY skills and minimal tools.
6 Effective DIY Fixes for Washing Machine Leaks
1. Check for Overloading
Possible Signs:
- Water leaks primarily during wash or rinse cycles
- Leaking occurs from the door or lid area
- Problems only happen with certain loads
- Water splashes out when you open the door mid-cycle
Many homeowners don't realise that cramming too many clothes into a washing machine is the leading cause of leaks. When overloaded, water can force its way past seals or splash over tub edges.
DIY Fix:
- Reduce your load size — Follow manufacturer guidelines for capacity:
- Front-loaders: Fill to 3/4 capacity maximum
- Top-loaders: Load items loosely, not packed tightly
- Distribute clothing evenly around the drum to prevent imbalance
- Use the right amount of detergent — Excess suds can cause overflow
- Choose appropriate cycle settings for load size:
- Many machines have automatic load sensing
- For manual machines, select the water level that matches your load size
Pro Tip: When washing bulky items like doonas or heavy blankets, wash them individually rather than with other items. This prevents overloading and ensures proper cleaning.
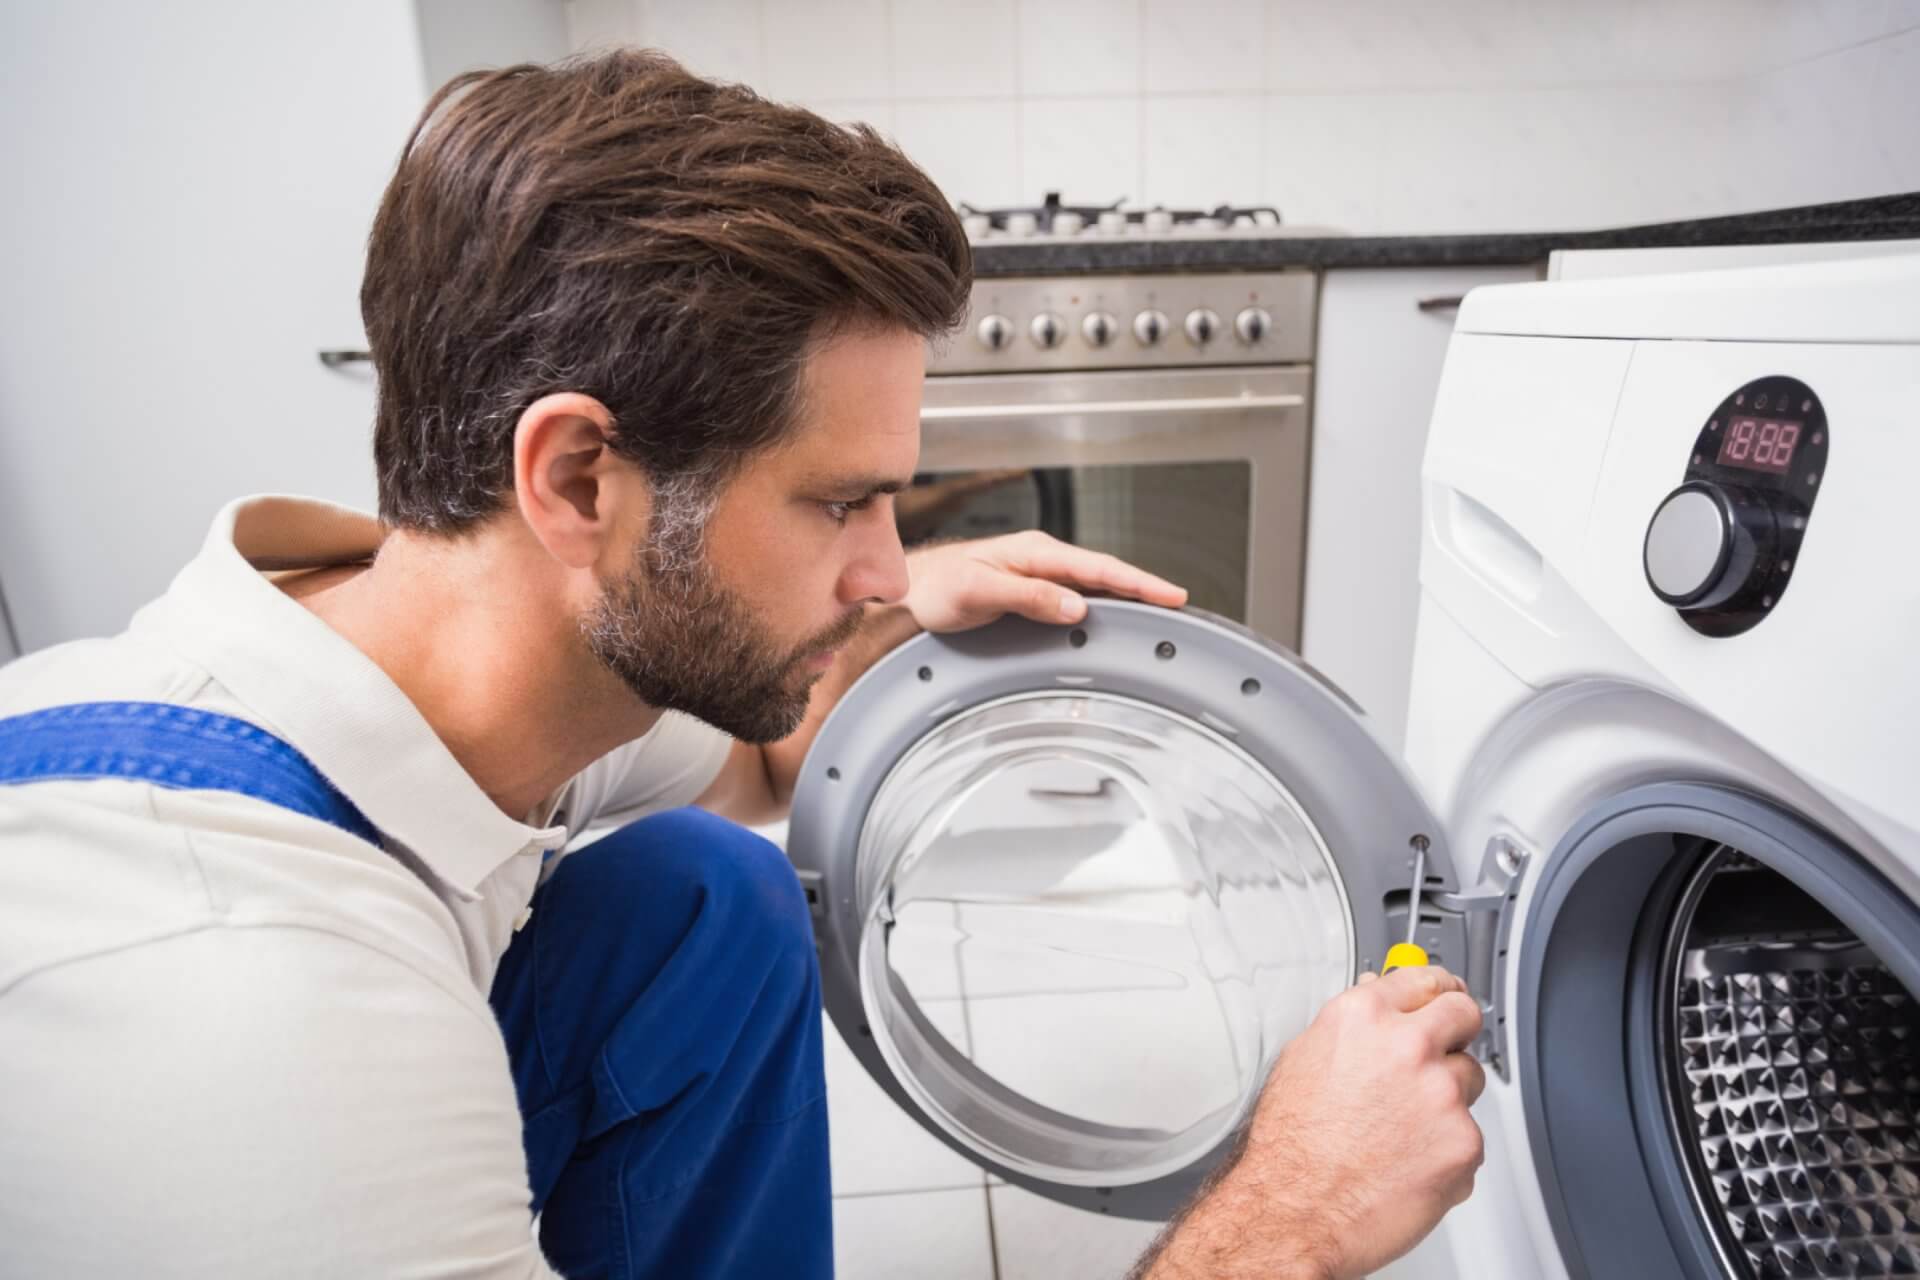
2. Inspect Door Seal or Lid Gasket
Possible Signs:
- Water leaks from the front or around the door (front-loaders)
- Leaking occurs at the beginning of the cycle
- Visible damage, tears, or mould on the rubber seal
- Water appears at the bottom of the door during operation
The door gasket on front-loading machines or lid seal on top-loaders creates a watertight barrier during operation. When damaged, water finds a way out.
DIY Fix for Front-Loaders:
- Inspect the entire door seal — Look for:
- Tears or cracks in the rubber
- Foreign objects caught in the seal
- Mould or residue build-up preventing proper sealing
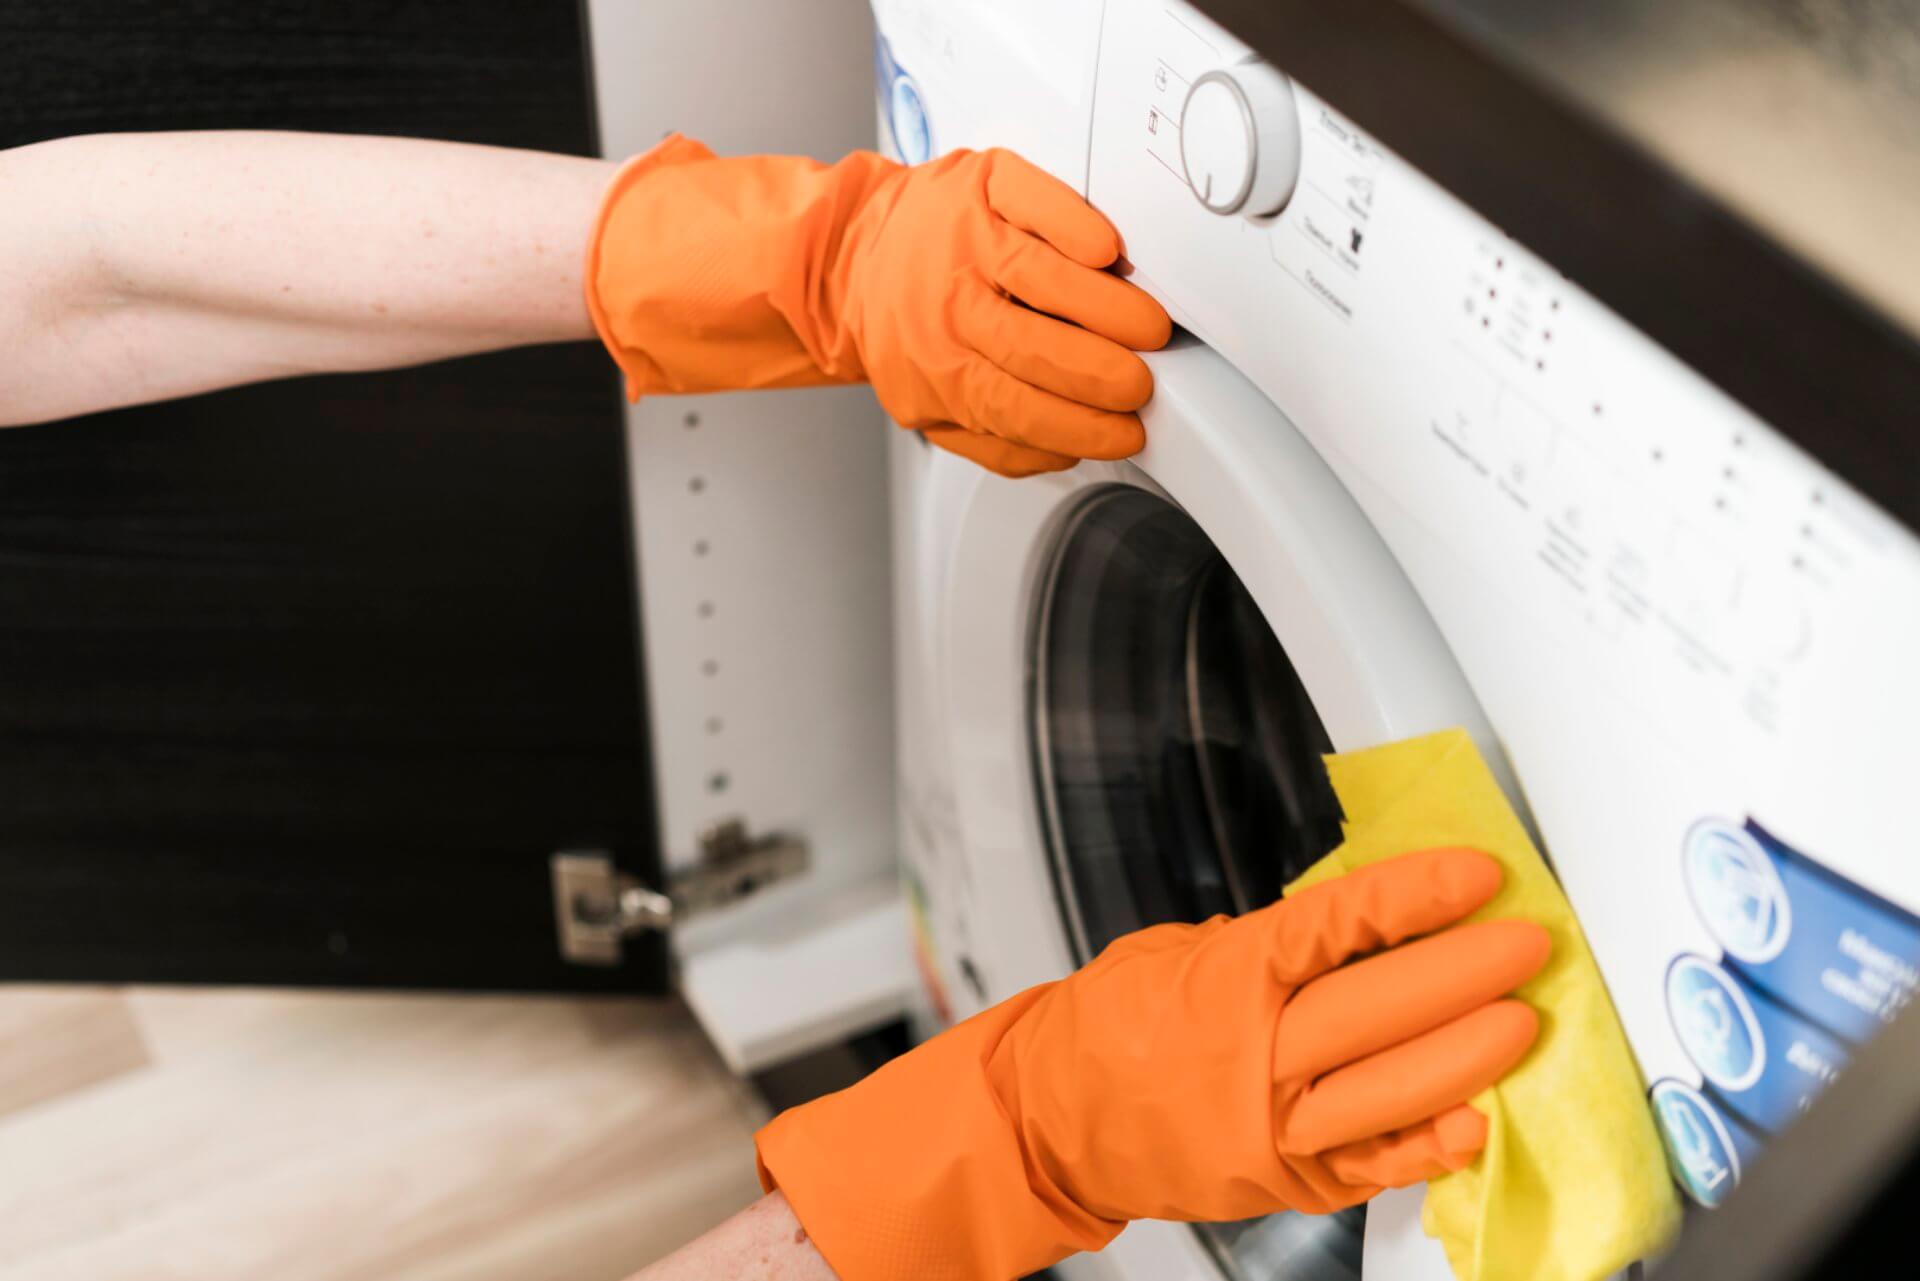
- Clean the door gasket thoroughly:
- Mix equal parts white vinegar and warm water
- Gently wipe the entire seal, focusing on folds
- Remove any debris, hair, or foreign objects
- Dry completely
- For damaged seals, replace the door gasket:
- Purchase the correct replacement for your model
- Turn off water supply and unplug the machine
- Remove the old gasket (typically held by a spring wire or retaining ring)
- Install the new gasket, ensuring it seats properly in the channel
- Test with a small load after installation
DIY Fix for Top-Loaders:
- Check the lid gasket if your model has one
- Inspect the tub cover gasket around the top of the washing tub
- Replace damaged gaskets following the manufacturer's instructions
Maintenance Tip: To extend gasket life, leave the door slightly open after use to prevent mould growth and wipe down the gasket weekly. This 30-second habit prevents 65% of seal-related leaks!
3. Check and Tighten Hose Connections
Possible Signs:
- Water leaks from the back of the machine
- Leaking only occurs during filling cycles
- Water appears to drip steadily
- Floor behind the machine is constantly damp
Loose or deteriorated hose connections are responsible for approximately 25% of washing machine leaks and are among the easiest to fix.
DIY Fix:
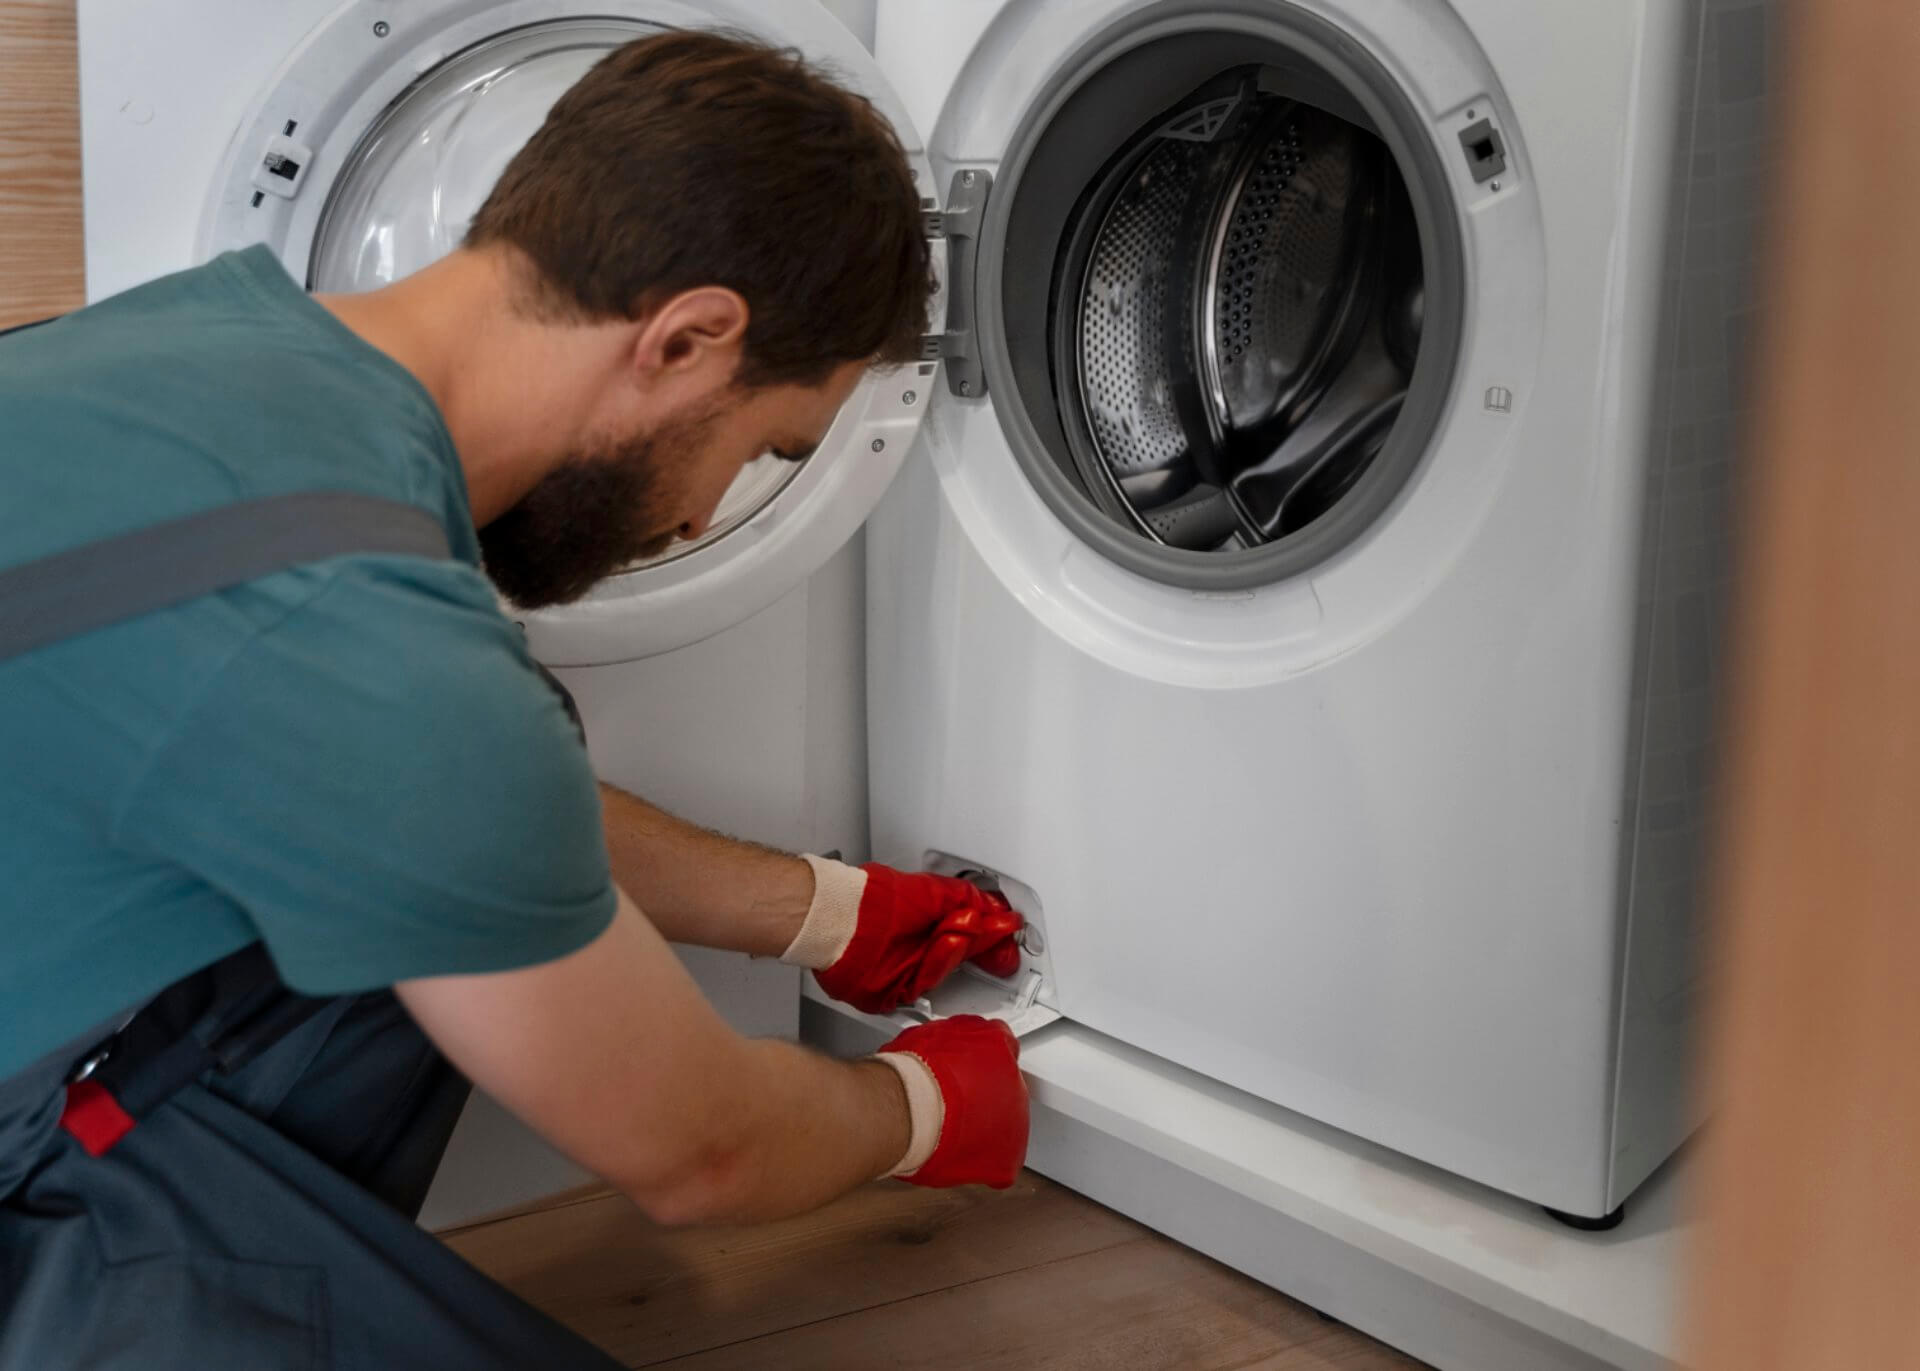
- Pull the washing machine away from the wall — Give yourself room to work
- Check inlet hoses (the hoses connected to your water taps):
- Inspect for cracks, bulging, or visible damage
- Ensure rubber washers inside connections are present and intact
- Tighten connections by hand, then a quarter turn with pliers (don't overtighten)
- Inspect the drain hose:
- Check for cracks or splits
- Ensure it's securely connected to both the machine and drain pipe
- Look for internal hose connections:
- Some models have accessible internal hoses
- Check tub-to-pump hose and other internal connections
- Replace damaged hoses:
- Always use high-quality replacement hoses
- Consider braided stainless steel hoses for inlet connections
- Ensure proper length to prevent kinking
Australian Plumbing Standard Note: According to AS/NZS 3500, washing machine hoses should be replaced every 5 years regardless of their appearance. Many insurance companies in Australia won't cover water damage if hoses are older than this recommended replacement interval.

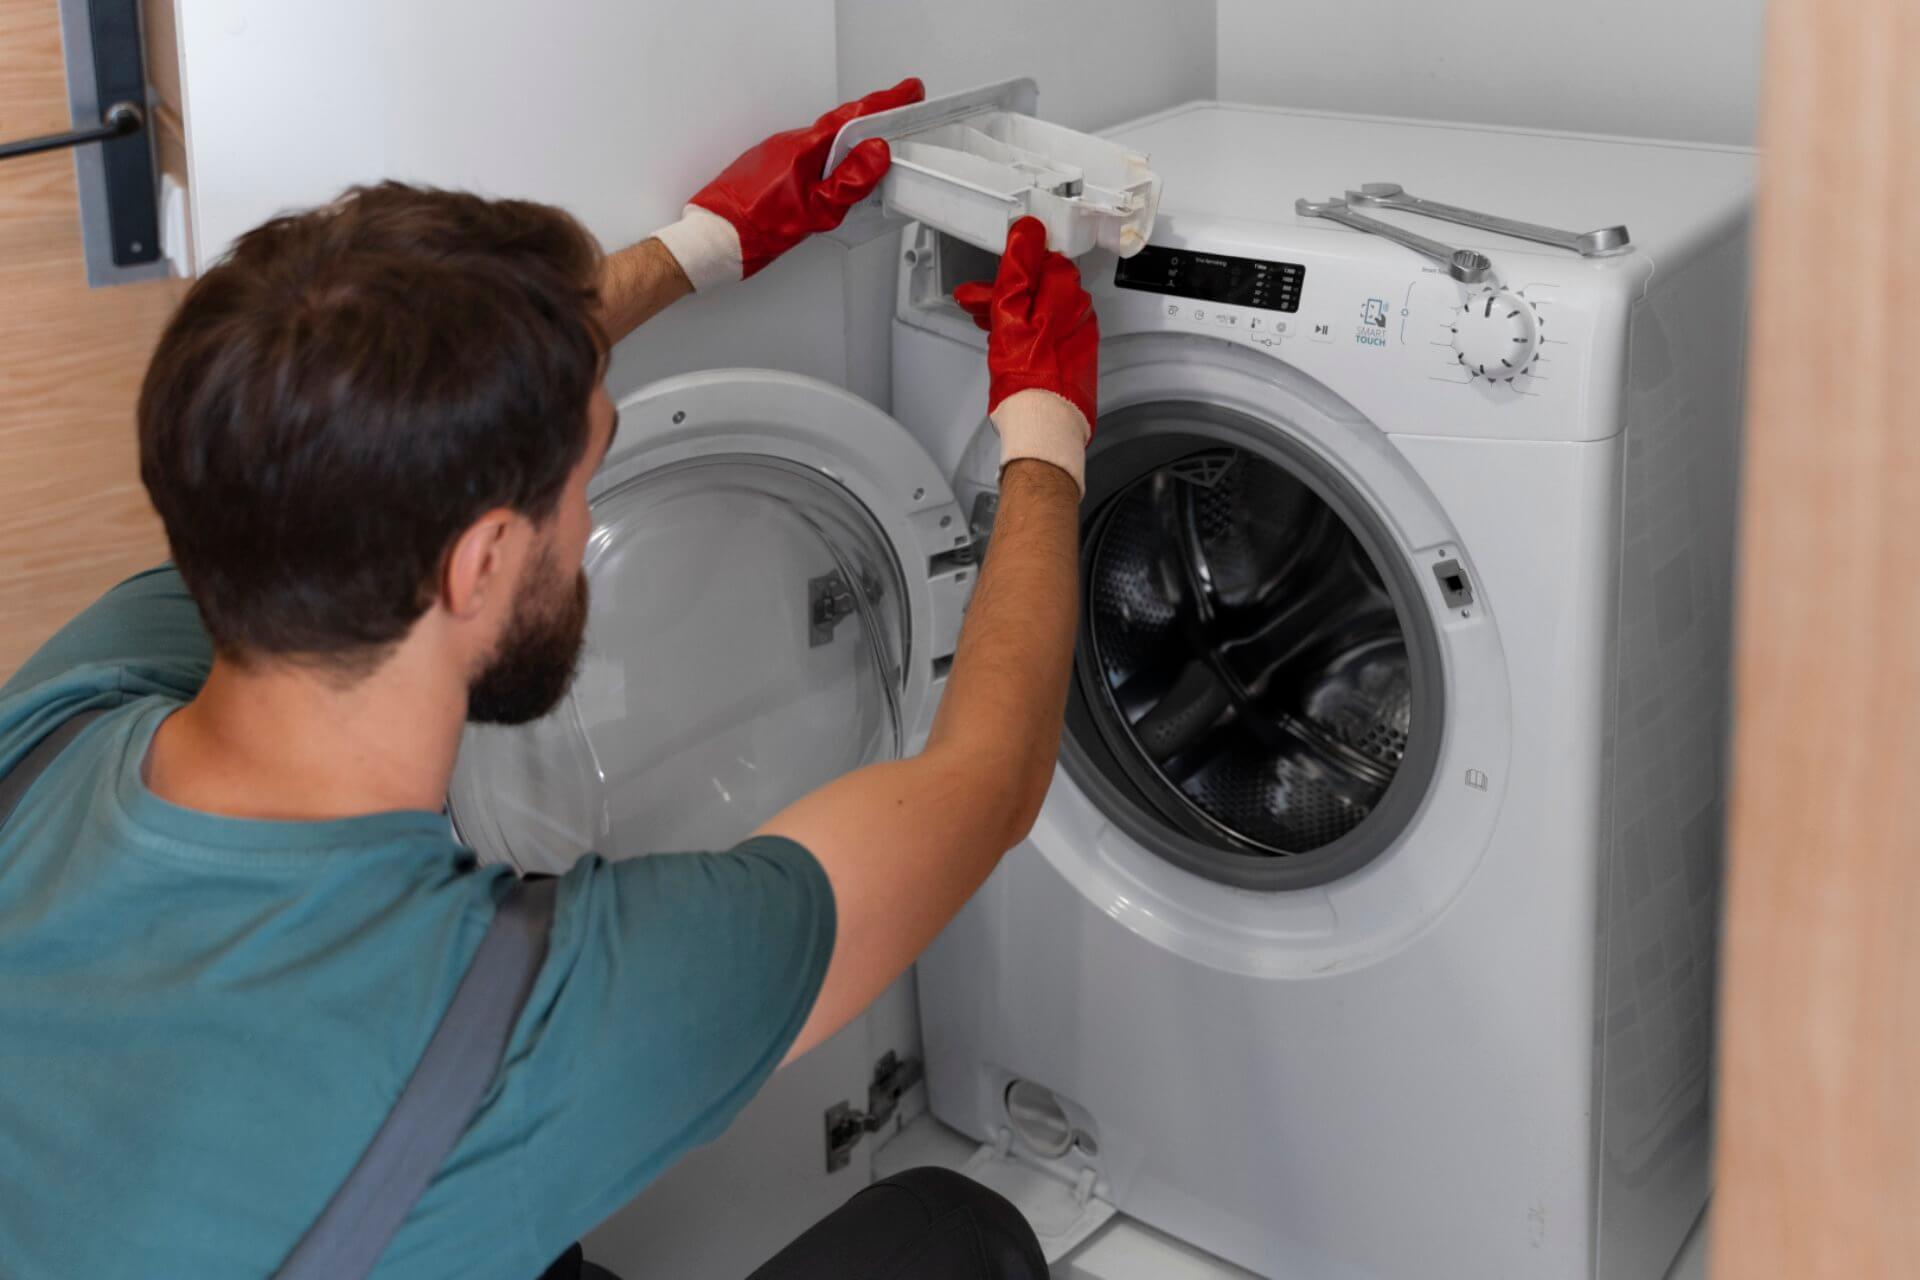
4. Clear Clogged Drain System
Possible Signs:
- Water leaks during drain or spin cycles
- Puddles form near the drain hose area
- Machine stops mid-cycle with error codes
- Gurgling sounds from the drain or water backing up in sink
A clogged drain hose or pump can force water to find alternate escape routes, typically resulting in leaks during draining.
DIY Fix:
- Check the drain hose positioning:
- Ensure it's not inserted too far into the standpipe (no more than 15 cm)
- Verify the drain hose height is between 60-90 cm from the floor
- Check for kinks or bends restricting flow
- Clear the drain hose:
- Disconnect from the drain pipe
- Run water through to check for blockages
- Use a long, flexible brush to remove any obstructions
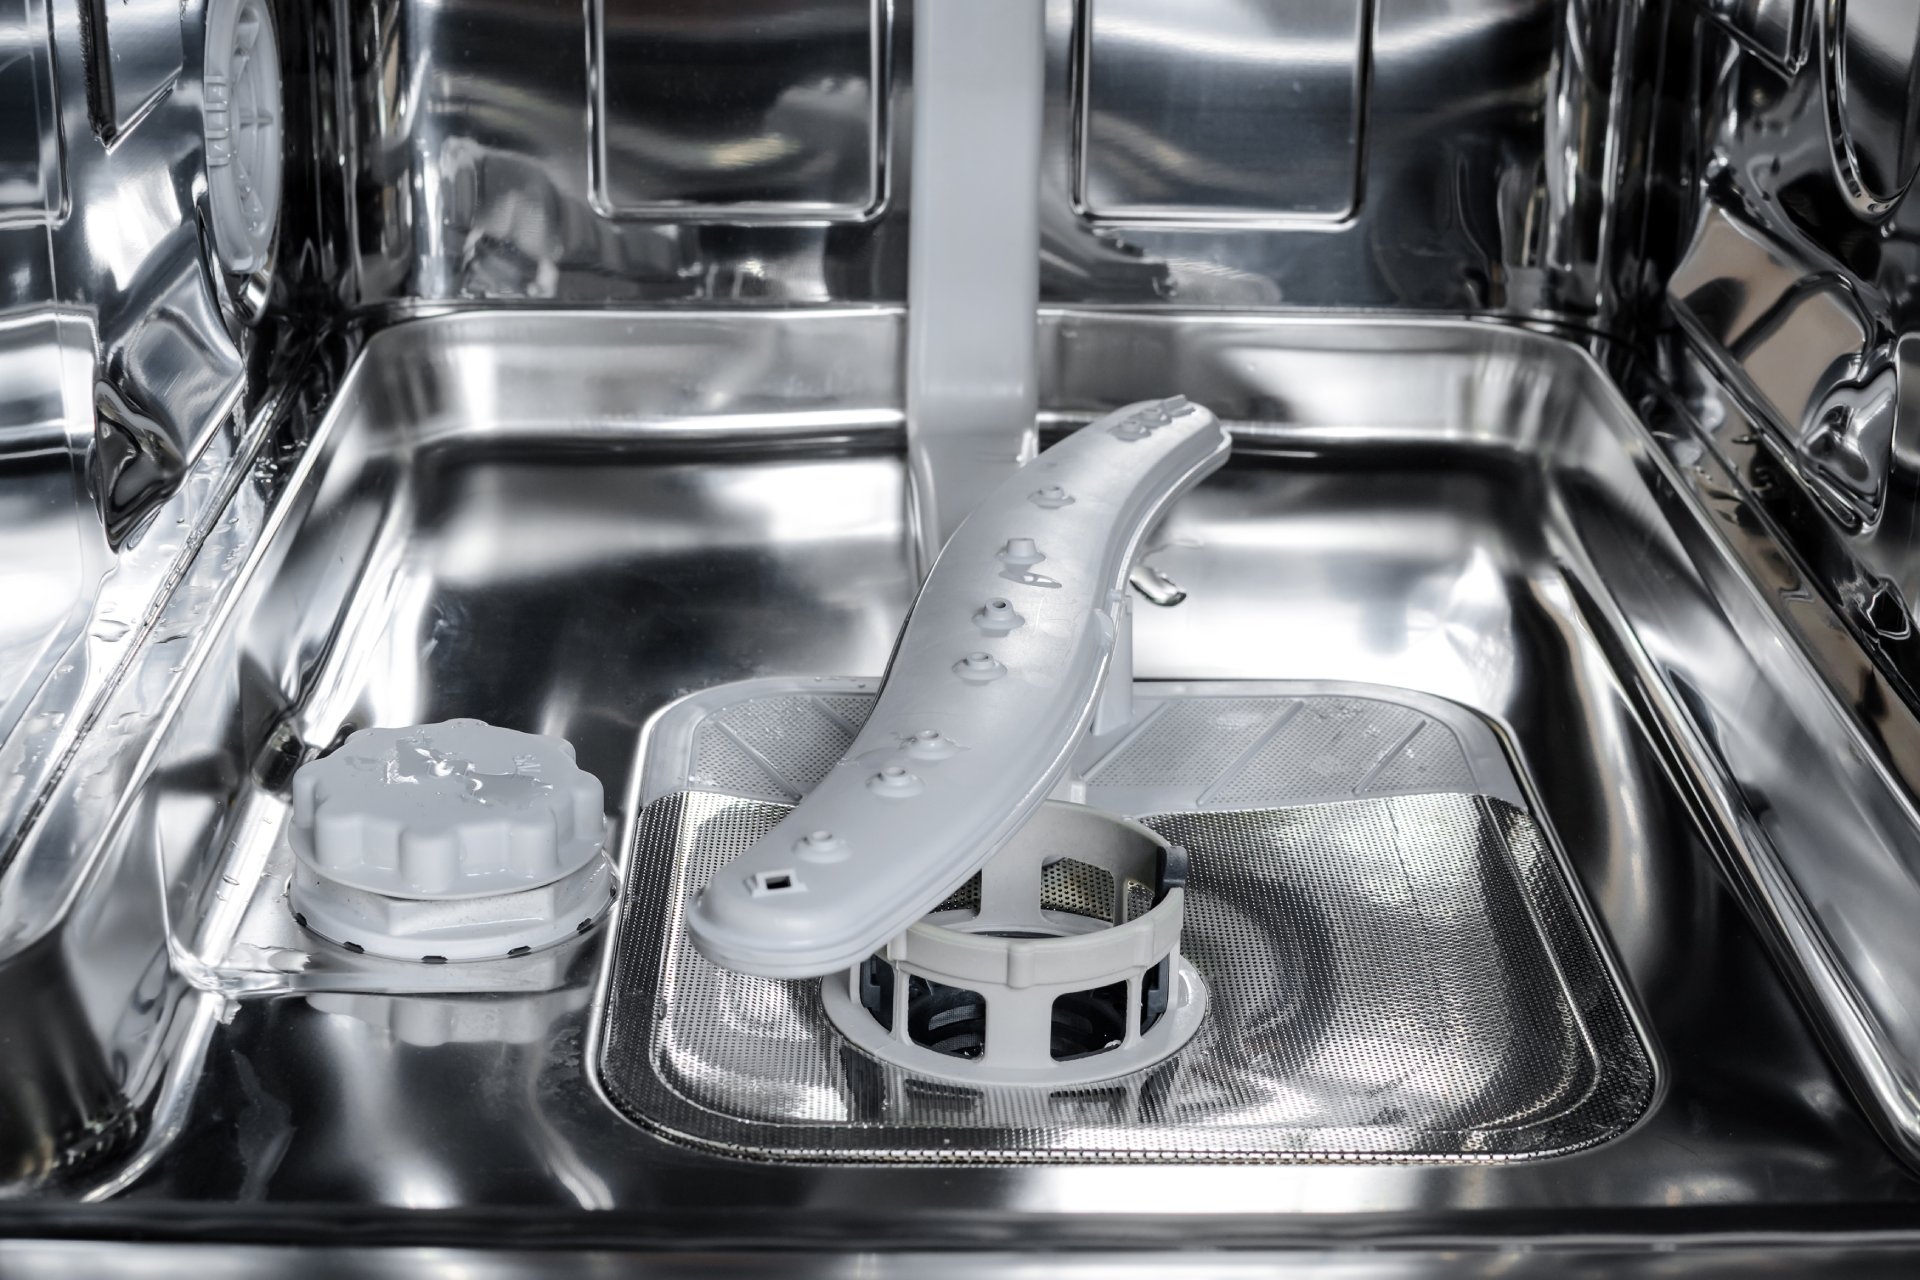
- Clean the pump filter (if your model has one):
- Locate the access panel (usually lower front of machine)
- Place towels and a shallow container underneath
- Slowly open to drain water and prevent flooding
- Remove any foreign objects, lint, or debris
- Clean thoroughly and reinstall
- Check the standpipe:
- Ensure your home's drain pipe isn't clogged
- Run hot water or use a plumbing snake if necessary
Quick Test: If unsure whether your drain is clogged, disconnect the drain hose from the house drain and place it in a large bucket. Run a drain cycle – if water flows freely into the bucket without leaking, the issue is likely with your home's drainage, not the washing machine.
.jpg)
5. Inspect the Tub and Drum for Damage
Possible Signs:
- Water leaks from underneath the machine
- Leaking occurs regardless of cycle stage
- Rust stains in leaked water
- Water appears slowly even when machine isn't running
While less common than other causes, cracks in the outer tub or inner drum can cause persistent leaks that are often difficult to detect.
DIY Assessment:
- Visual inspection:
- Remove the top panel (typically held by screws at the back)
- For front-loaders, you may need to remove the front panel
- Use a torch to inspect the outer tub for cracks or holes
- Look for mineral deposits or rust trails that indicate leak paths
- Run a test cycle:
- With panels removed (if safe to do so), run a short fill cycle
- Observe where water first appears
- Note that some water in the outer tub is normal (it contains the inner drum)
- Check the tub seal or bearing:
- A failing seal between the tub and drive shaft is a common leak source
- Look for water or rust around the rear of the tub where the shaft enters
DIY or Professional Fix: Tub replacement is a major repair that requires:
- Significant disassembly of the machine
- Specialised tools in some cases
- Detailed mechanical knowledge
For confident DIYers:
- Consult your model's service manual
- Purchase the correct replacement part
- Allow 3-4 hours for the repair
When to call a professional:
- If your machine is under 5 years old (potential warranty coverage)
- If you're not comfortable with major disassembly
- If multiple components need replacement
Cost Comparison: Professional tub replacement typically costs $400-700 including parts and labour. A new washing machine starts around $800-1,200, so consider the age and overall condition of your machine before proceeding with major repairs.
6. Check the Water Inlet Valve
Possible Signs:
- Water leaks when the machine is turned off
- Continuous slow filling even between cycles
- Water appears from front or under the machine
- Control panel or electrical components getting wet
The water inlet valve controls water flow into your washing machine. When it fails, it can leak externally or allow water to continuously seep into the tub.
DIY Assessment:
- Locate the inlet valve:
- It's typically at the back of the machine where the fill hoses connect
- You may need to remove a rear access panel
- Check for external leaks:
- Look for water dripping from the valve body
- Check connections for tightness
- Test for internal leaking:
- Turn off water taps
- Disconnect power
- Remove fill hoses
- Look for worn or damaged valve seats
- Check for debris preventing proper valve closure
DIY Fix:
- For external leaks:
- Tighten connections
- Replace washers if needed
- For valve replacement:
- Purchase the correct valve for your model
- Turn off water and power
- Take photos before disconnecting for reference
- Remove electrical connections carefully
- Replace the valve
- Reconnect all water and electrical connections
Electrical Safety Warning: According to AS/NZS 3000 (Australian Electrical Safety Standards), ensure the washing machine is completely disconnected from power before working on any electrical components. Water inlet valves involve both water and electrical connections, so proper safety precautions are essential.
Prevention: Stop Washing Machine Leaks Before They Start
The best way to deal with washing machine leaks is to prevent them in the first place:
- Don't overload your machine — This single habit prevents 35% of leaks
- Replace hoses every 5 years — Even if they look fine externally
- Install a flood-stop device — These automatically shut off water if a leak is detected
- Clean the door gasket weekly — Prevents debris buildup that compromises seals
- Leave the door open between uses — Prevents mould and prolongs gasket life
- Place a washing machine tray underneath — Catches minor leaks before they damage flooring
When to Call a Professional
While these DIY fixes resolve the vast majority of washing machine leaks, there are times when professional help is warranted:
- You've tried the appropriate DIY fixes without success
- There's water leaking near electrical components
- Your washing machine is under warranty (DIY repairs might void coverage)
- The leak appears to be coming from inside the tub or main body of the machine
- You're not comfortable performing the necessary repairs
Conclusion
A leaking washing machine is certainly concerning, but as you can see, diagnosing and fixing the problem is often simpler than you might expect. In my experience, about 80% of washing machine leaks can be solved with the first four fixes alone - proper loading, gasket maintenance, hose connections, and drain system cleaning.
Taking care of these simple maintenance tasks regularly can prevent most leaking issues before they start. Your washing machine is designed to last 10-15 years with proper care - don't let a preventable water leak issue cut that lifespan short or cause expensive water damage to your home!
Frequently Asked Questions (FAQs)
Is it safe to use my washing machine if it's leaking water? It depends on the severity and location of the leak. Minor leaks from hoses can often wait a day or two for repair, but leaks near electrical components should be addressed immediately by disconnecting power until fixed. Any significant leak should be fixed promptly to prevent water damage to your home.
How often should I replace the inlet hoses on my washing machine? According to Australian plumbing standards and most insurance companies, washing machine hoses should be replaced every 5 years regardless of visible condition. Consider upgrading to braided stainless steel hoses which are more durable and less prone to bursting.
Why does my washing machine only leak during certain cycles? Cycle-specific leaks offer important diagnostic clues: leaks during filling typically indicate inlet valve or hose problems, leaks during washing often point to door seal or overloading issues, and leaks during draining usually suggest pump or drain hose problems.
Could my laundry detergent be causing leaks? Yes! Using too much detergent or the wrong type can create excessive suds that push past door seals. High-efficiency (HE) machines require specifically formulated low-suds detergents. Using regular detergent in these machines is a common cause of overflow leaks.
How much does it cost to repair a leaking washing machine in Australia? Professional diagnosis typically costs $100-200 for a service call. Simple repairs like hose replacement might add $80-150, while major repairs like pump or tub replacement range from $300-600. Since new washing machines start around $800-1,200, consider the age of your machine before investing in costly repairs.
Should I repair or replace my leaking washing machine? For machines under 5 years old, repair is usually the most economical option. For machines over 8 years with major problems (like tub or bearing failures), replacement often makes more sense. Consider energy efficiency gains of newer models in your decision, as they can offset replacement costs through reduced water and electricity usage.

About Julian
Home appliance enthusiast and DIY repair specialist with a passion for helping others save money on appliance maintenance.
Related Articles
How to Clean Your Washing Machine: A Step-by-Step Guide
Washing Machine Making Loud Noise? 7 DIY Fixes | Australian Guide 2025